🔥 1. The Core Appeal

There is an intoxicating, rhythmic satisfaction to pulling the trigger of a tufting gun and watching dense strands of yarn shoot cleanly through stretched fabric. What begins as a plain canvas quickly morphs into a tactile, three-dimensional sculpture as rows of colorful pile multiply under your hands. The tool hums with mechanical precision, translating fluid arm movements into lush textures that you can immediately sink your fingers into.
Beyond the tactile thrills, tufting offers an unprecedented bridge between digital graphic design, textile arts, and functional home decor. The process locks you into an intense flow state where color theory, line control, and spatial awareness merge into rewarding creative sessions. Completing a custom rug delivers a deep sense of artistic payoff, turning a blank frame into a durable, plush artwork made entirely by your own hands.
🗺️ 2. The Landscape
Before picking up a tufting gun, understanding the mechanical styles, pile variations, and finishing philosophies will help you set realistic expectations and match your creative goals to the right setup.
Cut Pile Tufting (Speed and Softness)
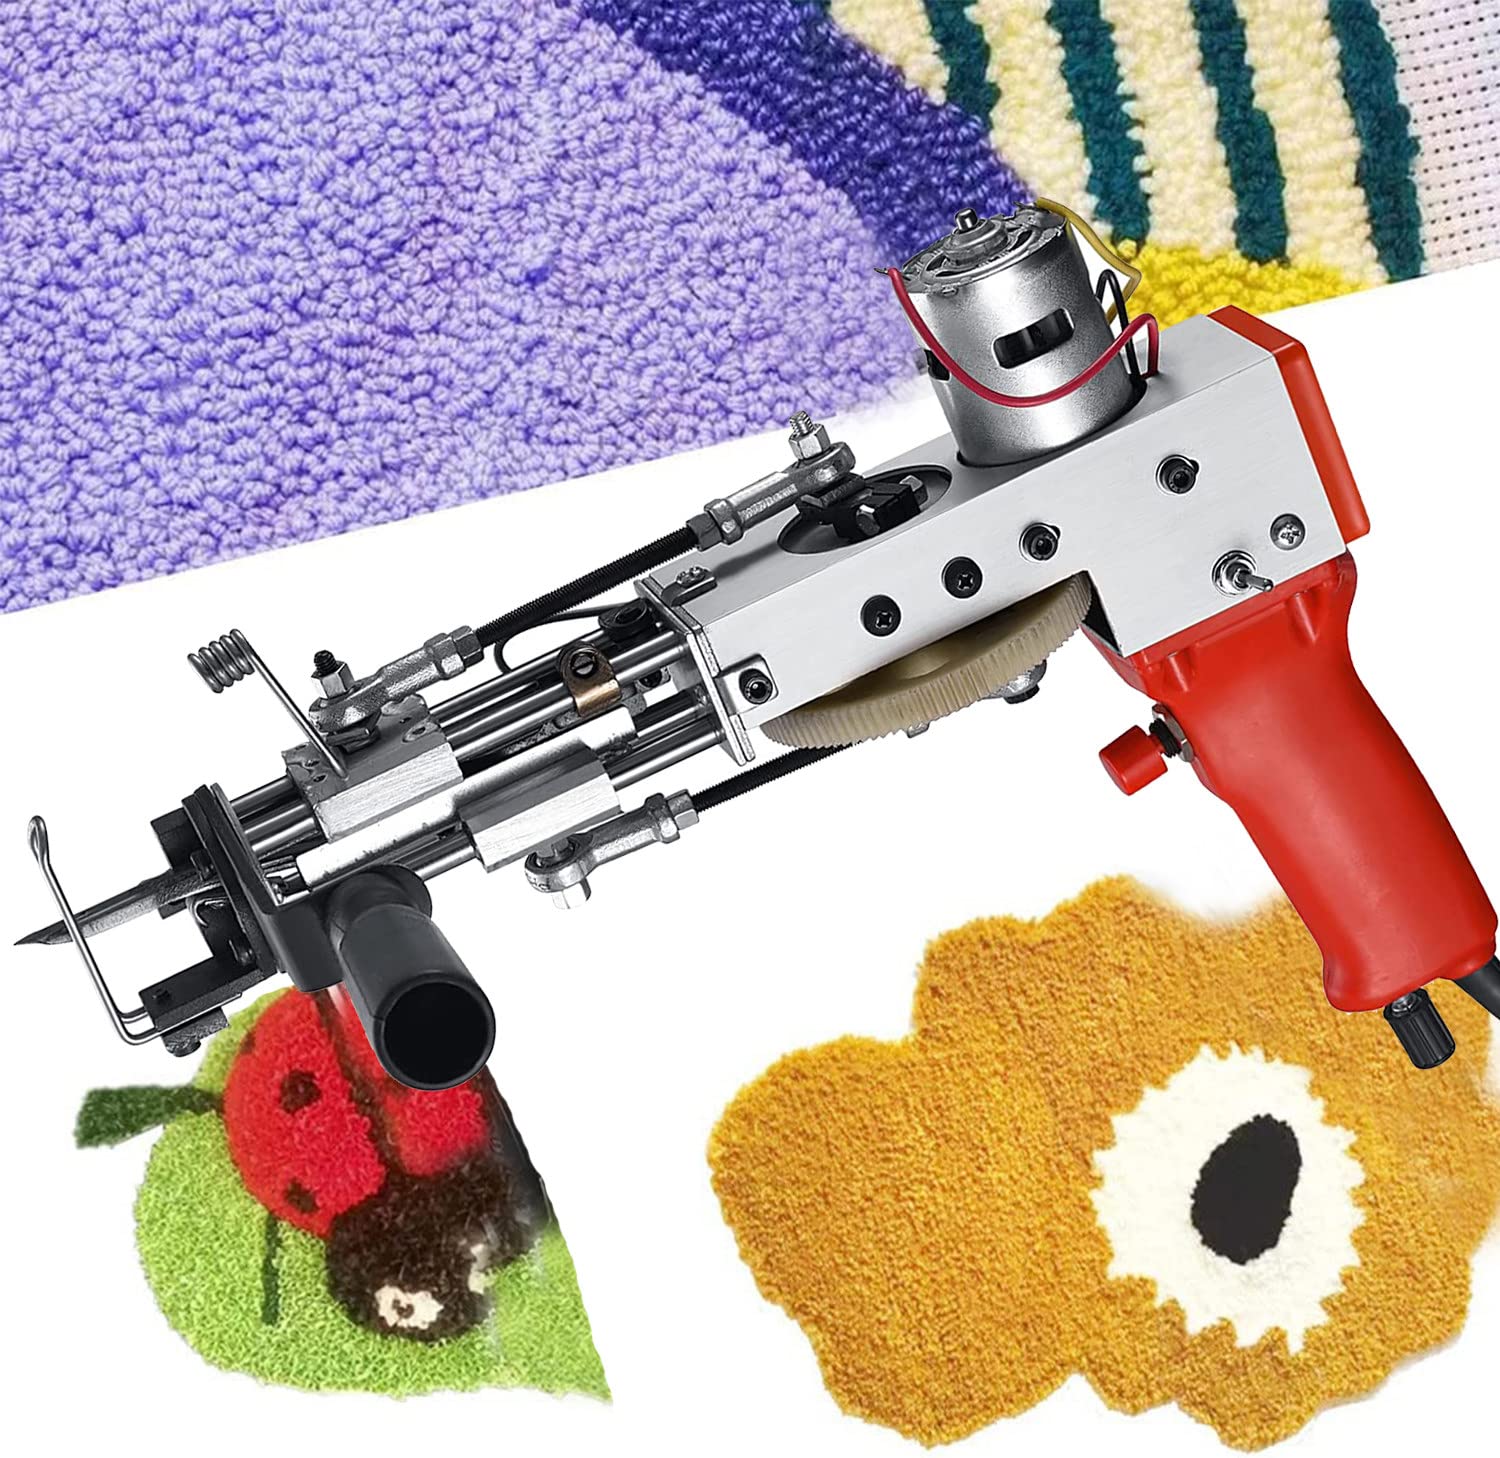
Uses an internal pair of automated scissors to slice yarn loops as they pass through the canvas, creating a classic, fluffy velour surface. It operates at high speeds and is ideal for graphic illustrators wanting plush density and easy carved detailing.
Loop Pile Tufting (Textural Durability)
Keeps yarn strands continuous without cutting, resulting in tightly knotted, loop-textured surfaces similar to commercial carpeting or woven tapestry. This style excels at producing highly durable floor mats and intricate, low-profile geometric designs.
Hand-Punch Needle Tufting (Mindful Precision)
Replaces electric power tools with manual wooden punch needles to push yarn through canvas strand by strand. While considerably slower, it offers extreme quiet, complete tactile control, and minimal initial financial investment.
For complete beginners, a cut pile electric tufting gun paired with acrylic yarn is universally recommended: cut pile guns offer the classic fluffy feel everyone desires, require zero manual cutting during tufting, and allow for easy carving and mistake correction without complex gear changes.
🛒 3. The Starter Kit & Budget
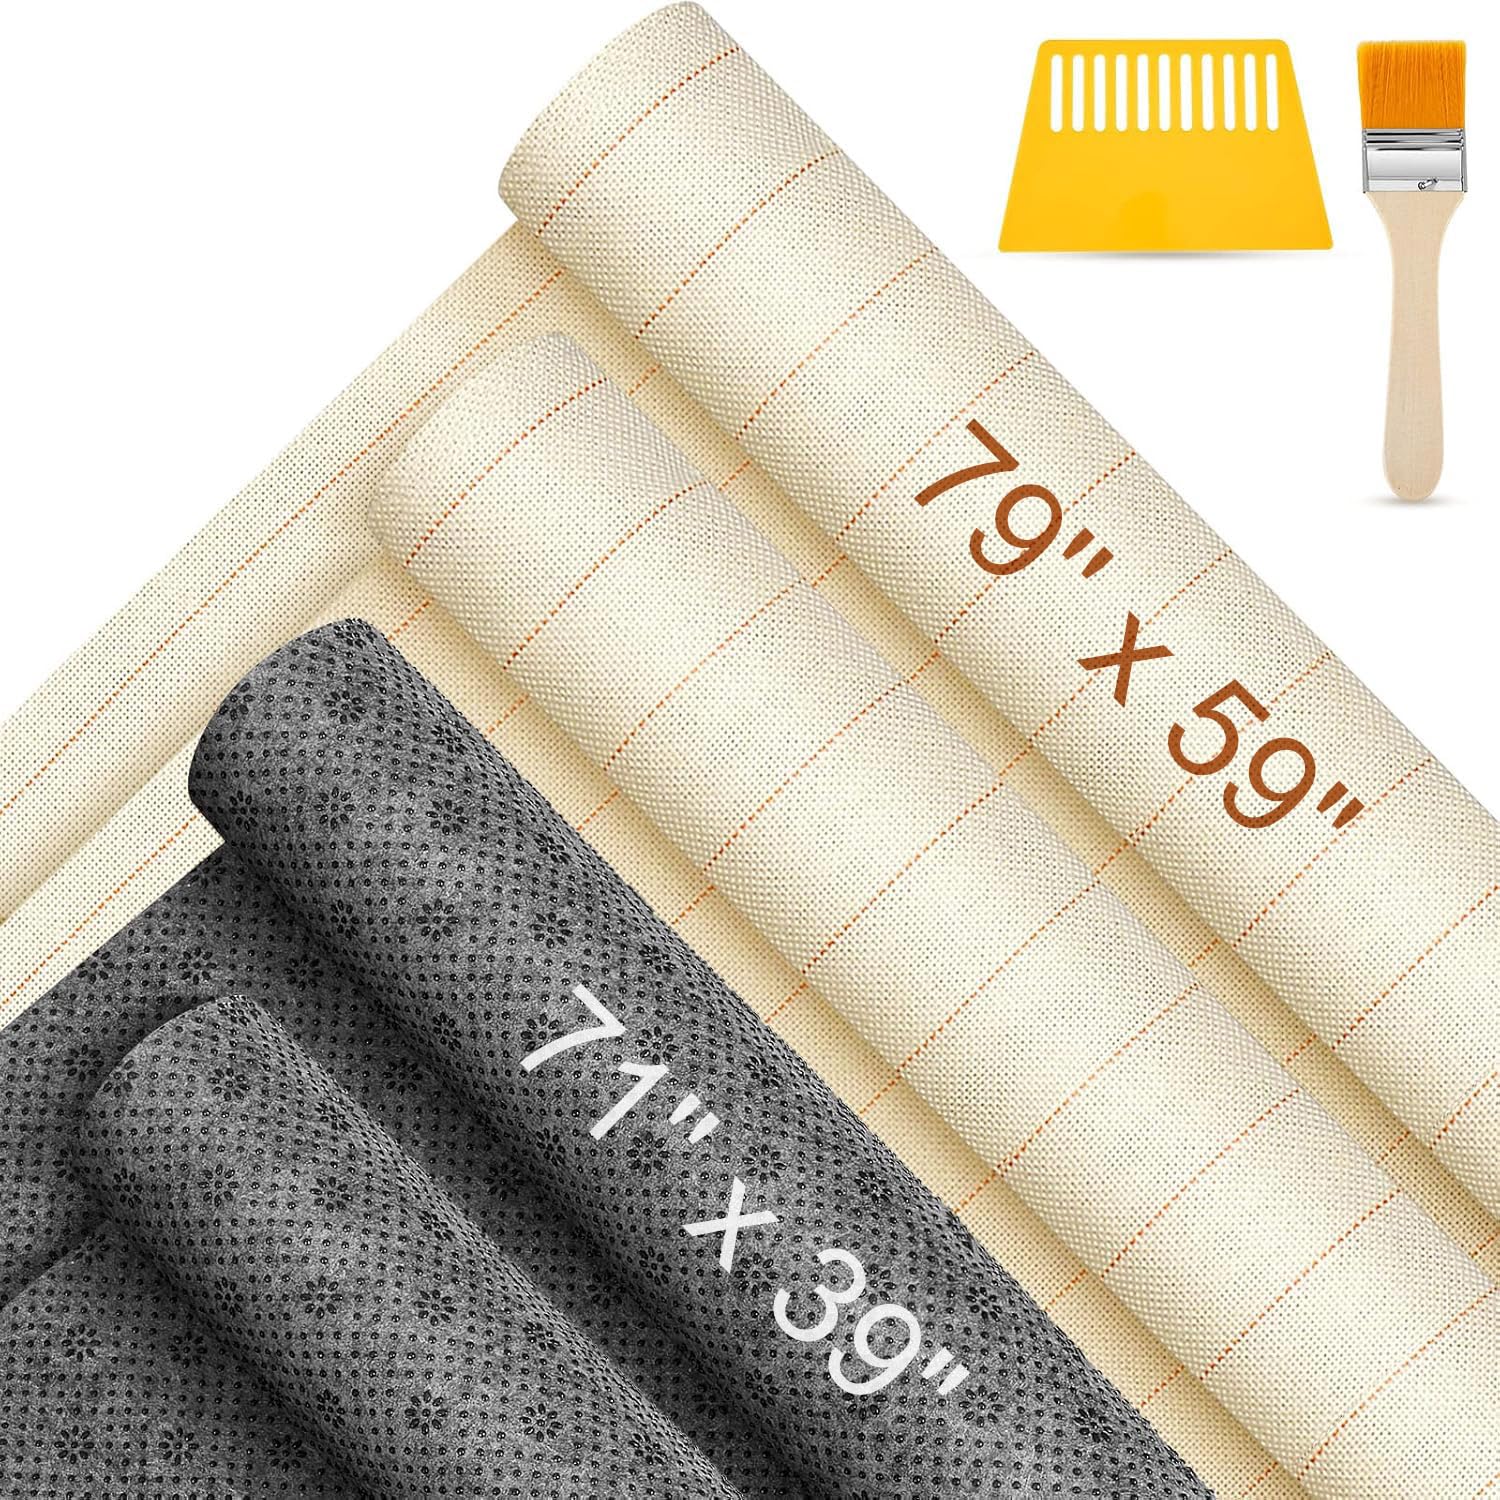
Curated minimum gear required for day one. No expensive fluff or pro-tier barriers.
ℹ️ RokkuWare is reader-supported. When you buy through links on our site, we may earn an affiliate commission at zero extra cost to you.