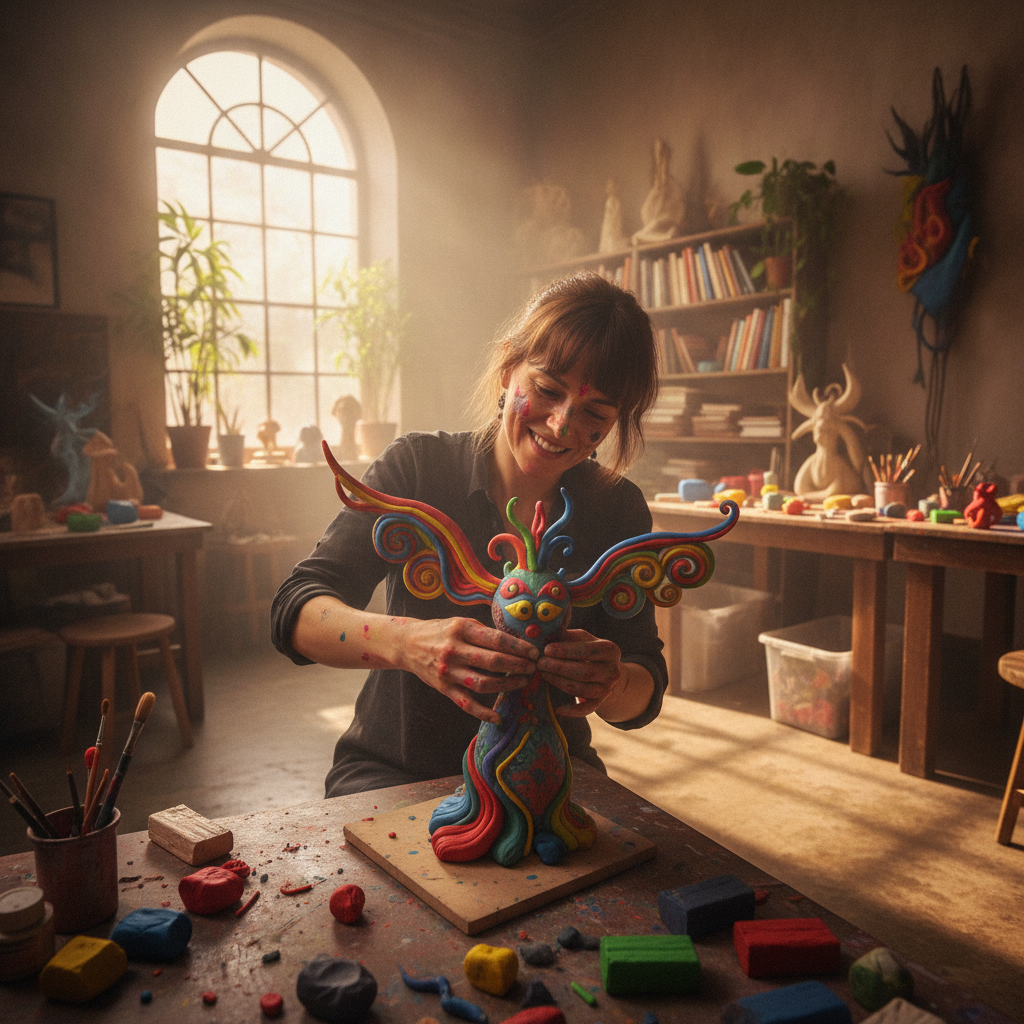
🔥 1. The Core Appeal
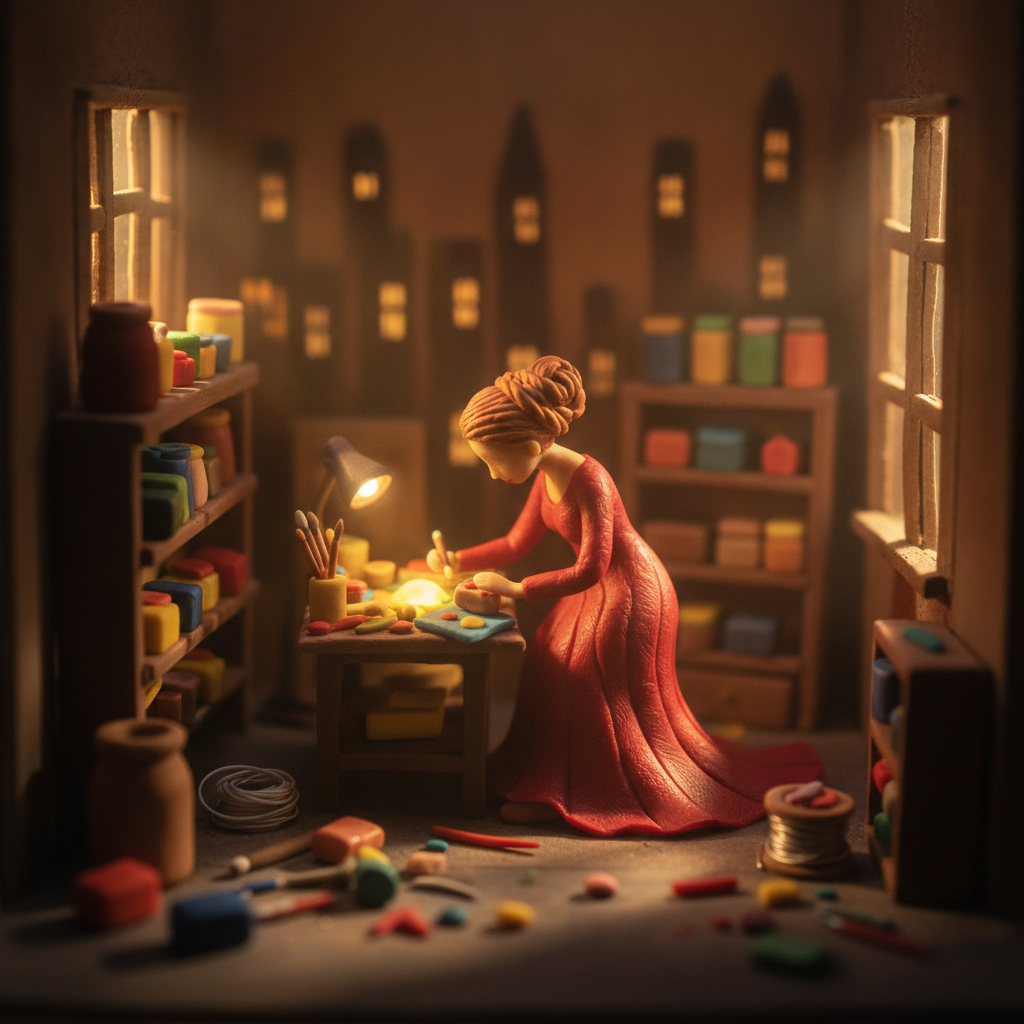
The tactile satisfaction of polymer clay lies in its immediate responsiveness to warm hands and quiet focus. Conditioned between your palms, the cool block of clay softens into a pliable medium that holds impossibly fine details without drying out prematurely. Unlike traditional ceramic clay, which demands wet wheel setups and high-temperature kilns, polymer clay lets you sculpt endlessly at your desk, encouraging spontaneous experimentation, color blending, and micro-sculpting.
Beyond the meditative physical work of rolling, pinching, and smoothing, there is a distinct alchemy in turning soft dough into durable, waterproof plastic art through a brief bake in a domestic oven. Watching marble swirls, miniature botanical details, or playful characters set into permanent form offers a deeply rewarding sense of physical craft. It bridges the gap between childhood play and high-precision artisan design.
🗺️ 2. The Landscape
Before accumulating specialty cutters, liquid clays, or expensive pastels, it helps to understand the main creative paths within polymer clay sculpting.
Miniature Sculpting & Figurines (Detail Precision & Character Design)
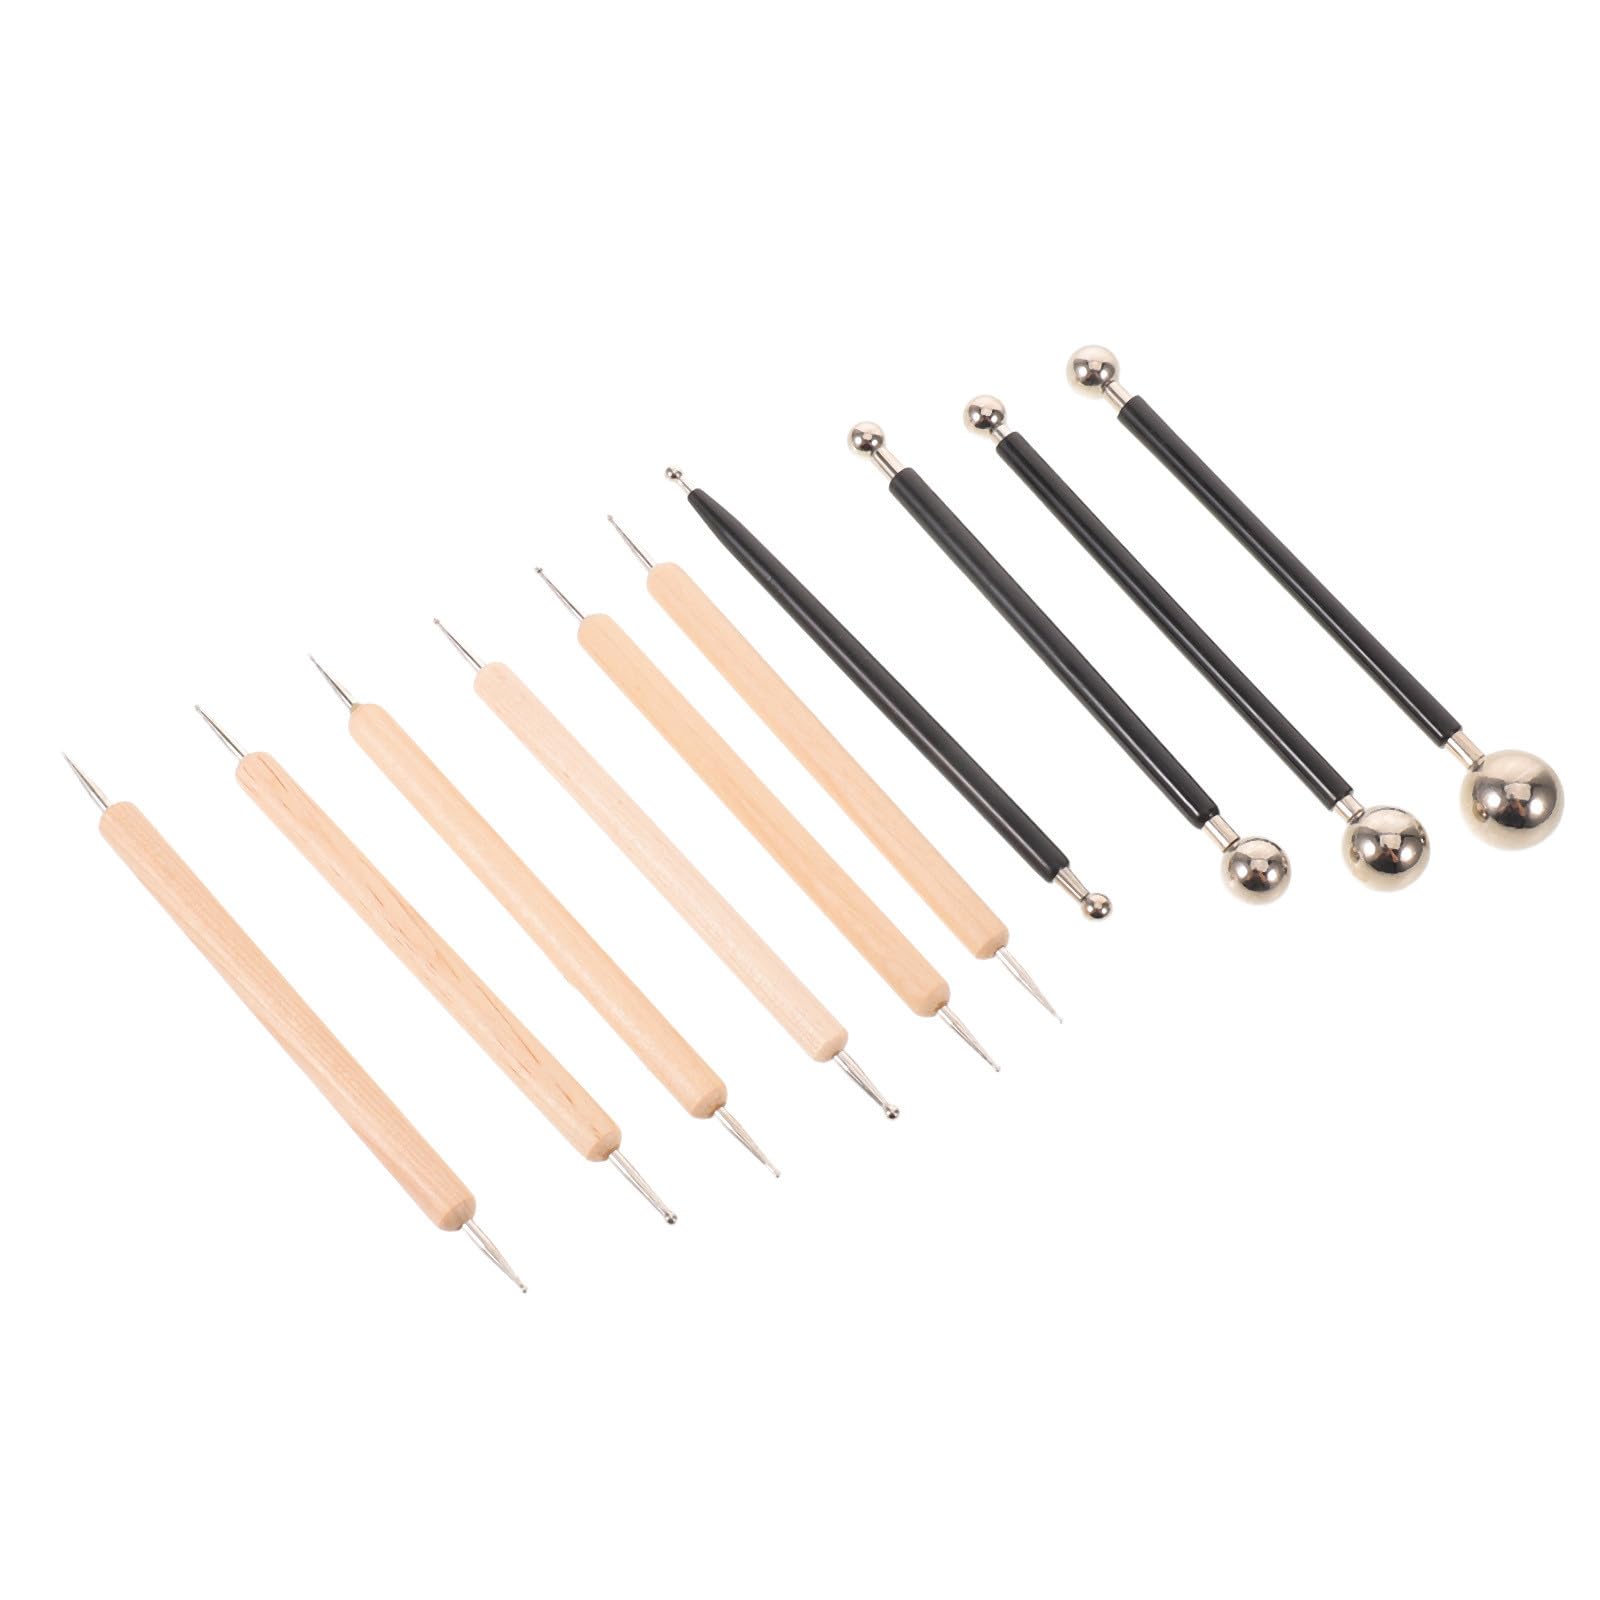
Artists create small-scale characters, animals, and food miniatures using fine ball tools and fine detail needles. Focus is on smooth surface finishing, micro-textures, and structural balance before baking.
Clay Jewelry & Accessories (Pattern-Making & Wearable Art)
Creators blend custom color palettes to roll slabs for earrings, beads, and hair clips, often using geometric cutters and surface foils. The emphasis is on uniform thickness, crisp edges, and lightweight structural durability.
Caning & Pattern Engineering (Millefiori & Repeating Motifs)
Artists build complex three-dimensional cylinders (canes) out of layered color blocks that reveal intricate images or geometric patterns when sliced thinly. Slices are applied to beads, vessels, or decorative tiles for stunning repeating visuals.
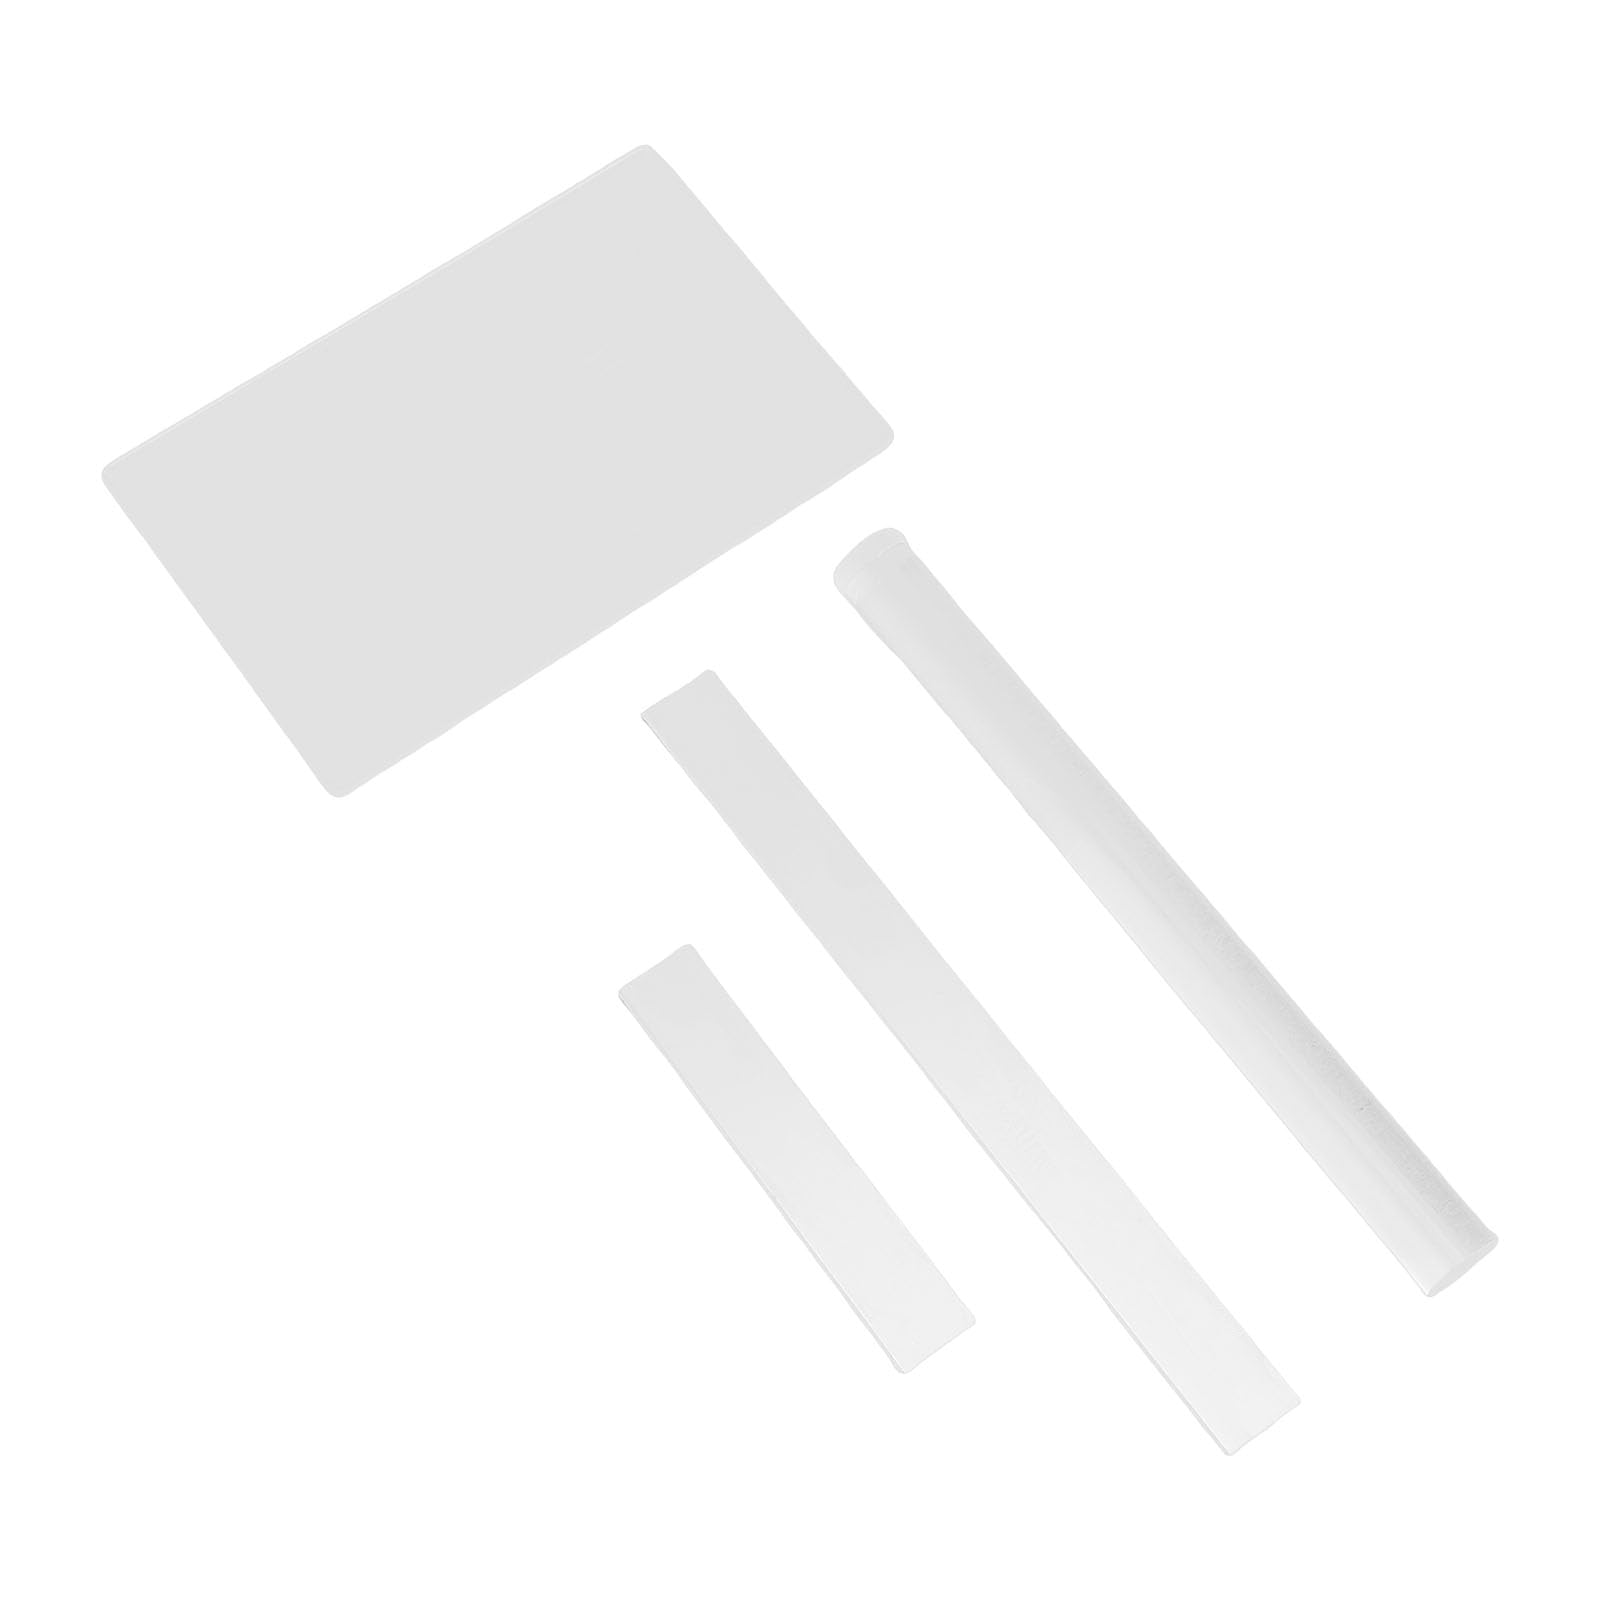
For complete beginners, a starter multi-pack of soft polymer clay paired with basic smooth acrylic rolling tools is universally recommended: this versatile setup allows you to test figurines, basic jewelry, and simple color mixing without committing to specialized molds or advanced finishing supplies.
🛒 3. The Starter Kit & Budget
Curated minimum gear required for day one. No expensive fluff or pro-tier barriers.

ℹ️ RokkuWare is reader-supported. When you buy through links on our site, we may earn an affiliate commission at zero extra cost to you.