Stained Glass Crafting
Crafts & Hands-on Making

Stained Glass Crafting

Transform raw sheets of colored glass into radiant light-catching art using copper foil, glass cutters, and molten solder.

⏱️ 3 min read 📦 Starter Kit & Budget: ~$168.49

🔥 1. The Core Appeal

Stained Glass Crafting

There is an intoxicating tactile sensation in stained glass crafting that begins the moment steel scores a glass sheet. The crisp, zip-like sound of a scoring wheel followed by the satisfying snap of a clean break creates an immediate loop of physical precision. Wrapping cold, sharp glass edges in copper foil and feeling molten solder flow like mercury into gleaming silver seams bridges the line between heavy fabrication and delicate artistry.

Beyond the satisfying mechanical process lies a captivating psychological flow state. Unlike painting on a static canvas, working with glass means sculpting with light itself; your finished piece changes dynamically throughout the day as sunlight shifts across the room. The craft demands absolute focus, patience, and spatial awareness, offering an deeply rewarding retreat from digital screens into pure, tangible creation.

🗺️ 2. The Landscape

Before purchasing specialized machinery, it helps to understand that stained glass techniques differ primarily by how individual glass pieces are joined together and the structural demands of the final piece.

Copper Foil Method (Tiffany Style) (Intricate Detail & Flexibility)

Glass edges are wrapped in adhesive copper tape and joined with molten solder, allowing for delicate curves, 3D shapes, and intricate small-scale designs like lampshades and suncatchers.

Lead Came Method (Traditional Architecture)

Strips of channelized lead wire hold thick glass pieces together before joints are soldered and cemented, ideal for large, rigid, weather-resistant window panels.

Fused Glass Overlay (Modern Glass Art)

Cold glass pieces are stacked and melted together in a high-temperature kiln, bypassing solder lines entirely to create seamless, dimensional art objects.

💡 Recommendation

For complete beginners, the Copper Foil Method with a basic hand-tool setup is universally recommended: it requires minimal initial workspace, allows for intricate artistic designs without heavy stretching tools, and cures analysis paralysis without locking them into a rigid style.

🛒 3. The Starter Kit & Budget

Curated minimum gear required for day one. No expensive fluff or pro-tier barriers.

💰
Starter Kit & Budget
~$168.49
Included in this budget: Pistol-Grip Oil Feed Glass Cutter • Running Pliers and Grozing Pliers Set • Hakko FX-601 Temperature Controlled Soldering Iron • 7/32 inch Copper Foil Tape • 60/40 Stained Glass Solder Wire • Diamond Hand Grinding Pads (Set)
Curated minimum gear required for day one. No expensive fluff.
Pistol-Grip Oil Feed Glass Cutter

Pistol-Grip Oil Feed Glass Cutter

$18.99
Buy on Amazon ↗
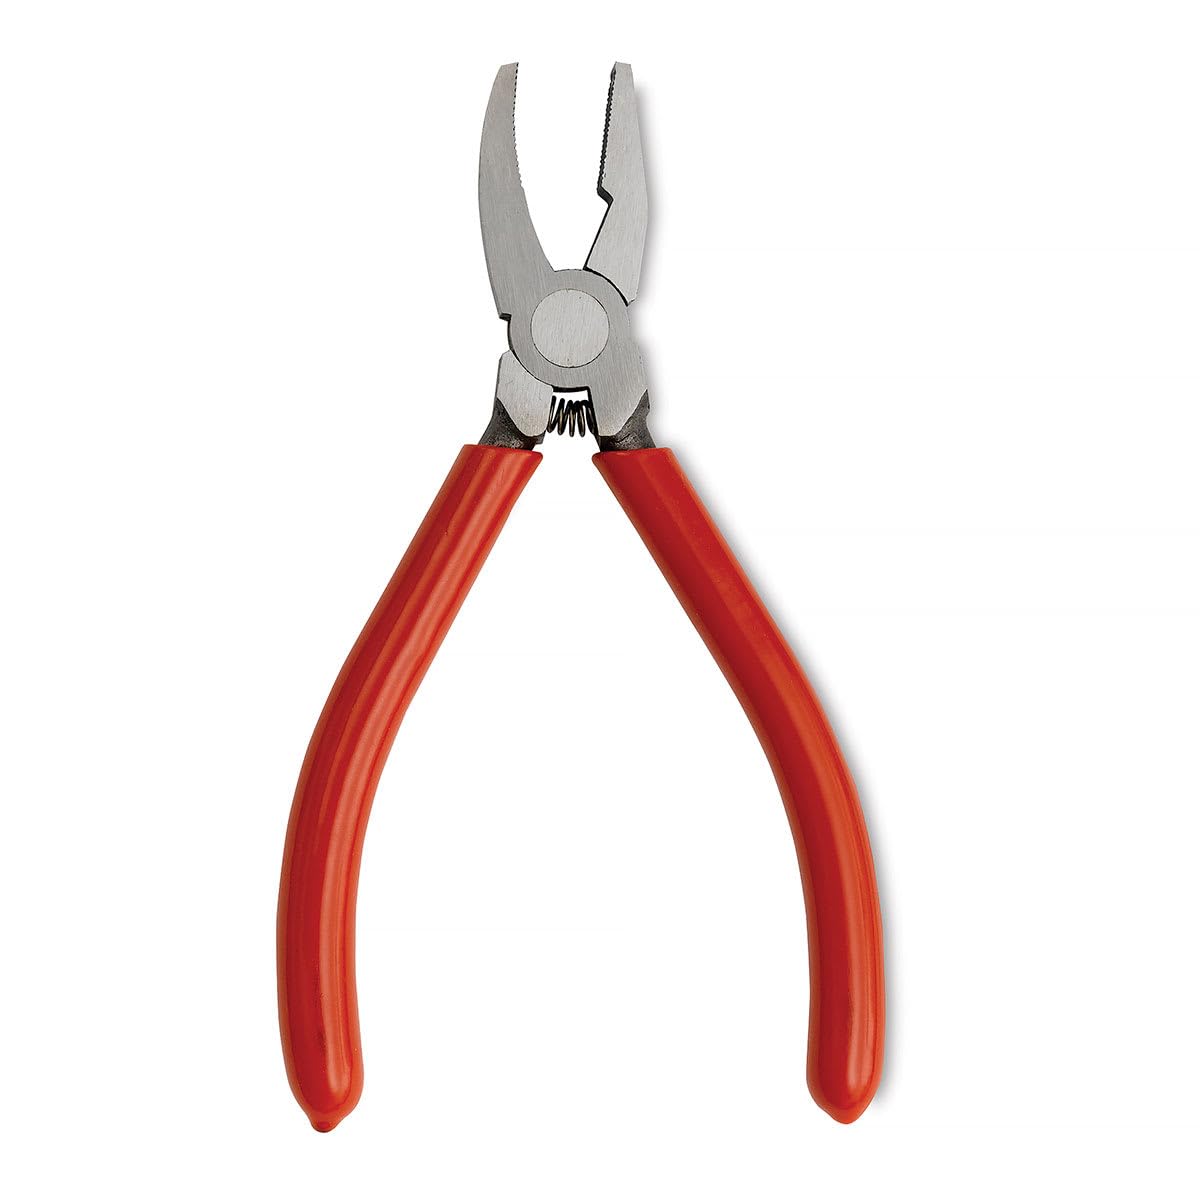
Running Pliers and Grozing Pliers Set

Running Pliers and Grozing Pliers Set

$22.50
Buy on Amazon ↗
Hakko FX-601 Temperature Controlled Soldering Iron

Hakko FX-601 Temperature Controlled Soldering Iron

$75.00
Buy on Amazon ↗
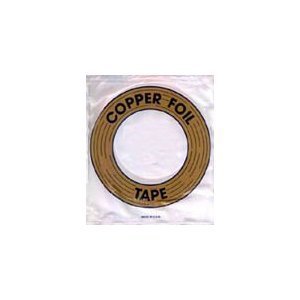
7/32 inch Copper Foil Tape

7/32 inch Copper Foil Tape

$12.00
Buy on Amazon ↗
60/40 Stained Glass Solder Wire

60/40 Stained Glass Solder Wire

$24.00
Buy on Amazon ↗
Diamond Hand Grinding Pads (Set)

Diamond Hand Grinding Pads (Set)

$16.00
Buy on Amazon ↗

📺 4. The Rabbit Hole

Handpicked channels and foundational breakdowns for deep-dive technical learning.

stained glass supplies for beginners ✷  what you need to start!

stained glass supplies for beginners ✷ what you need to start!

Source: Amaya Jade ▶ Play
I wish I knew this as a stained glass beginner #stainedglass

I wish I knew this as a stained glass beginner #stainedglass

Source: Amaya Jade ▶ Play
STAINED GLASS basics :: Everything you'll need to get started!

STAINED GLASS basics :: Everything you'll need to get started!

Source: SunBearGlassCraft ▶ Play

🎯 5. The First Milestone

🎯 ✓ First Milestone

Making a Geometric Glass Suncatcher (Your Day-One Victory)
Focus on mastering the fundamental sequence—scoring, snapping, foiling, and soldering—on a simple four-piece geometric design.

1

Score and Snap

Scribe a firm, continuous score line across a piece of sheet glass using a wheel cutter, then snap it cleanly along the score line using running pliers.

2

Grind and Fit

Smooth the sharp glass edges using a diamond hand file or electric grinder until all four pieces fit snugly together with zero gaps.

3

Foil and Burnish

Wrap the outer edges of each glass piece tightly with adhesive copper foil tape, burnishing it down flat using a plastic fid.

4

Flux and Solder

Brush liquid flux over the copper seams, then use a temperature-controlled iron to glide molten solder smoothly along the joints.

🏆 Day-One Victory

Once you hang your soldered four-piece geometric suncatcher in a sunlit window and see colored rays refract across the room, you have officially conquered day one.

More Primers You Might Like