🔥 1. De aantrekkingskracht

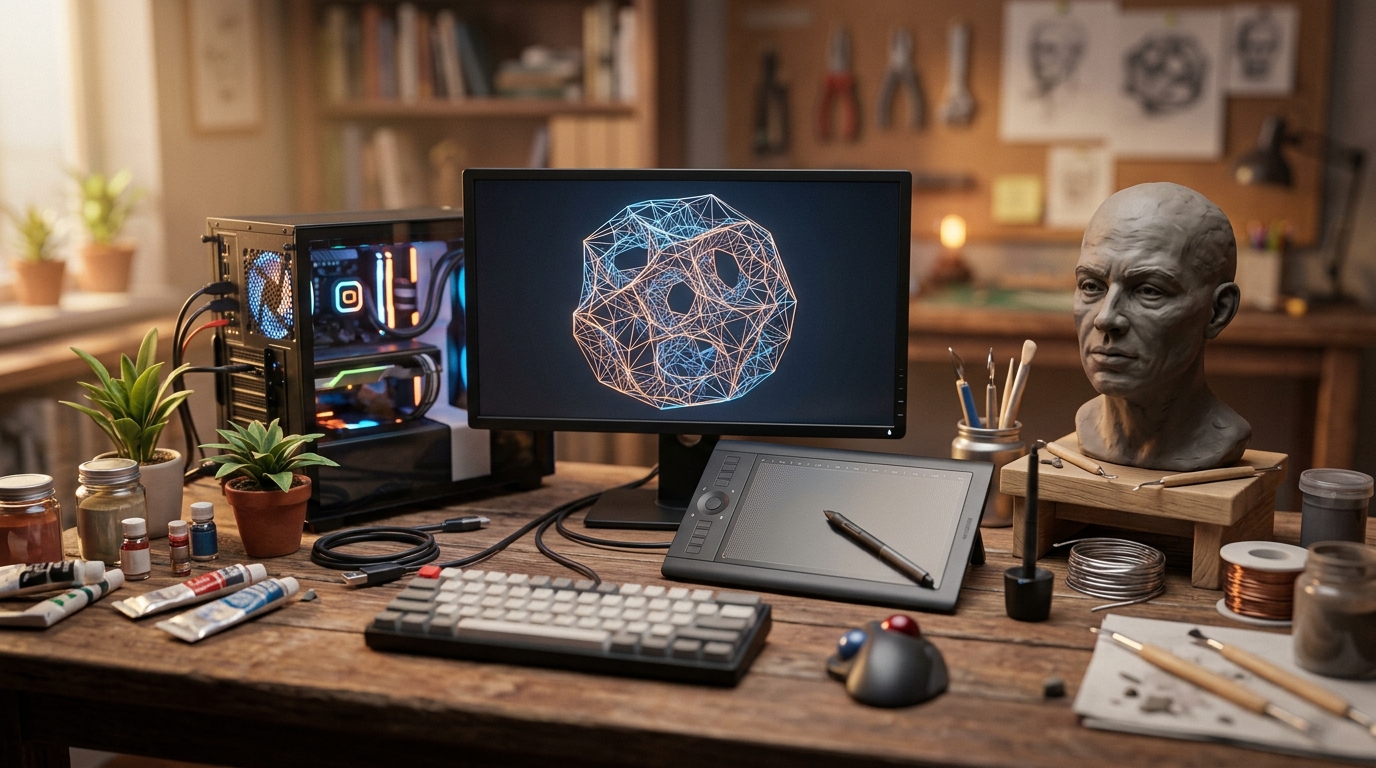
Resin stereolithography (SLA/MSLA) 3D printing feels like sci-fi alchemy brought down to your desktop. Unlike traditional filament printers that lay down thick plastic strings line by line, a resin printer uses focused ultraviolet light to instantly solidify thin sheets of liquid photopolymer resin. Watching intricate, jewel-like objects emerge inverted from a pool of opaque liquid yields an unbeatable thrill, delivering crisp, razor-sharp details, microscopic textures, and silky-smooth surfaces straight off the build plate.
The psychological flow state in resin printing comes from mastering the delicate balance between digital design and real-world physics. Preparing models in slicing software—angling geometries, placing delicate support structures, and tuning UV exposure times—is a hypnotic, analytical puzzle. Once dialed in, the rewarding tactile experience of washing away raw uncured resin and hardening your creation under UV light leaves you with physical artifacts that look indistinguishable from factory-molded collectibles.
🗺️ 2. Het landschap
Navigating the resin printing ecosystem requires matching your artistic goals with the right mechanical hardware, optical resolution, and resin chemistry before pouring your first drop of liquid.
Miniature & Tabletop Printing (High-Detail & Intricate Geometries)
Liquid resin is cured layer by layer using high-density monochrome LCD UV light masks to produce micron-level surface accuracy. This discipline prioritizes sub-millimeter detail for gaming figures, fine jewelry patterns, and small sculptures where layer lines must remain invisible.
Functional & Engineering Prints (Tough & Material-Specific Formulations)
Specialty resins formulated with polyurethane or flex additives are cured to produce durable mechanical prototypes, snap-fit enclosures, and high-temp casting patterns. Print setups emphasize accurate dimensional tolerances and post-cure thermal stability over pure cosmetic fidelity.
Large-Format Display Modeling (Massive Volume & Hollow Sculpting)
Utilizing mid-to-large resin printers, creators output high-impact display statues, prop components, and architectural models. The focus rests heavily on hollowing models, placing internal drainage holes, and balancing suction forces against delicate print bed tension.
For complete beginners, a entry-level 4K or 8K Monochrome LCD MSLA printer with standard wash-and-cure equipment is universally recommended: this balanced, highly accessible setup cures analysis paralysis without locking you into complex industrial setups while delivering stunning print quality out of the box.
🛒 3. Starterkit & budget
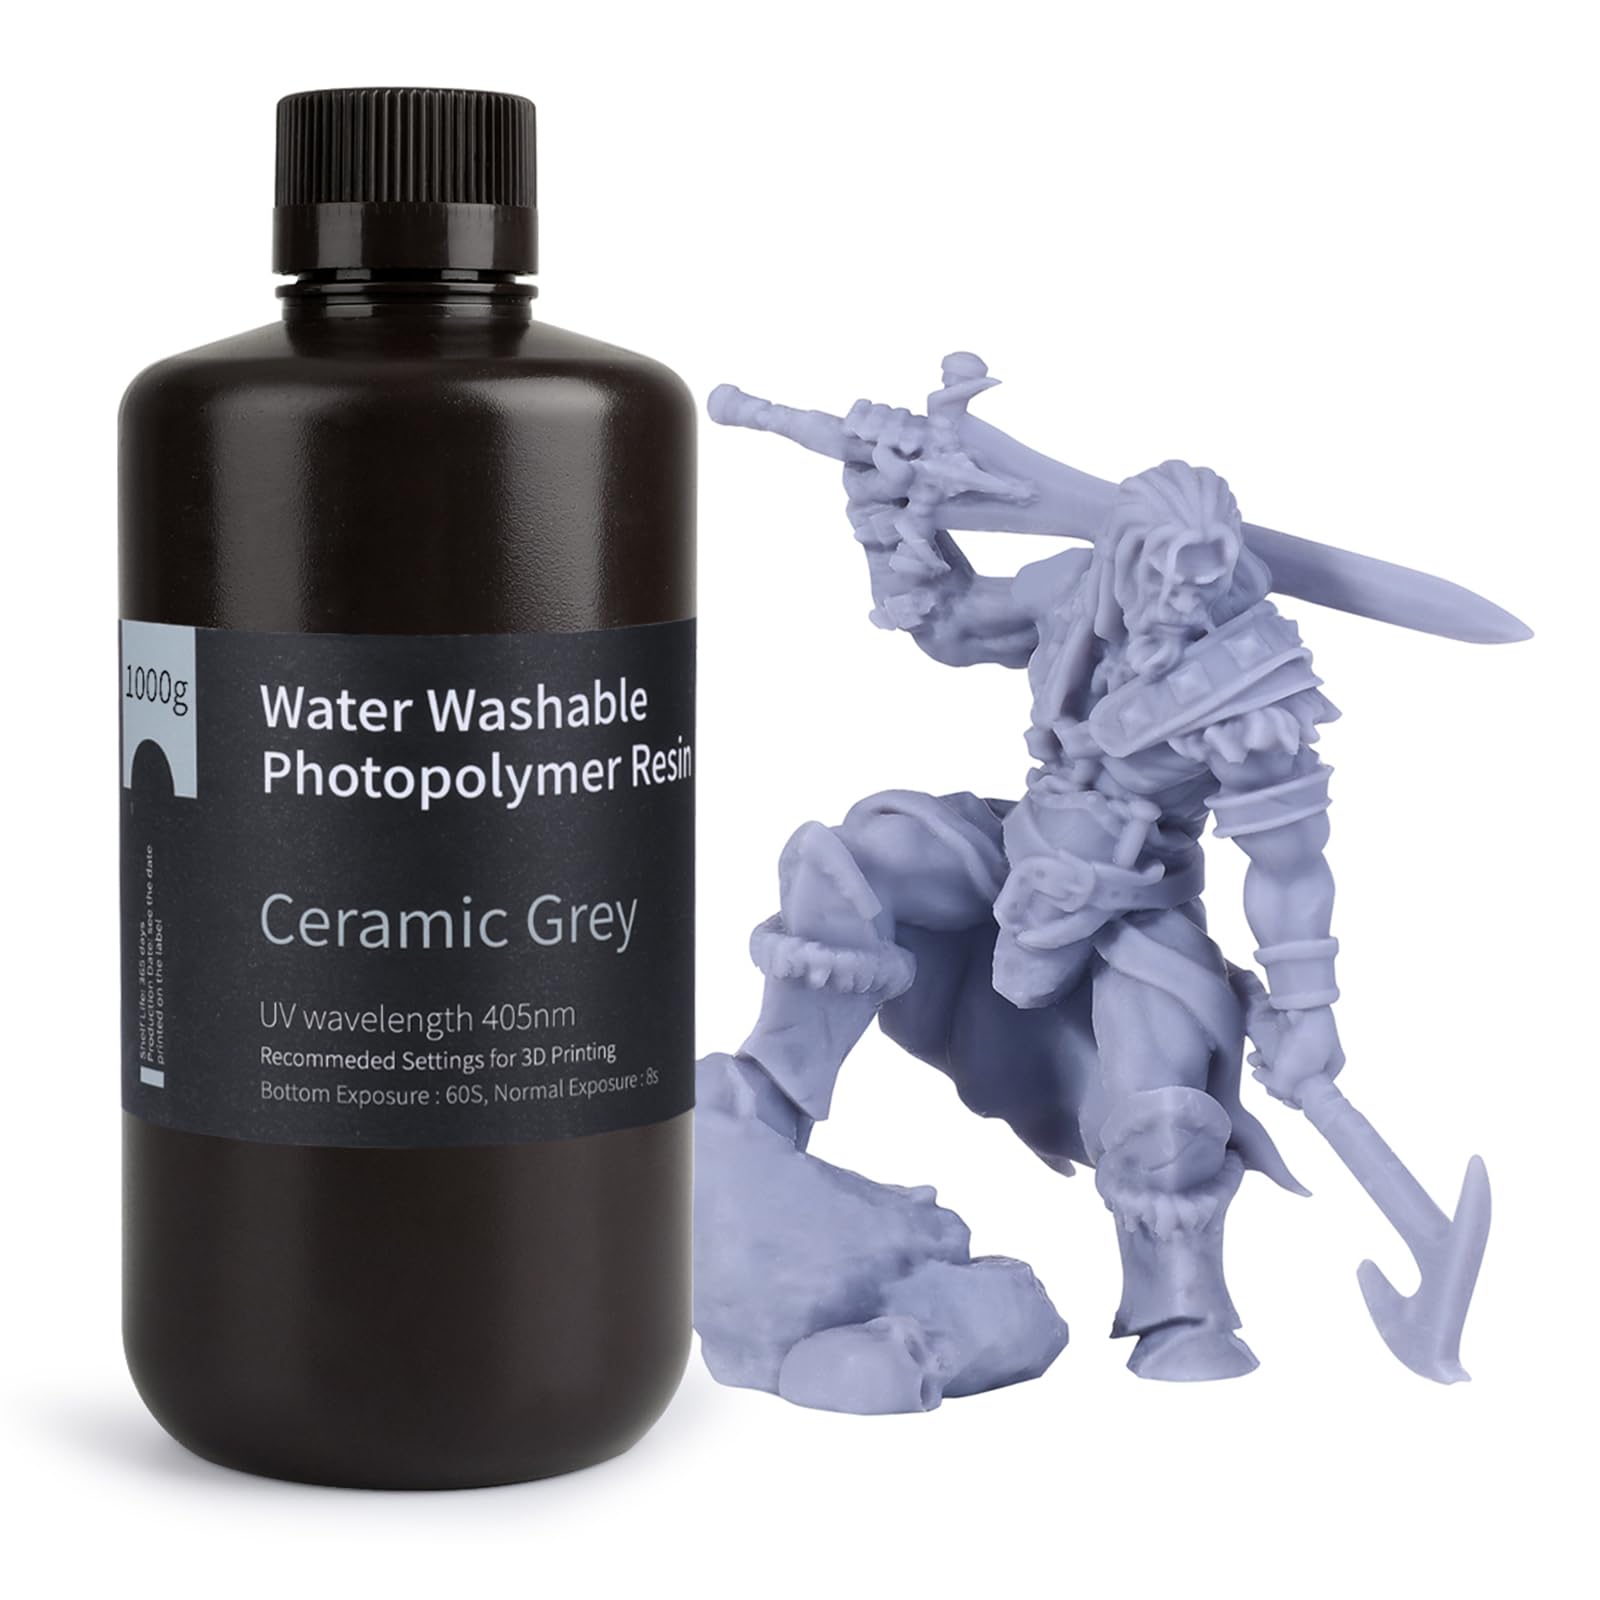
De absolute basis voor dag één. Geen dure poespas of onnodige drempels.

ℹ️ RokkuWare wordt ondersteund door lezers. Bij aankopen via links kunnen we een commissie ontvangen, zonder extra kosten voor jou.