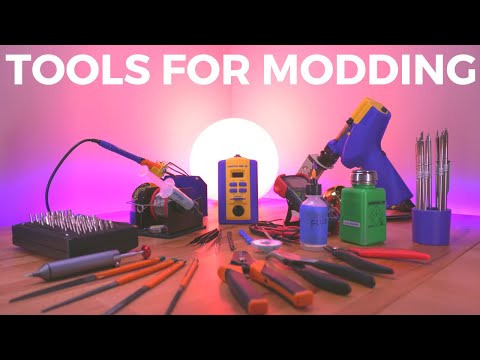
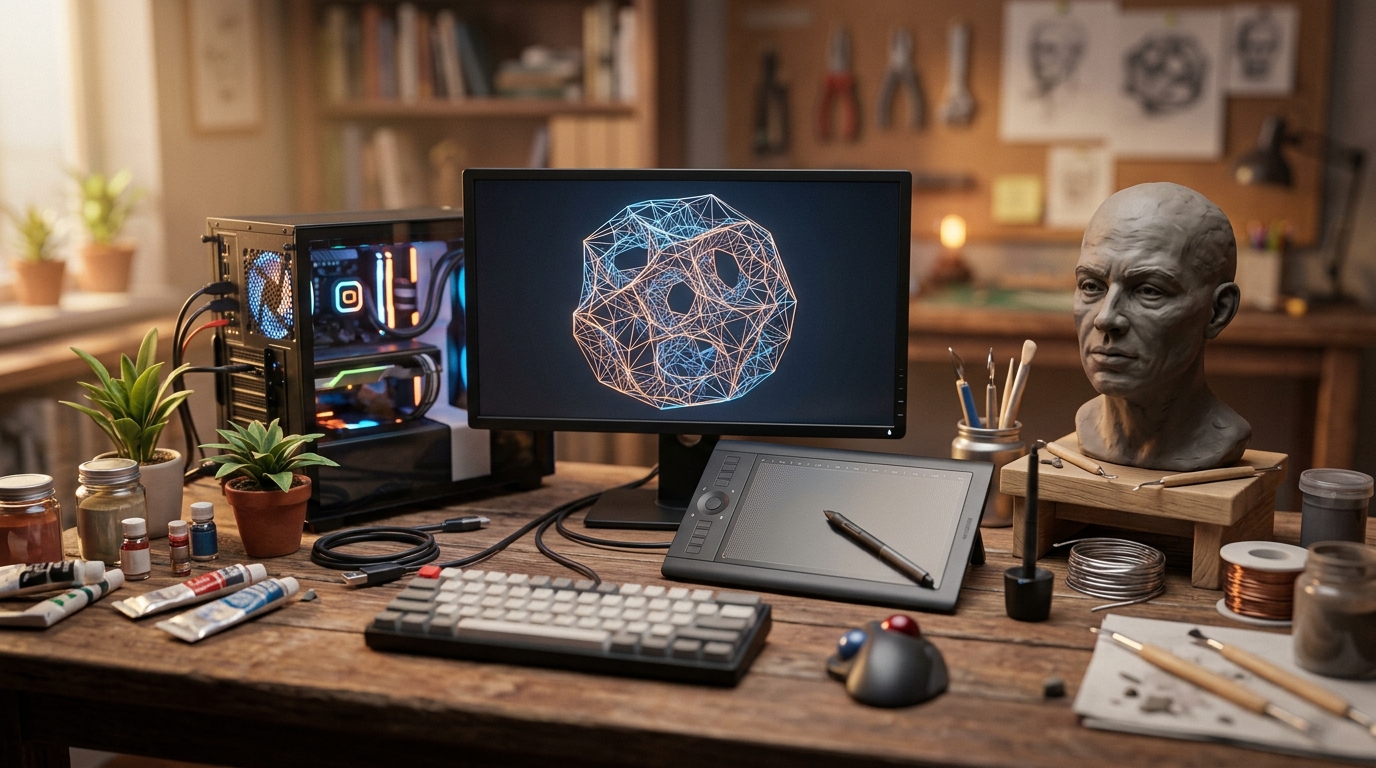
🔥 1. De aantrekkingskracht

Retro console modding sits at the captivating intersection of gaming nostalgia, industrial design, and practical electronics engineering. There is an unmatched sensation when you strip down a silent, faded handheld from the 1990s, clean away decades of dust, and solder in modern components that transform it into a vibrant, high-definition powerhouse. The click of micro-switches, the faint aroma of fresh rosin flux, and the ultimate moment when the power light flickers to life create a deeply satisfying tactile feedback loop that connects you directly to the mechanics of retro technology.
Beyond the physical thrill of assembly, console modding offers a meditative flow state rooted in precision and restoration. As your eyes focus through a magnifying lens and your hand steadies the iron onto tiny copper pads, modern distractions vanish into the intense concentration of micro-soldering. Successfully resurrecting damaged hardware or installing a backlit display doesn't just improve your gaming experience; it instills a sense of technical self-reliance and creative pride as you preserve gaming history with your own customized aesthetic.
🗺️ 2. Het landschap
Before acquiring custom shells and microprocessors, it is essential to understand the modern retro modding landscape, which ranges from simple drop-in shell swaps to intricate solder-heavy board modifications. Modern aftermarket engineering has made modding accessible to all skill levels, with modular kits designed for every major classic system.
Aesthetic & Shell Restorations (Visual Customization & Ergonomics)
This discipline focuses on non-destructive updates such as replacing yellowed, scratched factory housings with custom UV-printed translucent shells, aluminum buttons, and tactile silicone pads. It requires basic screwdrivers and patience rather than soldering irons, making it the perfect entry point for learning internal assembly mechanics.
Display & Audio Upgrades (Modernizing Visuals & Acoustics)
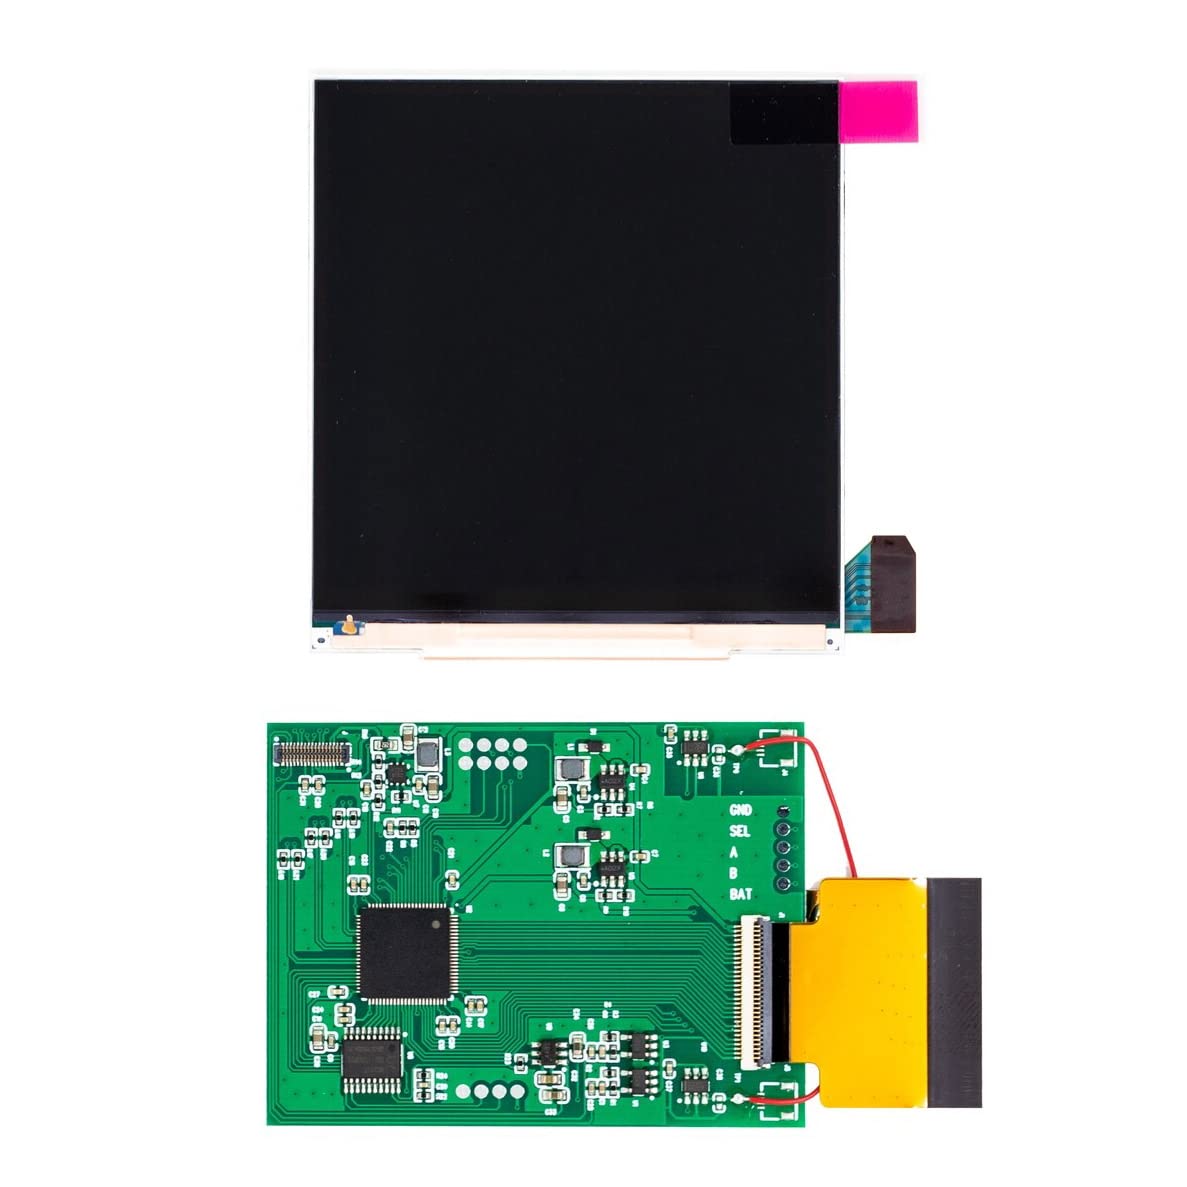
Centered on replacing dim, unlit legacy screens with brilliant backlit IPS or OLED displays alongside clean audio power amplifiers. This style bridges basic hardware assembly with light soldering, drastically improving usability on legacy handhelds like the Game Boy Color or Game Gear without altering game logic.
Flash Carts & Optical Drive Emulators (Storage & Digital Modernization)
Focuses on replacing mechanical disk drives or physical cart slots with solid-state SD card readers like optical drive emulators or flash carts. These mods require careful pin soldering or ribbon installation, freeing home consoles from aging mechanical lasers and moving parts.
For complete beginners, a Game Boy Color IPS screen and shell replacement setup is universally recommended: it combines easy drop-in aesthetics with minimal, straightforward soldering for power wire installation, curing analysis paralysis without requiring expensive micro-soldering gear.
🛒 3. Starterkit & budget
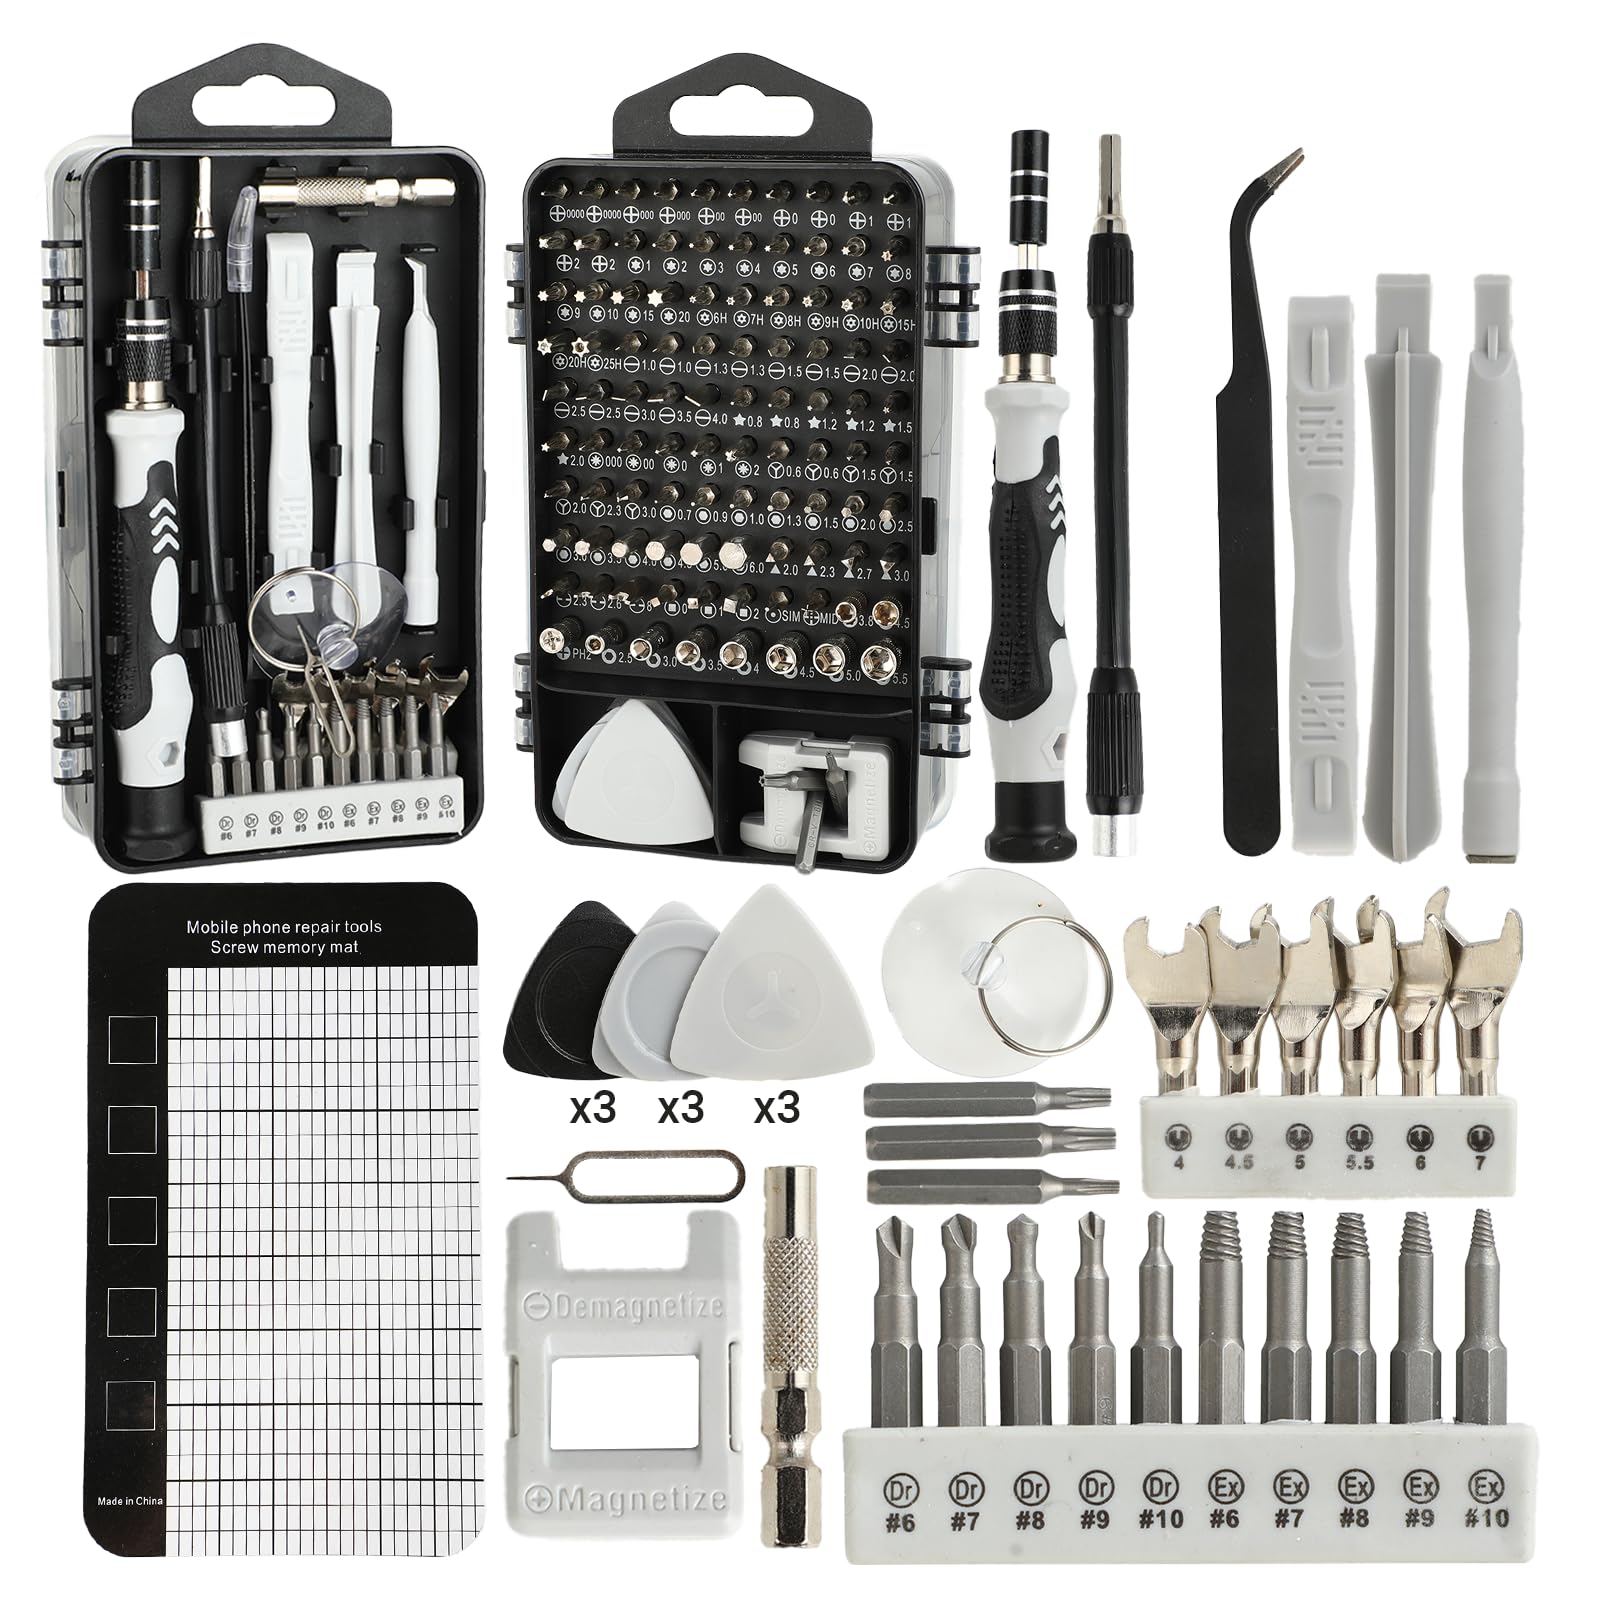
De absolute basis voor dag één. Geen dure poespas of onnodige drempels.

ℹ️ RokkuWare wordt ondersteund door lezers. Bij aankopen via links kunnen we een commissie ontvangen, zonder extra kosten voor jou.