削り出しナイフメイキング
Crafts & Hands-on Making

削り出しナイフメイキング

Transform a flat bar of high-carbon steel into a functional, beautifully finished knife using precise filing, grinding, and heat treatment.

⏱️ 4 分で読める 📦 スターターキット&予算: ~¥15,896

🔥 1. 魅力の本質

削り出しナイフメイキング

Stock removal knife making is the art of sculpting raw precision steel by taking away everything that isn't a knife. Unlike traditional blacksmithing, which requires heavy hammers, anvils, and loud forging, stock removal relies on targeted grinding, filing, and abrasive shaping. There is a deep, meditative satisfaction in clamped metal yielding to hand files, where crisp bevel lines emerge millimeter by millimeter from an ordinary metal bar.

As you progress from rough profile shaping to fine surface polishing, the process demands absolute focus and tactile awareness. Sweating over a workbench to produce a perfectly balanced, hair-shaving culinary blade or outdoor utility tool instills an incredible sense of self-reliance. You aren't just buying a tool—you are mastering material science, geometry, and craftsmanship to build a blade that will last generations.

🗺️ 2. 全体像と種類

Before acquiring metal stock and abrasives, it is crucial to understand that knife design dictates your tooling requirements, blade geometry, and grinding methods.

Culinary Cutlery (Precision Geometry & Thin Bevels)

Focuses on ultra-thin edge profiles, flat or convex grinds, and refined weight distribution designed for slicing precision. Knives in this style demand high-grit hand polishing and meticulous heat treatment to achieve slicing performance.

Bushcraft Utility Blades (Robust Profiles & Scandi Grinds)

Prioritizes structural integrity, thick spine geometry, and durable edge angles built for hard carving and outdoor utility. The flat-surfaced Scandi grind makes field sharpening straightforward and keeps structural shaping simple for beginners.

Compact EDC Blades (Ergonomic Utility & Drop-Point Shapes)

Emphasizes compact handle ergonomics, versatile belly profiles, and high daily functionality. These smaller stock blanks allow beginners to master bevel grinding and handle fitting without managing large surface areas.

💡 おすすめ

For complete beginners, a small 3-inch drop-point utility knife made from 1084 high-carbon steel is universally recommended: 1084 steel offers an extremely forgiving heat-treatment window and easy filing, allowing novices to master bevel geometry and scale attachment without expensive specialized power tools.

🛒 3. スターターキットと予算

初日に本当に必要なアイテムだけを厳選。無駄な出費や高いハードルはありません。

💰
スターターキット&予算
~¥15,896
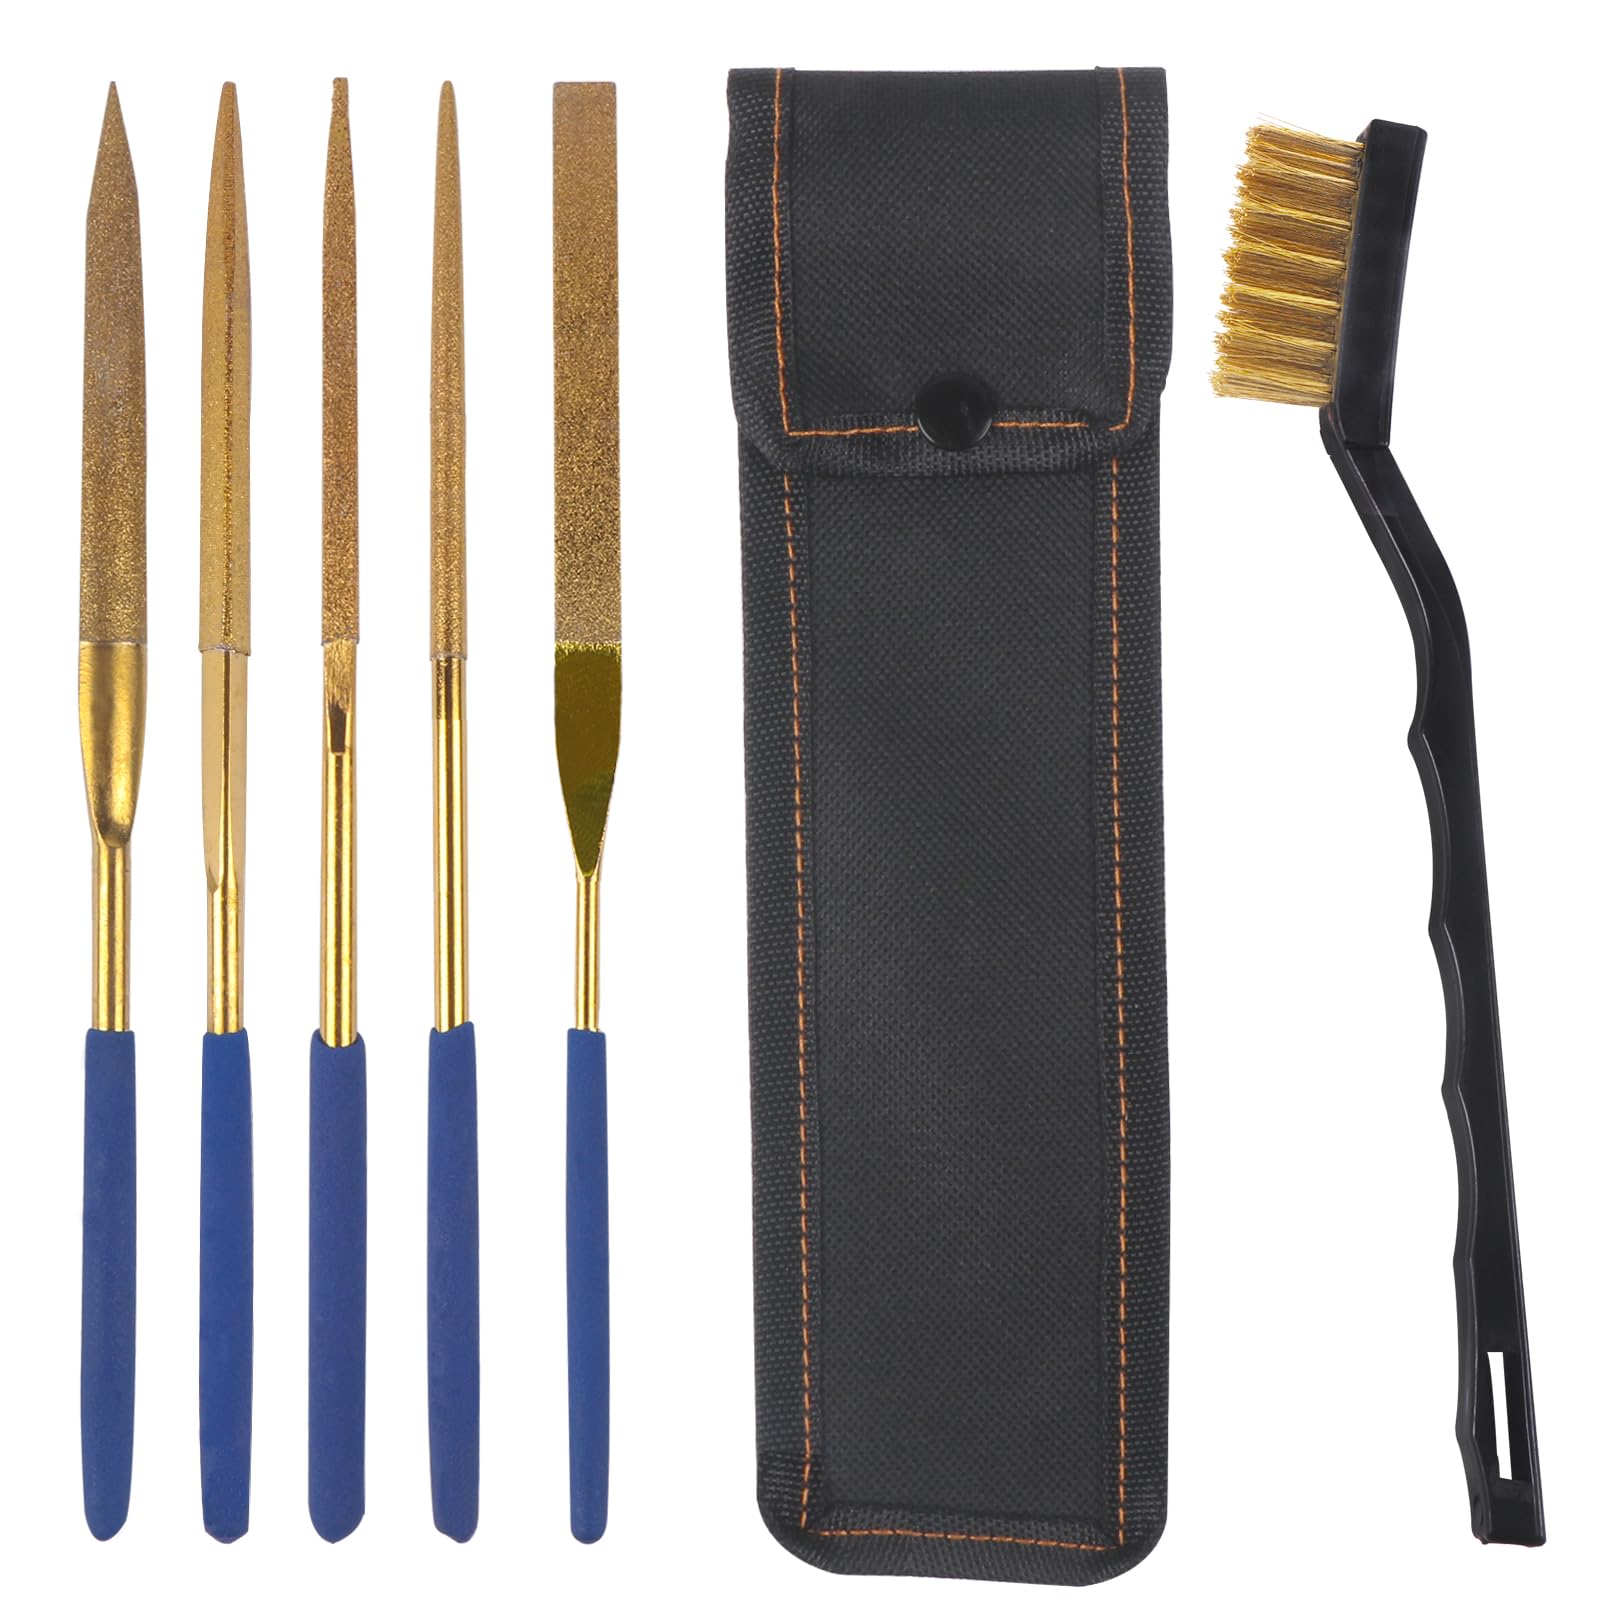
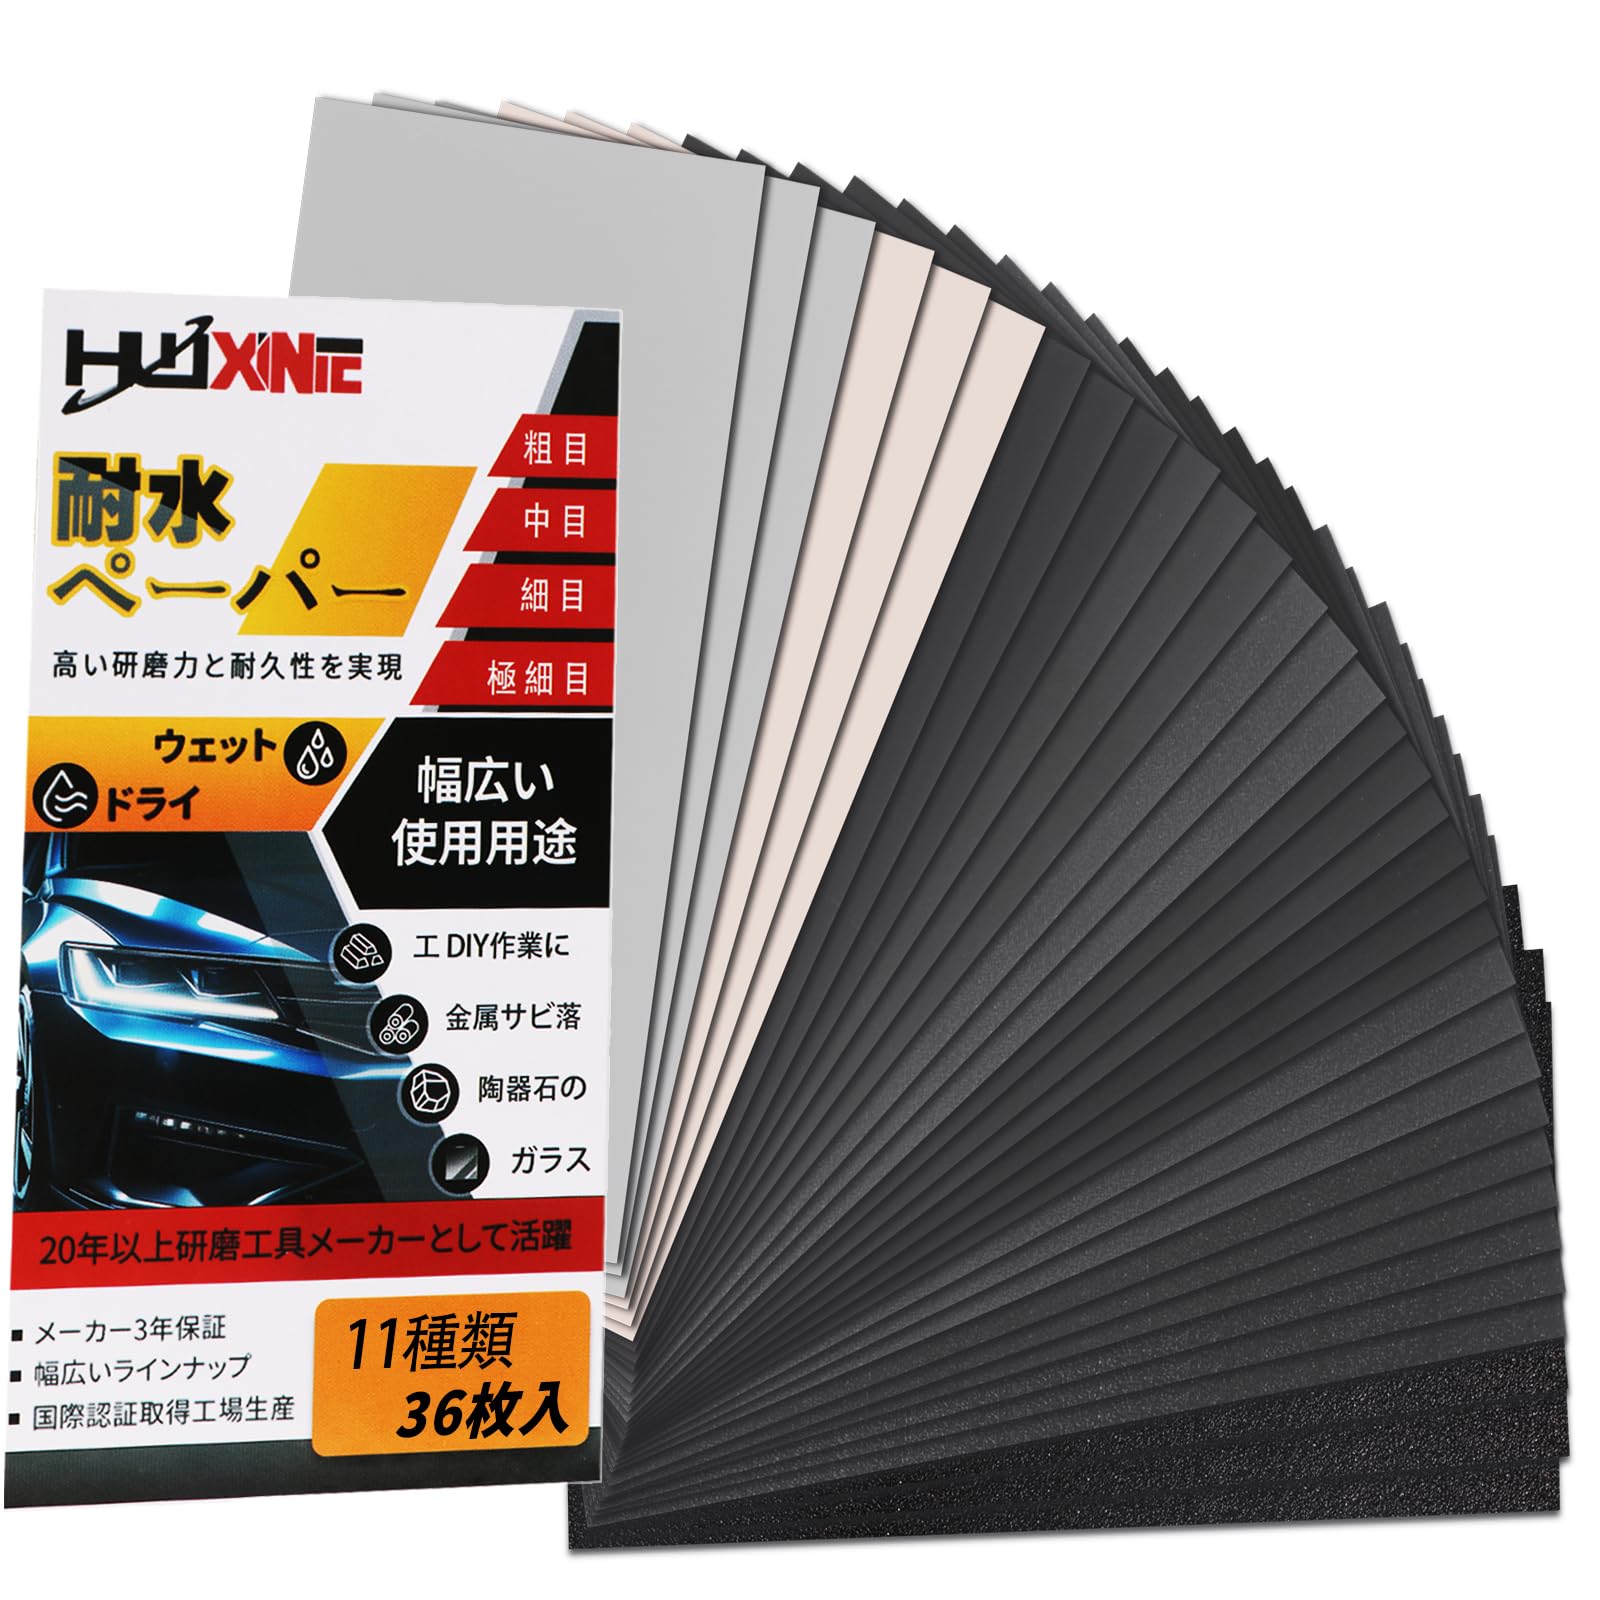
この予算に含まれるアイテム: 1084高炭素鋼 フラットバー材 (約4.8mm x 38mm x 305mm) • 14インチ 鉄工用平ヤスリ(荒目)セット • Gough Custom式 ナイフ削り出しジグ用金具パーツセット • シリコンカーバイド 耐水ペーパーアソートセット (#120〜#2000) • 緩慢硬化型2液性エポキシ接着剤 (G/flex 650) • ナイフハンドル材 (マイカルタまたはウォールナット 2枚組)
初日に必要な最低限の装備。高価な余計なものは一切なし。
1084高炭素鋼 フラットバー材 (約4.8mm x 38mm x 305mm)

1084高炭素鋼 フラットバー材 (約4.8mm x 38mm x 305mm)

¥2,249
Amazonで購入する ↗
14インチ 鉄工用平ヤスリ(荒目)セット

14インチ 鉄工用平ヤスリ(荒目)セット

¥3,749
Amazonで購入する ↗
Gough Custom式 ナイフ削り出しジグ用金具パーツセット

Gough Custom式 ナイフ削り出しジグ用金具パーツセット

¥2,775
Amazonで購入する ↗
シリコンカーバイド 耐水ペーパーアソートセット (#120〜#2000)

シリコンカーバイド 耐水ペーパーアソートセット (#120〜#2000)

¥1,949
Amazonで購入する ↗
緩慢硬化型2液性エポキシ接着剤 (G/flex 650)

緩慢硬化型2液性エポキシ接着剤 (G/flex 650)

¥3,375
Amazonで購入する ↗
ナイフハンドル材 (マイカルタまたはウォールナット 2枚組)

ナイフハンドル材 (マイカルタまたはウォールナット 2枚組)

¥1,799
Amazonで購入する ↗

📺 4. The Rabbit Hole

技術的な理解を深めるためのおすすめチャンネルと解説動画。

Making a Simple Knife by Stock Removal | Knife Makers Vlog

Making a Simple Knife by Stock Removal | Knife Makers Vlog

情報源: The Rivers' Experience ▶ Play
Stock removal knife tutorial

Stock removal knife tutorial

情報源: Aleeknives ▶ Play
Stock Removal Knife Tutorial - Pt. 1 The Design - Knife Making

Stock Removal Knife Tutorial - Pt. 1 The Design - Knife Making

情報源: Aleeknives ▶ Play

🎯 5. 最初のマイルストーン

🎯 ✓ 最初のマイルストーン
🏆 1日目の達成ゴール

Filing Your First Blade Profile and Bevel Centerline (Your Day-One Victory)
Take your raw bar of steel and successfully shape a clean drop-point outline with a scribed center bevel line ready for angle grinding.
1. Profile Trace & Scribe: Trace your knife design onto the 1084 steel stock using a permanent marker, then paint the steel edge with layout dye and use a drill bit matching the stock thickness to scribe a perfectly centered double reference line along the edge.
2. Rough Profile Cut: Clamp the steel bar securely to your bench and use a hacksaw or angle grinder cut-off wheel to remove excess metal outside your traced boundary.
3. True the Perimeters: Use a bastard file to smooth down all rough cuts, filing precisely to your scribed profile lines until the blade, tang, and finger choil are clean and square.
4. Set Up the Filing Jig: Mount your eyebolt filing jig, align the guide rod across the blade stock, and take long, even strokes with your file to lay down the initial primary bevel angle down toward your center scribe line.
Once you complete clean bevel facets on both sides that meet evenly at your scribed centerline, you have officially conquered day one.

おすすめのPrimer