Realizzazione di coltelli per asportazione
Crafts & Hands-on Making

Realizzazione di coltelli per asportazione

Transform a flat bar of high-carbon steel into a functional, beautifully finished knife using precise filing, grinding, and heat treatment.

⏱️ 4 min di lettura 📦 Kit iniziale & budget: ~100,67 €

🔥 1. Il fascino principale

Realizzazione di coltelli per asportazione

Stock removal knife making is the art of sculpting raw precision steel by taking away everything that isn't a knife. Unlike traditional blacksmithing, which requires heavy hammers, anvils, and loud forging, stock removal relies on targeted grinding, filing, and abrasive shaping. There is a deep, meditative satisfaction in clamped metal yielding to hand files, where crisp bevel lines emerge millimeter by millimeter from an ordinary metal bar.

As you progress from rough profile shaping to fine surface polishing, the process demands absolute focus and tactile awareness. Sweating over a workbench to produce a perfectly balanced, hair-shaving culinary blade or outdoor utility tool instills an incredible sense of self-reliance. You aren't just buying a tool—you are mastering material science, geometry, and craftsmanship to build a blade that will last generations.

🗺️ 2. Il panorama

Before acquiring metal stock and abrasives, it is crucial to understand that knife design dictates your tooling requirements, blade geometry, and grinding methods.

Culinary Cutlery (Precision Geometry & Thin Bevels)

Focuses on ultra-thin edge profiles, flat or convex grinds, and refined weight distribution designed for slicing precision. Knives in this style demand high-grit hand polishing and meticulous heat treatment to achieve slicing performance.

Bushcraft Utility Blades (Robust Profiles & Scandi Grinds)

Prioritizes structural integrity, thick spine geometry, and durable edge angles built for hard carving and outdoor utility. The flat-surfaced Scandi grind makes field sharpening straightforward and keeps structural shaping simple for beginners.

Compact EDC Blades (Ergonomic Utility & Drop-Point Shapes)

Emphasizes compact handle ergonomics, versatile belly profiles, and high daily functionality. These smaller stock blanks allow beginners to master bevel grinding and handle fitting without managing large surface areas.

💡 Raccomandazione

For complete beginners, a small 3-inch drop-point utility knife made from 1084 high-carbon steel is universally recommended: 1084 steel offers an extremely forgiving heat-treatment window and easy filing, allowing novices to master bevel geometry and scale attachment without expensive specialized power tools.

🛒 3. Kit iniziale & budget

Il minimo indispensabile per il primo giorno. Niente spese superflue né barriere.

💰
Kit iniziale & budget
~100,67 €
Incluso in questo budget: Barra in acciaio ad alto tenore di carbonio 1084 (4,7 mm x 38 mm x 300 mm) • Set di lime da metallo taglio bastardo da 35 cm • Kit minuteria per dima di limatura Gough Jig • Assortimento carta vetrata ad acqua/secco in carburo di silicio (Grana da 120 a 2000) • Resina epossidica bicomponente a polimerizzazione lenta (G/flex 650) • Guancette per manico di coltello (Coppia in Micarta o Noce)
L'attrezzatura essenziale selezionata per il giorno 1. Nessun costo superfluo.
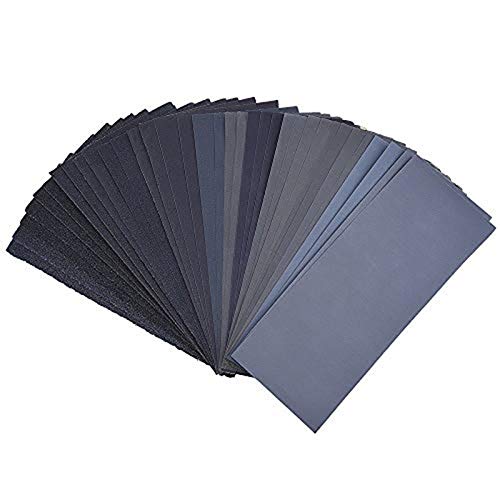
Barra in acciaio ad alto tenore di carbonio 1084 (4,7 mm x 38 mm x 300 mm)

Barra in acciaio ad alto tenore di carbonio 1084 (4,7 mm x 38 mm x 300 mm)
14,24 €
Acquista su Amazon ↗
Set di lime da metallo taglio bastardo da 35 cm

Set di lime da metallo taglio bastardo da 35 cm

23,74 €
Acquista su Amazon ↗
Kit minuteria per dima di limatura Gough Jig

Kit minuteria per dima di limatura Gough Jig

17,58 €
Acquista su Amazon ↗
Assortimento carta vetrata ad acqua/secco in carburo di silicio (Grana da 120 a 2000)
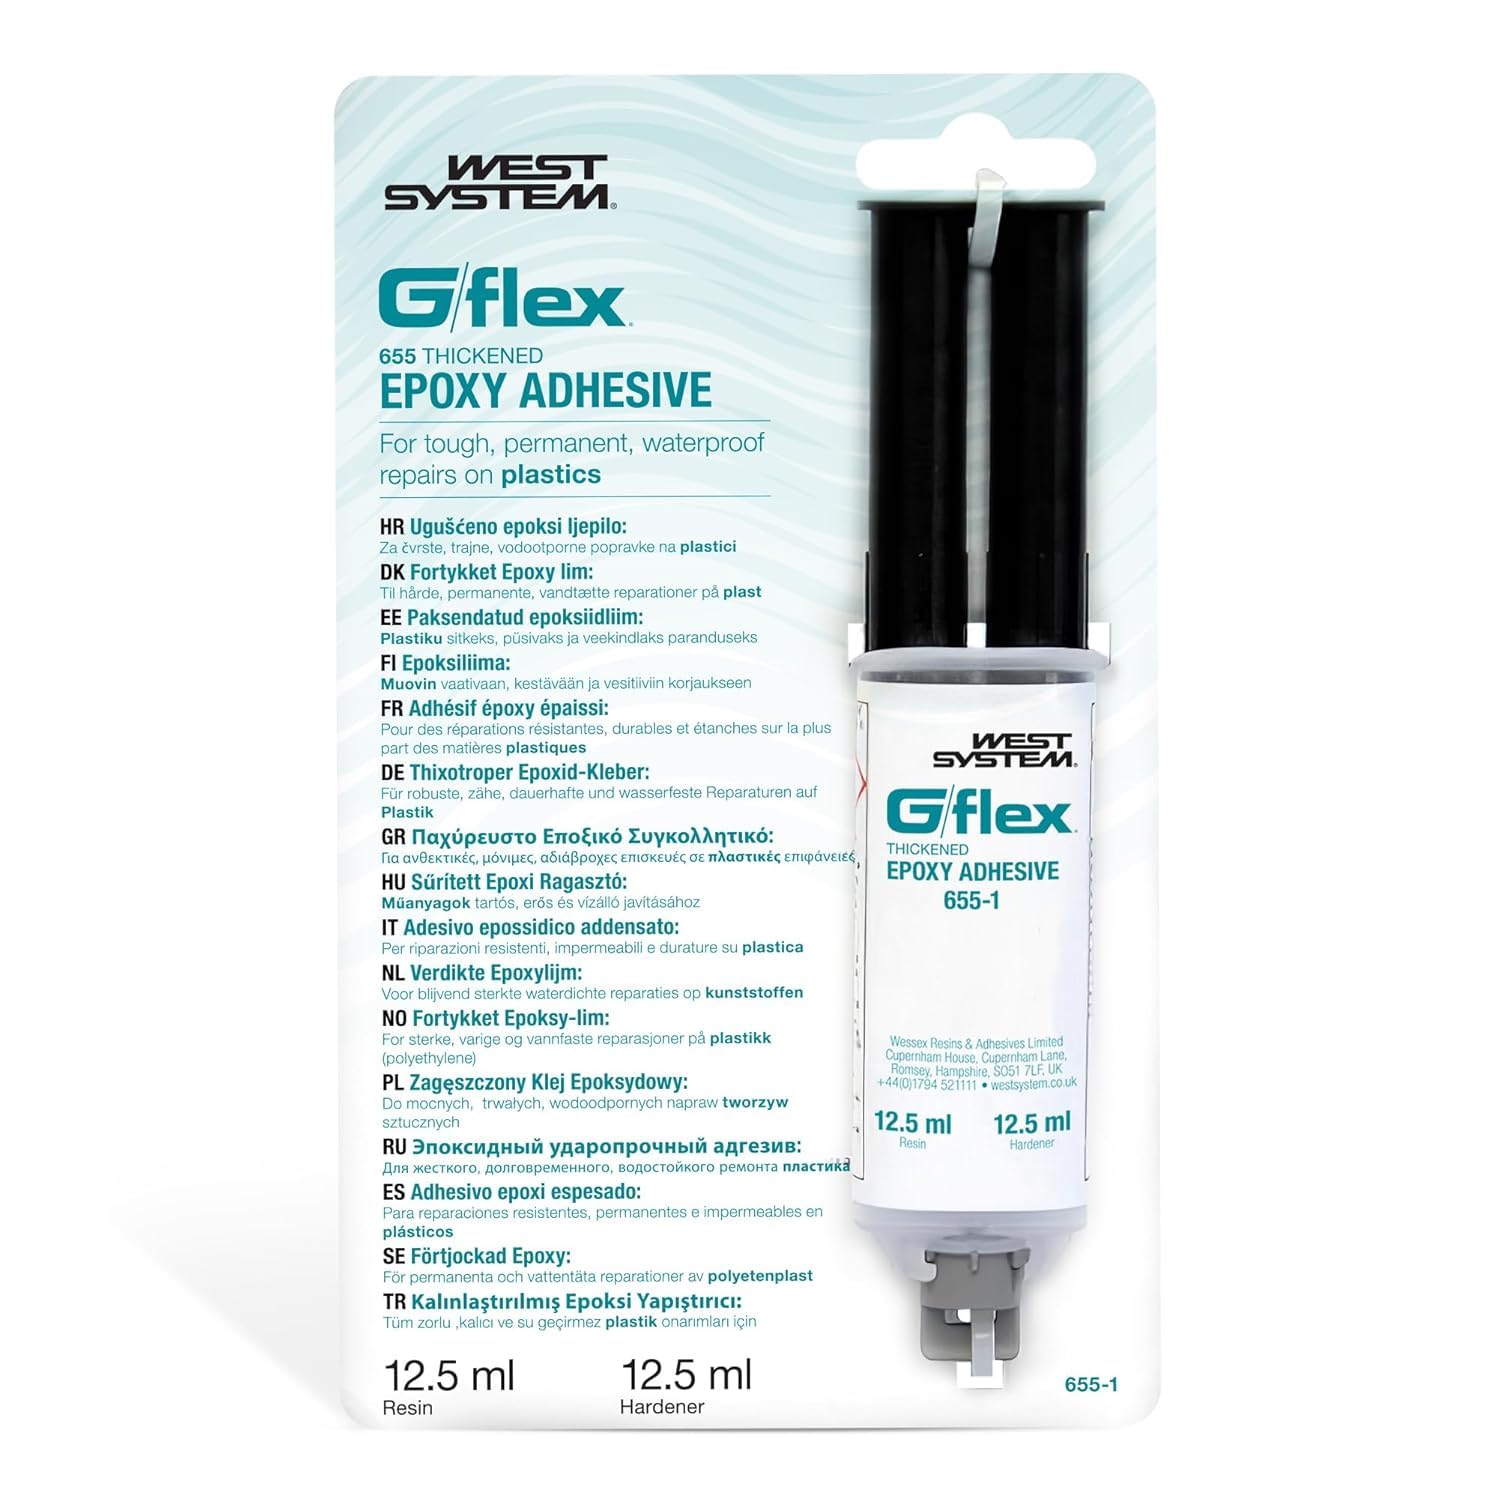
Assortimento carta vetrata ad acqua/secco in carburo di silicio (Grana da 120 a 2000)
12,34 €
Acquista su Amazon ↗
Resina epossidica bicomponente a polimerizzazione lenta (G/flex 650)

Resina epossidica bicomponente a polimerizzazione lenta (G/flex 650)

21,38 €
Acquista su Amazon ↗
Guancette per manico di coltello (Coppia in Micarta o Noce)

Guancette per manico di coltello (Coppia in Micarta o Noce)

11,39 €
Acquista su Amazon ↗

📺 4. The Rabbit Hole

Canali consigliati e spiegazioni pratiche per approfondire la tecnica.

Making a Simple Knife by Stock Removal | Knife Makers Vlog

Making a Simple Knife by Stock Removal | Knife Makers Vlog

Fonte: The Rivers' Experience ▶ Play
Stock removal knife tutorial

Stock removal knife tutorial

Fonte: Aleeknives ▶ Play
Stock Removal Knife Tutorial - Pt. 1 The Design - Knife Making

Stock Removal Knife Tutorial - Pt. 1 The Design - Knife Making

Fonte: Aleeknives ▶ Play

🎯 5. Il primo traguardo

🎯 ✓ Primo traguardo
🏆 Vittoria del primo giorno

Filing Your First Blade Profile and Bevel Centerline (Your Day-One Victory)
Take your raw bar of steel and successfully shape a clean drop-point outline with a scribed center bevel line ready for angle grinding.
1. Profile Trace & Scribe: Trace your knife design onto the 1084 steel stock using a permanent marker, then paint the steel edge with layout dye and use a drill bit matching the stock thickness to scribe a perfectly centered double reference line along the edge.
2. Rough Profile Cut: Clamp the steel bar securely to your bench and use a hacksaw or angle grinder cut-off wheel to remove excess metal outside your traced boundary.
3. True the Perimeters: Use a bastard file to smooth down all rough cuts, filing precisely to your scribed profile lines until the blade, tang, and finger choil are clean and square.
4. Set Up the Filing Jig: Mount your eyebolt filing jig, align the guide rod across the blade stock, and take long, even strokes with your file to lay down the initial primary bevel angle down toward your center scribe line.
Once you complete clean bevel facets on both sides that meet evenly at your scribed centerline, you have officially conquered day one.

Altri Primers che potrebbero piacerti