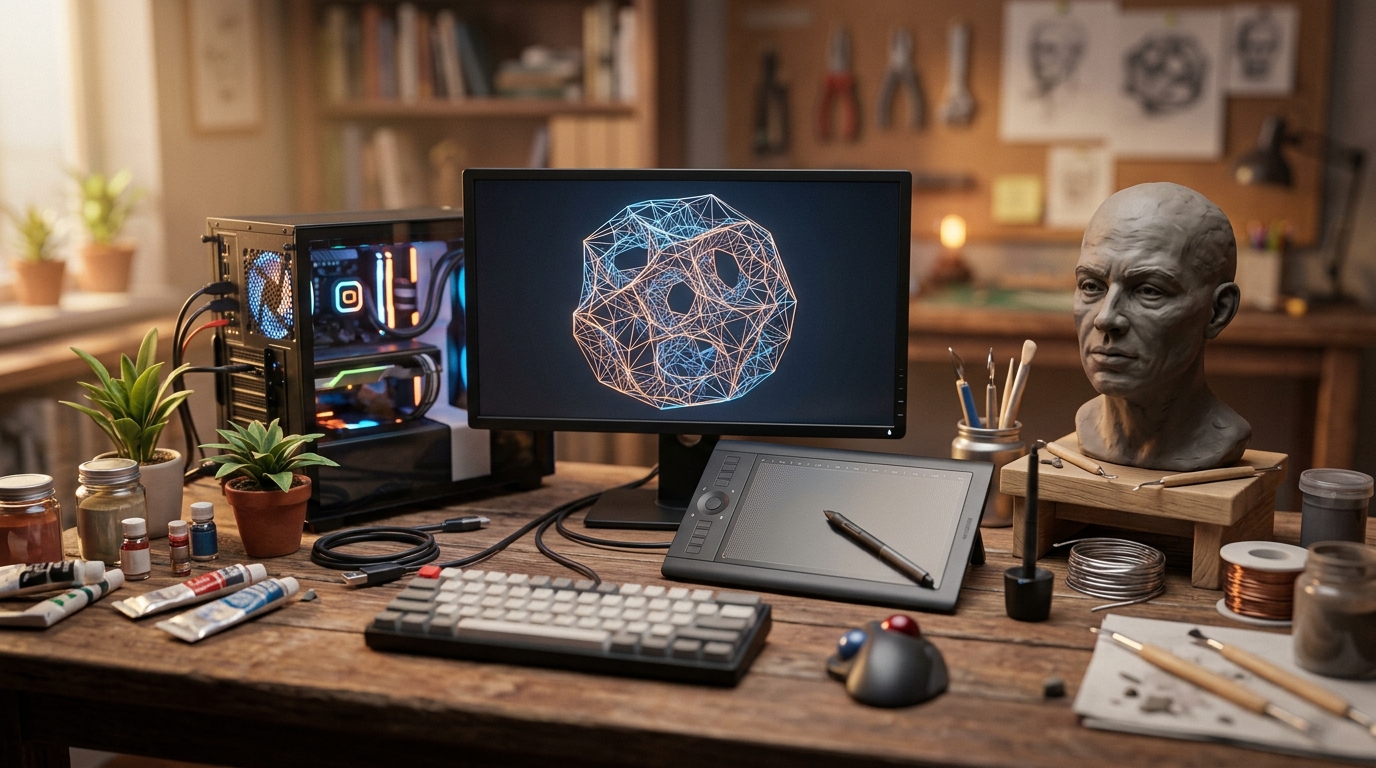
🔥 1. O apelo principal

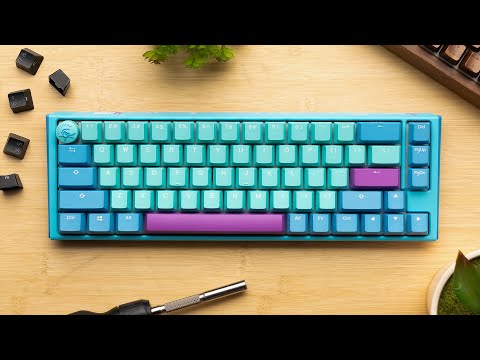
Building a custom mechanical keyboard transforms a daily functional tool into an extension of your creative rhythm and physical touch. The sensory satisfaction begins with the auditory profile—from deep, muted 'thocks' to crisp, satisfying 'clacks'—and extends down into the exact actuation force of every keypress. Stripping away mass-market membrane plastic in favor of CNC-machined aluminum plates, brass weights, and lubricated stem housings turns an mundane input peripheral into a personal work of functional desktop art.
Beyond the rich tactile feel, custom keyboard building offers a meditative state of hyper-focused crafting. Opening individual switch housings, carefully applying micro-thin coatings of grease to stems, and mounting custom gasket plates demands a rhythmic, calming precision. When you finally plug in your custom-assembled board and feel the buttery-smooth key travel across your fingers, every keystroke becomes a rewarding reminder of your own meticulous craftsmanship.
🗺️ 2. O panorama
Navigating custom mechanical keyboards requires understanding how form factors, switch acoustics, and mounting styles drastically alter both typing feel and desk real estate. Before buying components, decide whether your priority lies in ergonomic utility, desk minimalism, or raw acoustic deep resonance.
Custom Barebones Hot-Swap Kits (Modularity & Ease)
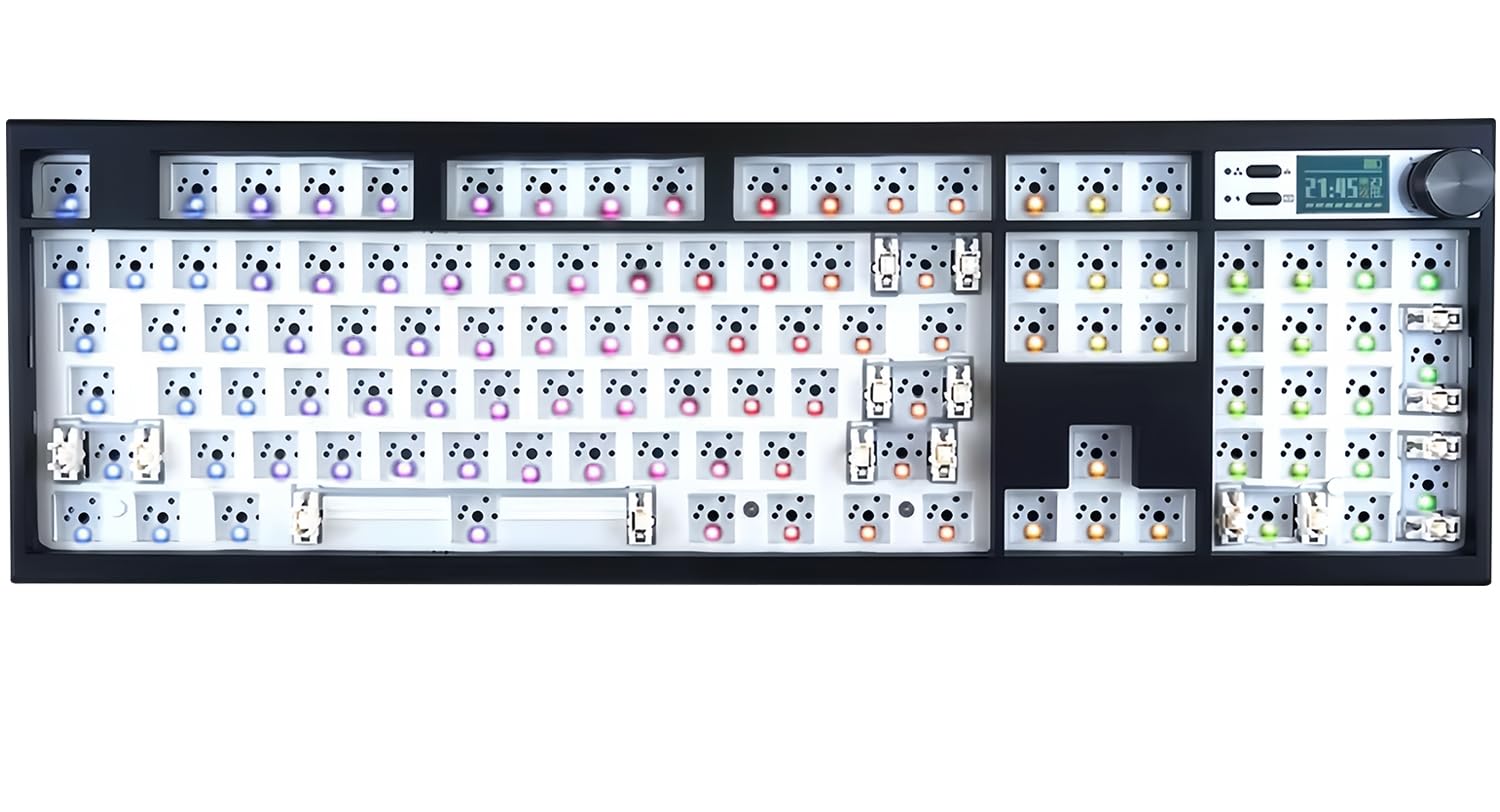
Designed for effortless assembly without requiring a soldering iron, hot-swap sockets allow you to push switches directly into the printed circuit board (PCB). These kits range from compact 60% layouts to feature-rich 75% configurations with volume knobs and gasket-mounted plates that offer a bouncy, cushioned typing feel.
Soldered Custom Builds (Ultimate Permutations & Stability)
Loved by purists seeking unique layouts like split ortholinear boards or vintage layout clones, soldered builds require permanently affixing switch pins with iron and flux. This method offers rock-solid long-term durability and structural rigidity while opening up unconventional layout configurations not available on standard hot-swap boards.
Mechanical Switch Tuning & Modding (Acoustic & Tactile Perfection)
Rather than focusing on external cases, this sub-discipline focuses entirely on micro-level mechanical refinement. Builders dismantle switch housings to apply specialty lubricants (like Krytox 205g0), insert dampening films, and swap spring weights to eliminate spring ping and create an ultra-smooth key actuation.
For complete beginners, a 75% hot-swap barebones kit with factory-lubed linear switches is universally recommended: this balanced middle-ground retains dedicated arrow keys and a function row while granting an effortless entry point into custom tuning without requiring soldering tools or complex layout remapping.
🛒 3. Kit inicial e orçamento
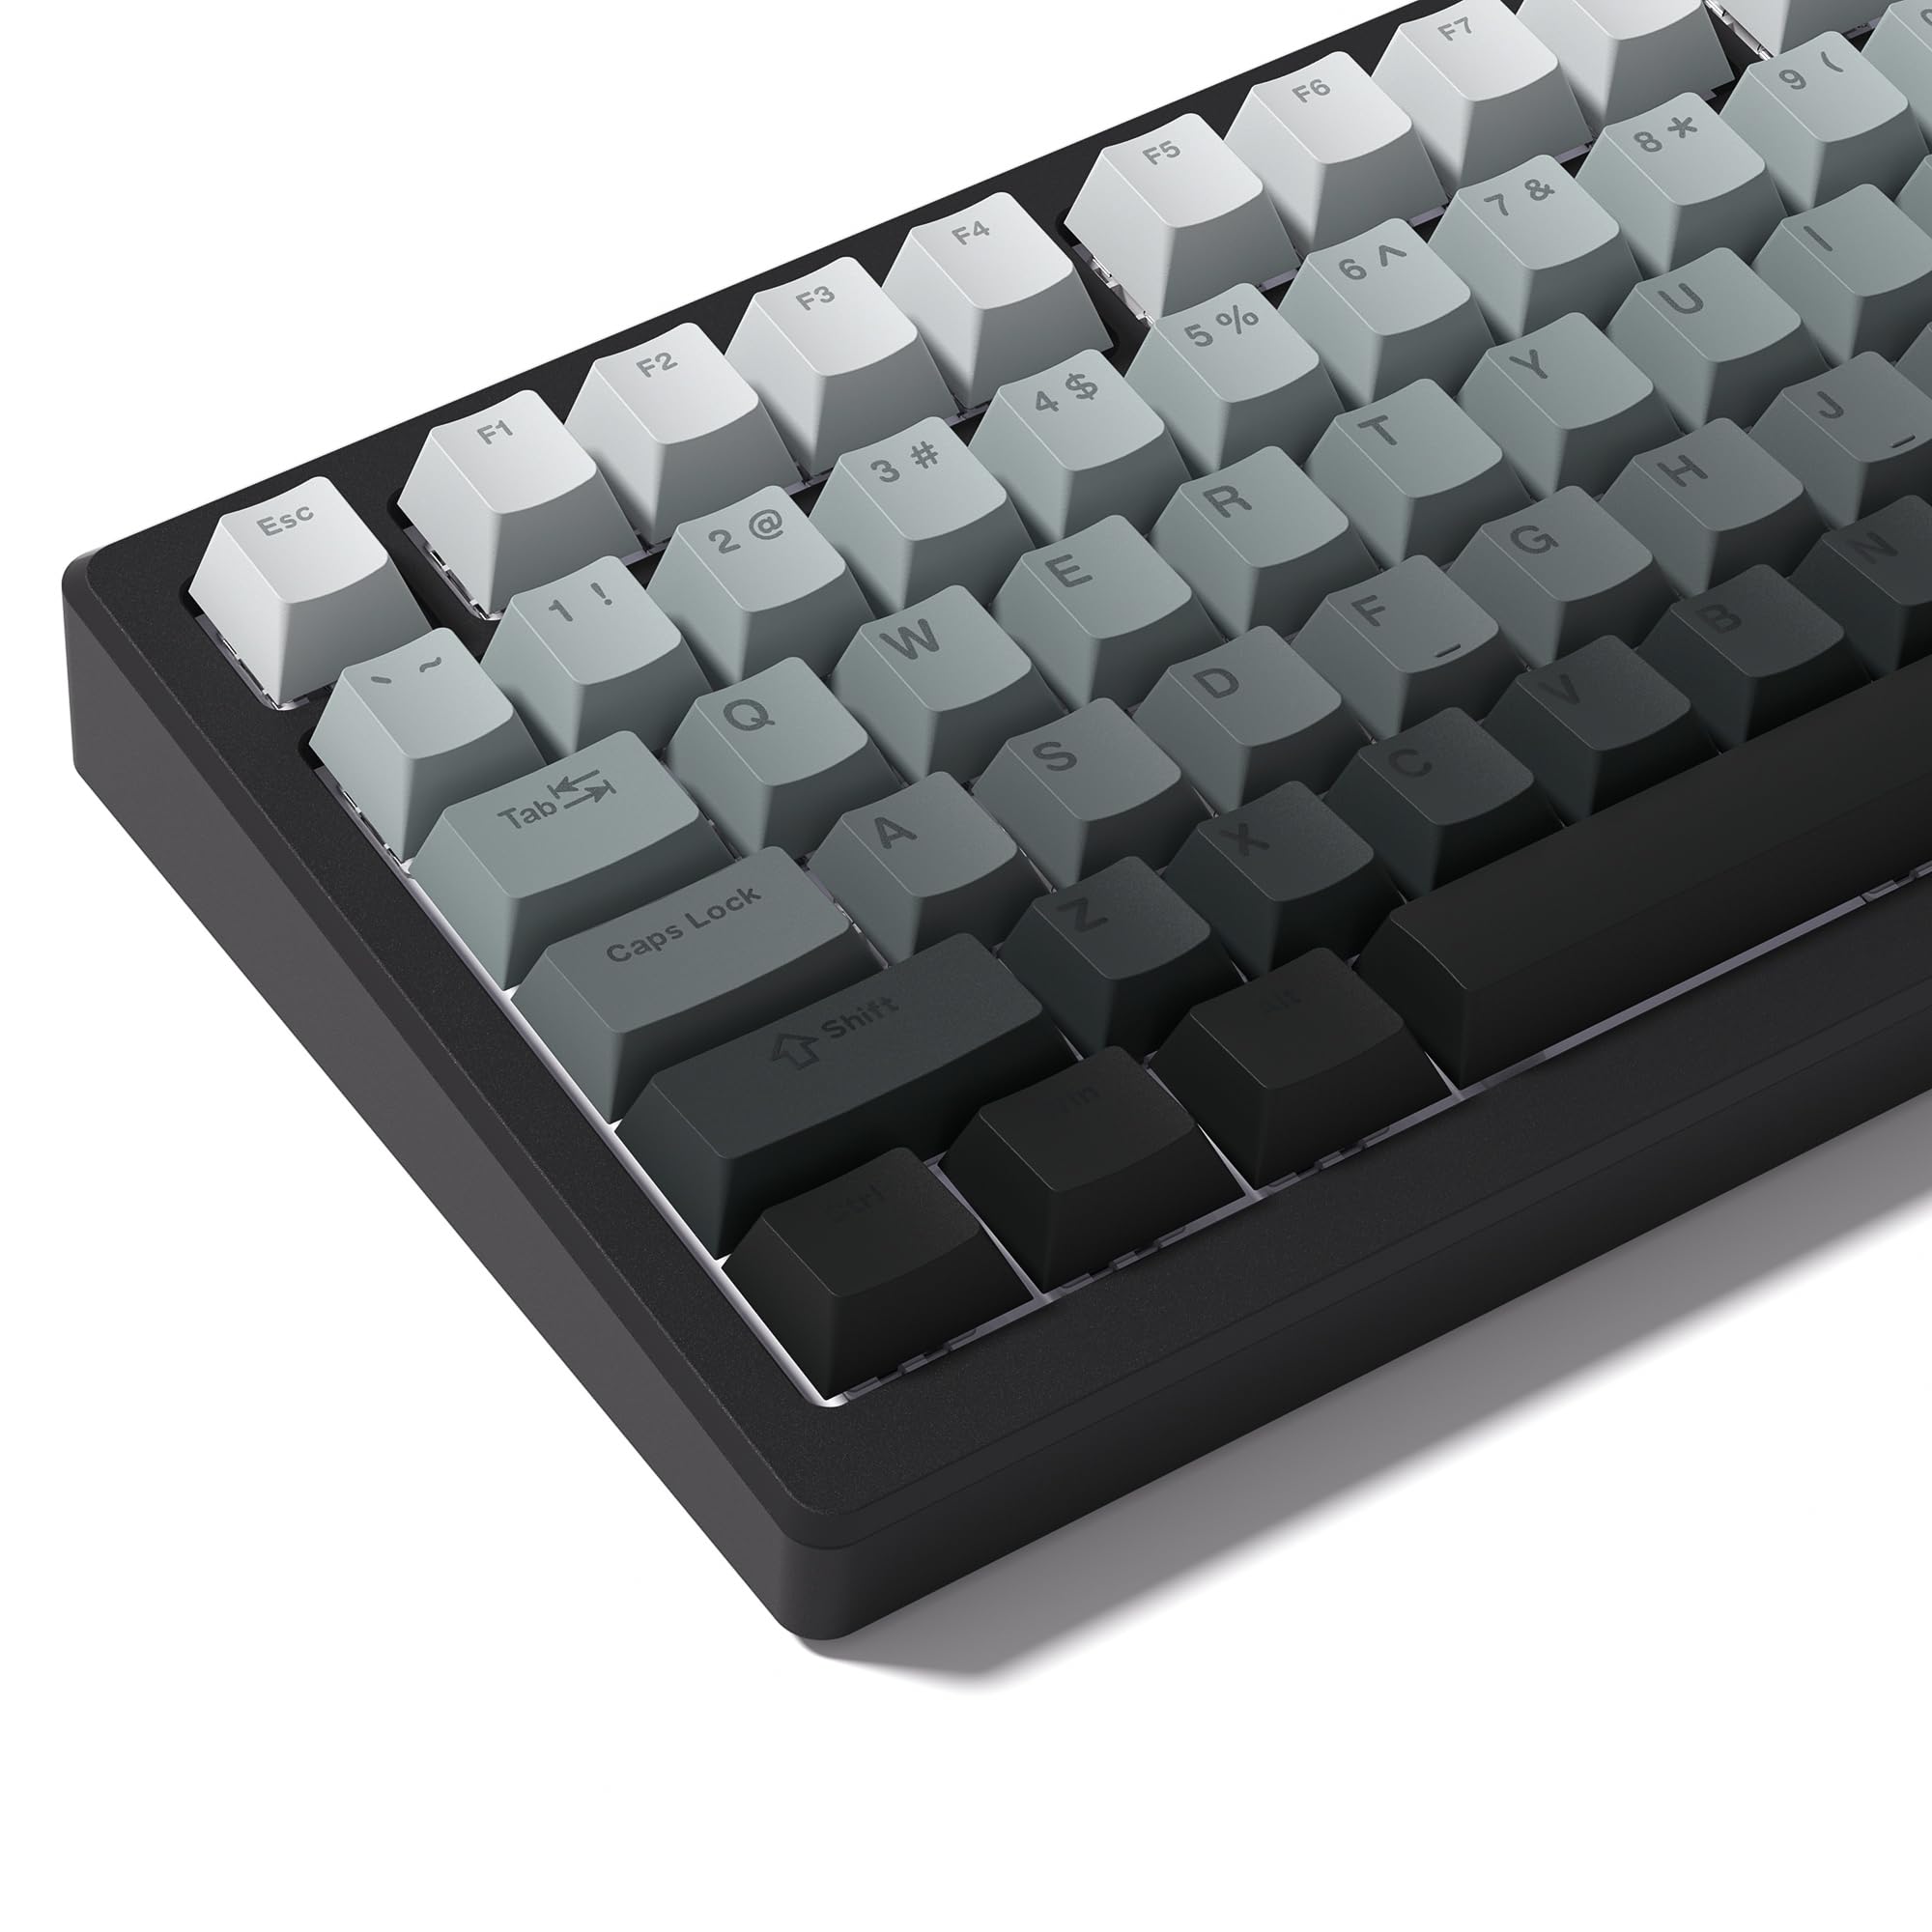
O mínimo necessário para o dia um. Sem gastos desnecessários nem barreiras.

ℹ️ RokkuWare é apoiado pelos leitores. Ao comprar por links, podemos receber uma comissão sem custo adicional para você.