🔥 1. 魅力の本質

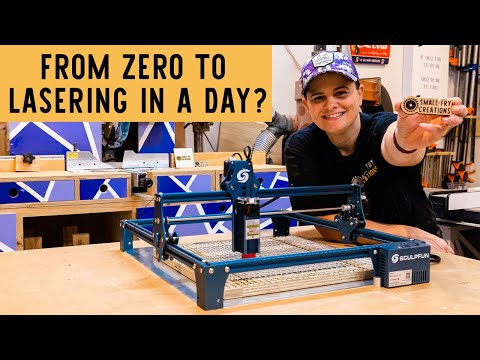
Watching a concentrated beam of coherent light vaporize organic surfaces with pinpoint precision yields an unmatched sensation of creative power. The sweet smell of singed cedar or freshly etched leather blends with the quiet hum of stepper motors, creating a mesmerizing rhythm where digital vector nodes turn into tactile, burnt reliefs in real-time. There is a captivating contrast between the raw intensity of the photon beam and the ultra-fine detail of the resulting artwork.
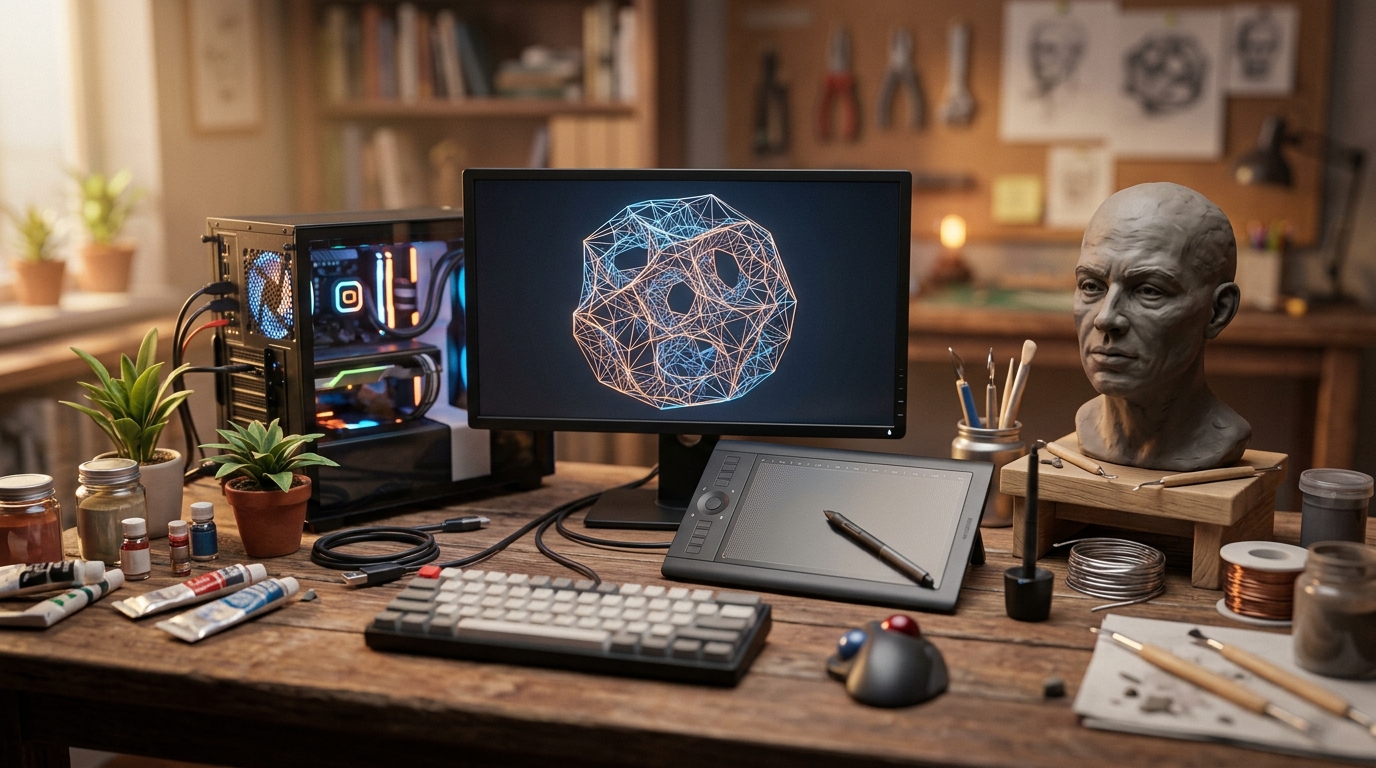
Psychologically, laser engraving offers the ultimate balance between computer-aided design and physical craftsmanship. You enter a deep flow state while preparing vector paths in software, dialing in speed and power ratios, and watching your virtual ideas burn into physical reality. It bridges the gap between digital illustration and hands-on fabrication, yielding clean, repeatable, professional-quality objects in a matter of minutes.
🗺️ 2. 全体像と種類
Before buying hardware, understanding light sources and focal setups is crucial to selecting the right tool for your material goals.
Diode Engraving (Organic & Soft Material Focus)
Low-cost visible light lasers designed for burning wood, leather, dark acrylic, and cardboard with ultra-fine focal spots. They excel at desktop crafting and detail work, though they struggle on clear acrylics and raw metals.
Infrared & Fiber Engraving (Metal & Hard Plastic Focus)
High-frequency, specialized beams built for deep etching, marking bare metals, coated jewelry, and engineering plastics. They prioritize high-speed marking and extreme precision over deep cutting of thick wooden sheets.
CO2 Laser Cutting (Thick Material & High-Speed Focus)
Gas-filled glass tube lasers that produce powerful far-infrared light, effortlessly slicing through thick acrylic, plywood, and softwoods. They require dedicated water cooling and substantial exhaust venting, serving as high-throughput fabrication workhorses.
For complete beginners, a 10W desktop diode laser unit is universally recommended: it provides enough power to engrave woods and cut thin plywood without requiring complex water cooling systems or massive workshop spaces.
🛒 3. スターターキットと予算
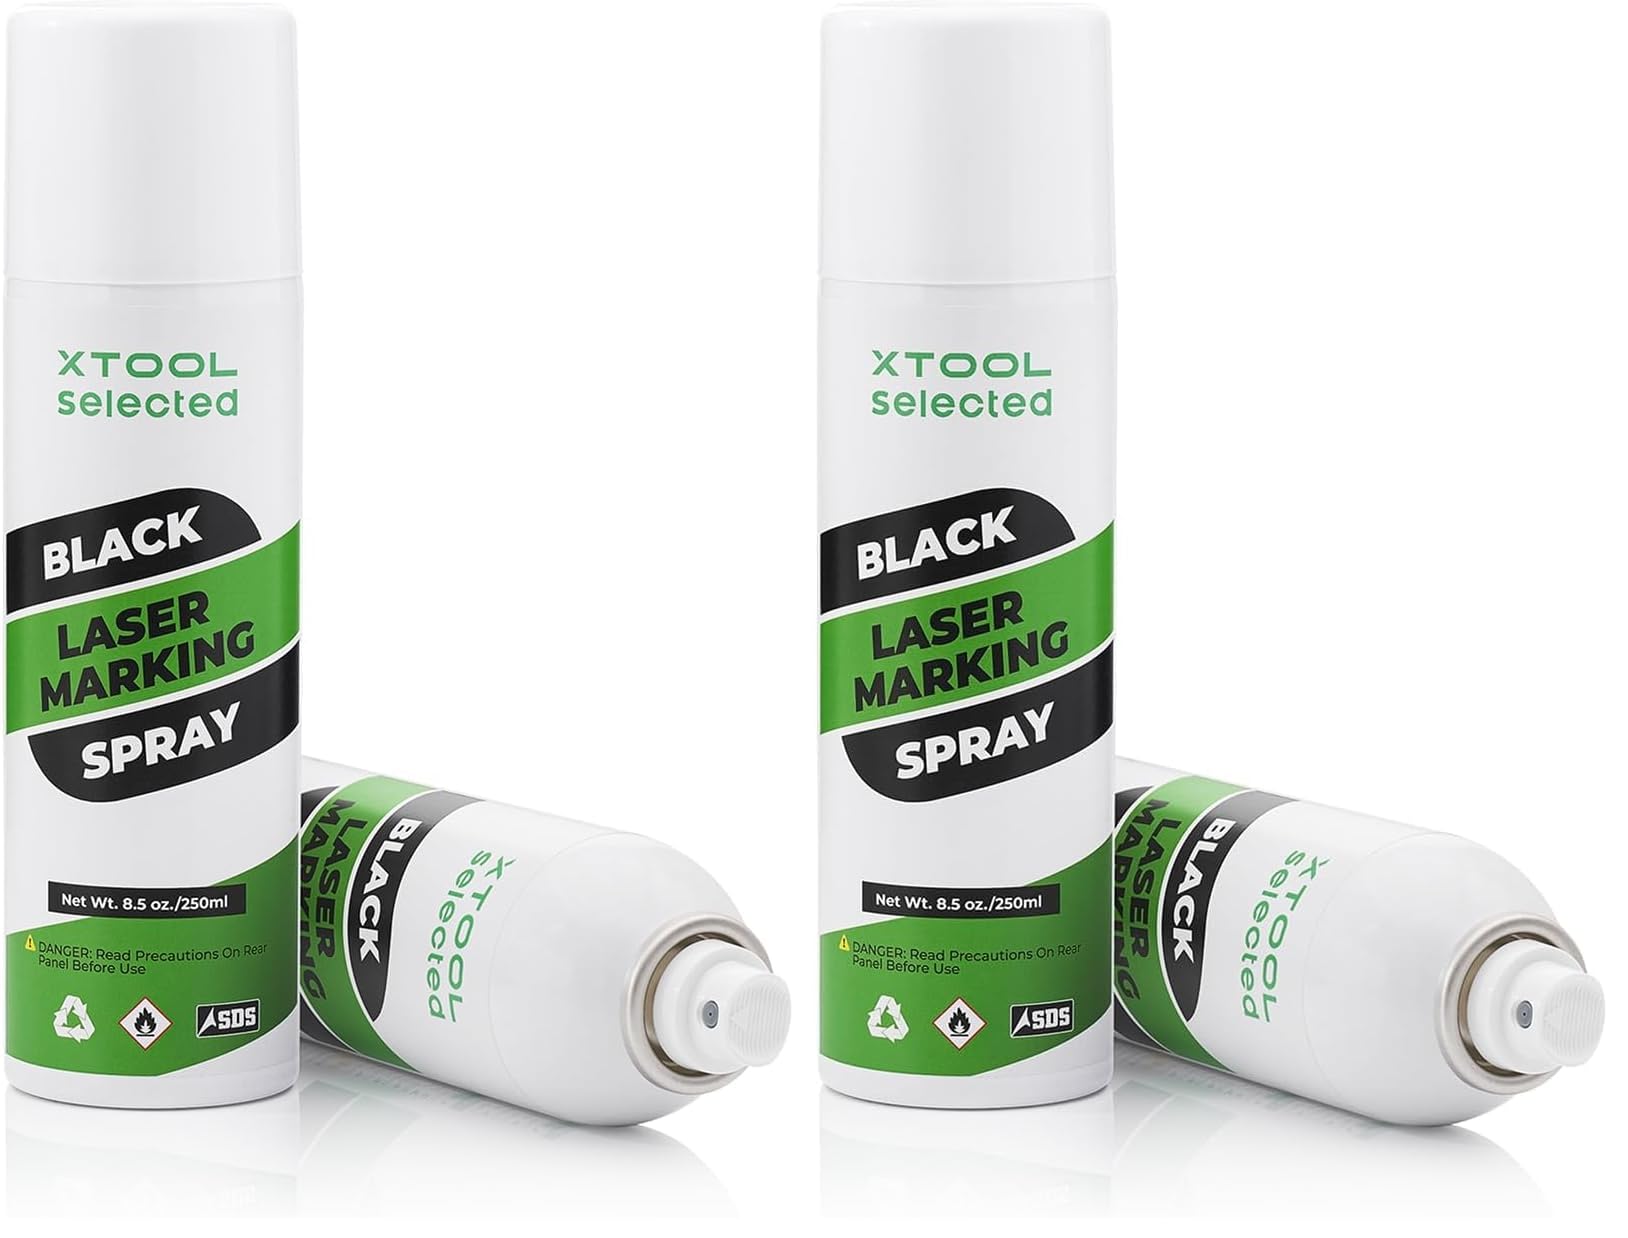
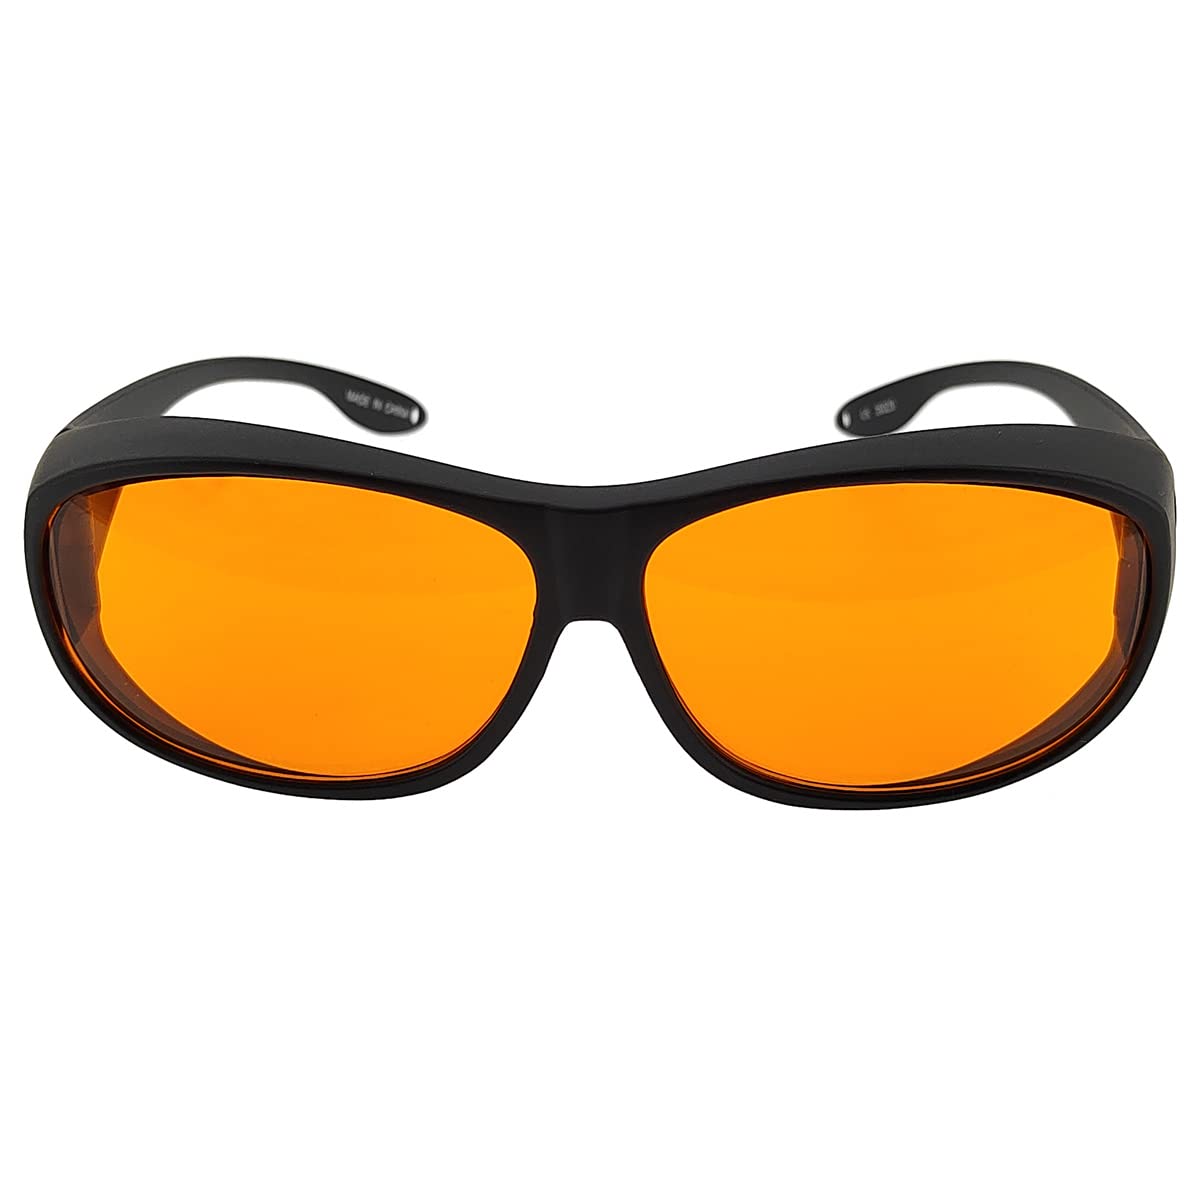
初日に本当に必要なアイテムだけを厳選。無駄な出費や高いハードルはありません。
ℹ️ RokkuWareは読者によって支えられています。リンク経由で購入された場合、追加費用なしで手数料を受け取ることがあります。