🔥 1. 魅力の本質

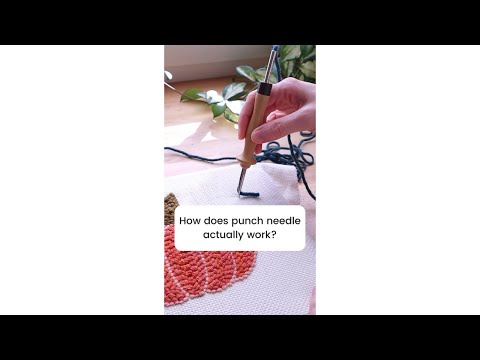
Punch needle embroidery offers an almost hypnotic, tactile gratification that bridges the gap between drawing and rug hooking. Instead of painstakingly stitching thread through fabric, you push a hollow, yarn-loaded needle down into stretched cloth, leaving behind tiny loops on the reverse side that transform into plush, carpet-like textures. The physical sensation is instantly captivating—the subtle pop as the needle pierces the taut fabric, the smooth slide of yarn through the barrel, and the immediate visual reward of dense, soft velvet filling your design in real time.
Psychologically, punch needle is a fast-track to a soothing flow state. Because it relies on simple repetitive motions and generous visual feedback, the anxiety of making mistakes quickly dissolves. If a loop is too loose or crooked, you simply pull the yarn, smoothing the woven foundation fabric back into place with your fingernail as if it never happened. It provides an accessible, low-stress creative refuge where modern makers can construct vibrant wall hangings, textured pillows, and playful mug rugs with astonishing speed.
🗺️ 2. 全体像と種類
Before buying gear, it is helpful to understand how tool scale and yarn weights dictate the texture, speed, and ultimate utility of your punch needle projects.
Fine / Embroidery Floss Punching (Intricate Detail & Jewelry)
Uses fine steel needles and multi-strand embroidery thread on tightly woven weaver's cloth. This technique yields microscopic, crisp details suited for patches, brooches, and delicate framed wall art.
Medium / Worsted Yarn Punching (Mug Rugs & Home Decor)
Utilizes medium-gauge adjustable needles paired with standard worsted wool or acrylic yarn on monk's cloth. This versatile style strikes an ideal balance between quick project completion and clear graphic definition for coasters and wall hangings.
Chunky / Oxford Rug Punching (Heavyweight Textiles & Rugs)
Employs thick wooden-handled needles like the Oxford Punch and chunky rug wool on wide-grid monk's cloth. Designed for durability and scale, this discipline produces lush, thick floor rugs and heavy decorative cushions capable of enduring daily wear.
For complete beginners, a medium-gauge adjustable punch needle paired with worsted acrylic yarn and a non-slip hoop is universally recommended: this balanced setup cures analysis paralysis by allowing you to experiment with both plush loop-side and smooth flat-side textures without requiring specialized heavy-duty frames or tiny, frustrating thread sizes.
🛒 3. スターターキットと予算
初日に本当に必要なアイテムだけを厳選。無駄な出費や高いハードルはありません。
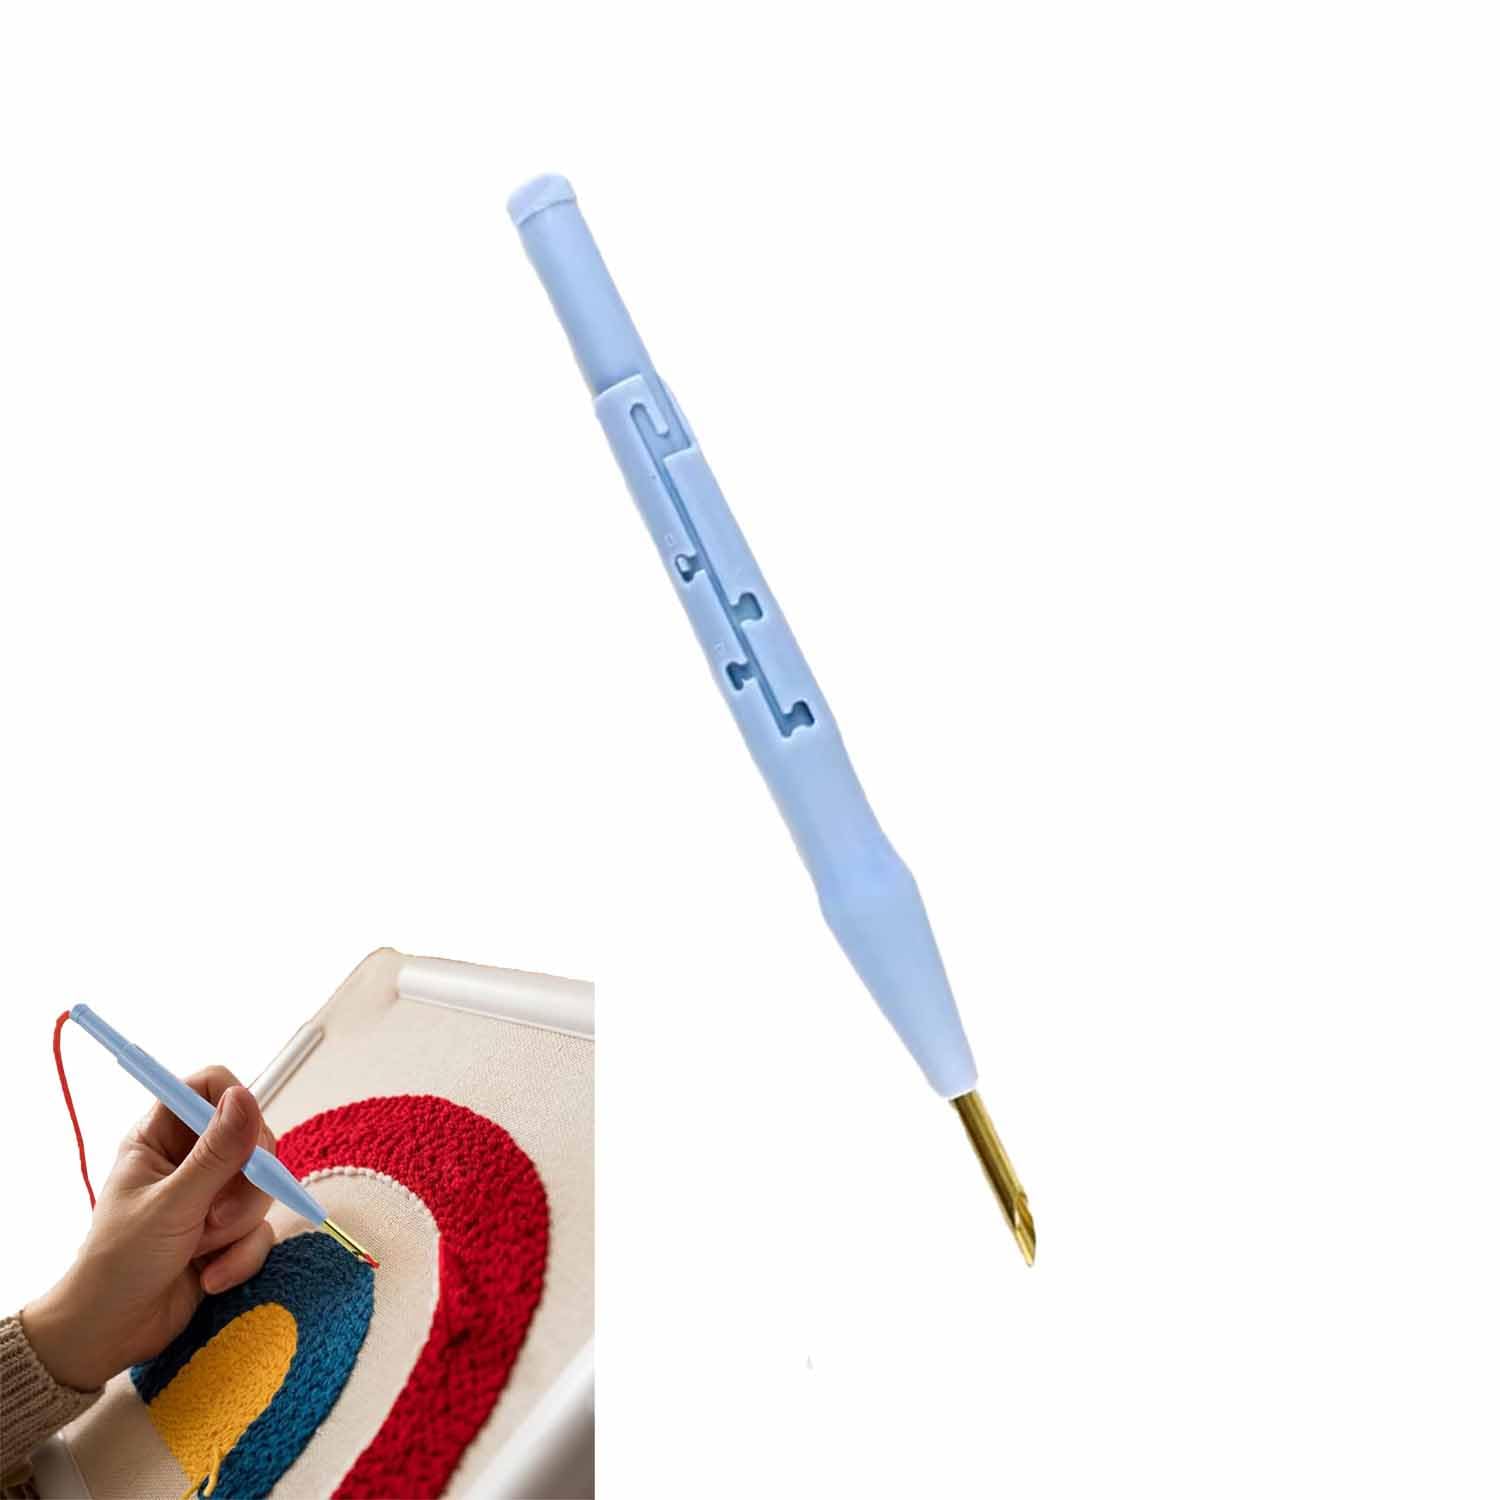
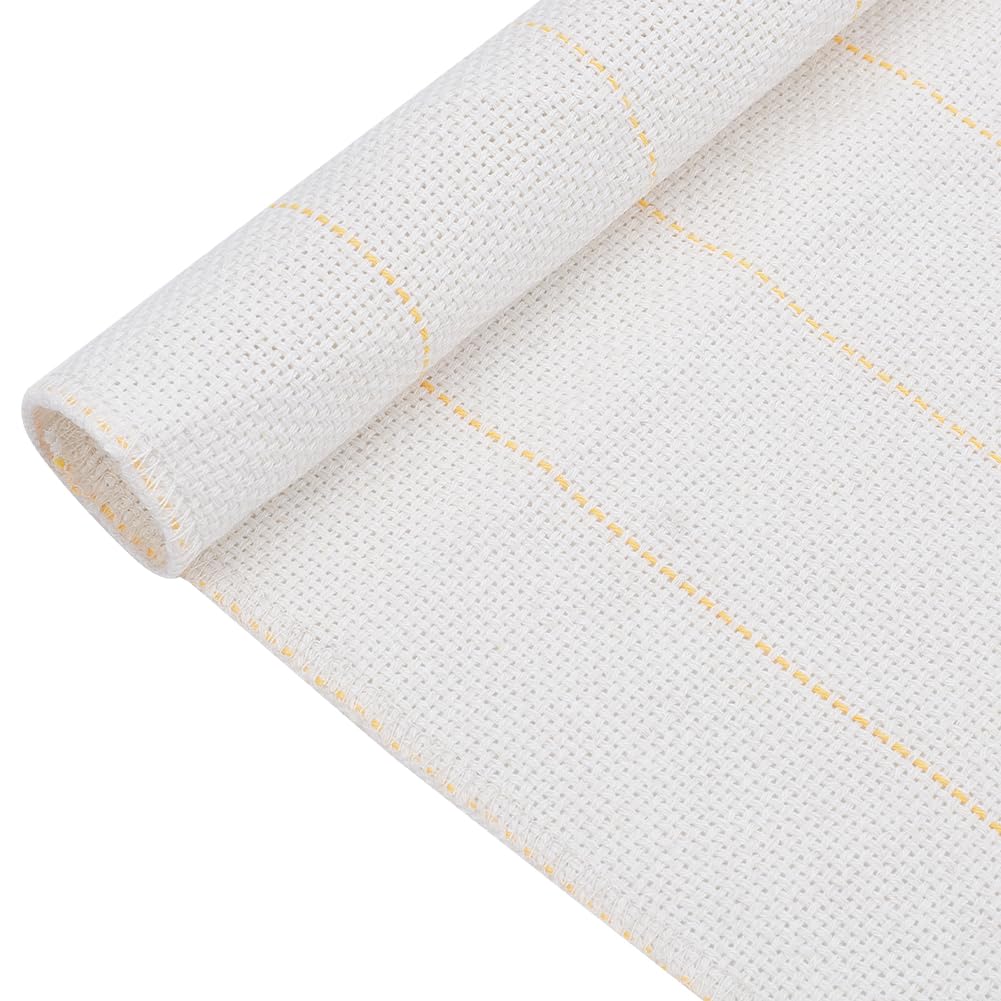
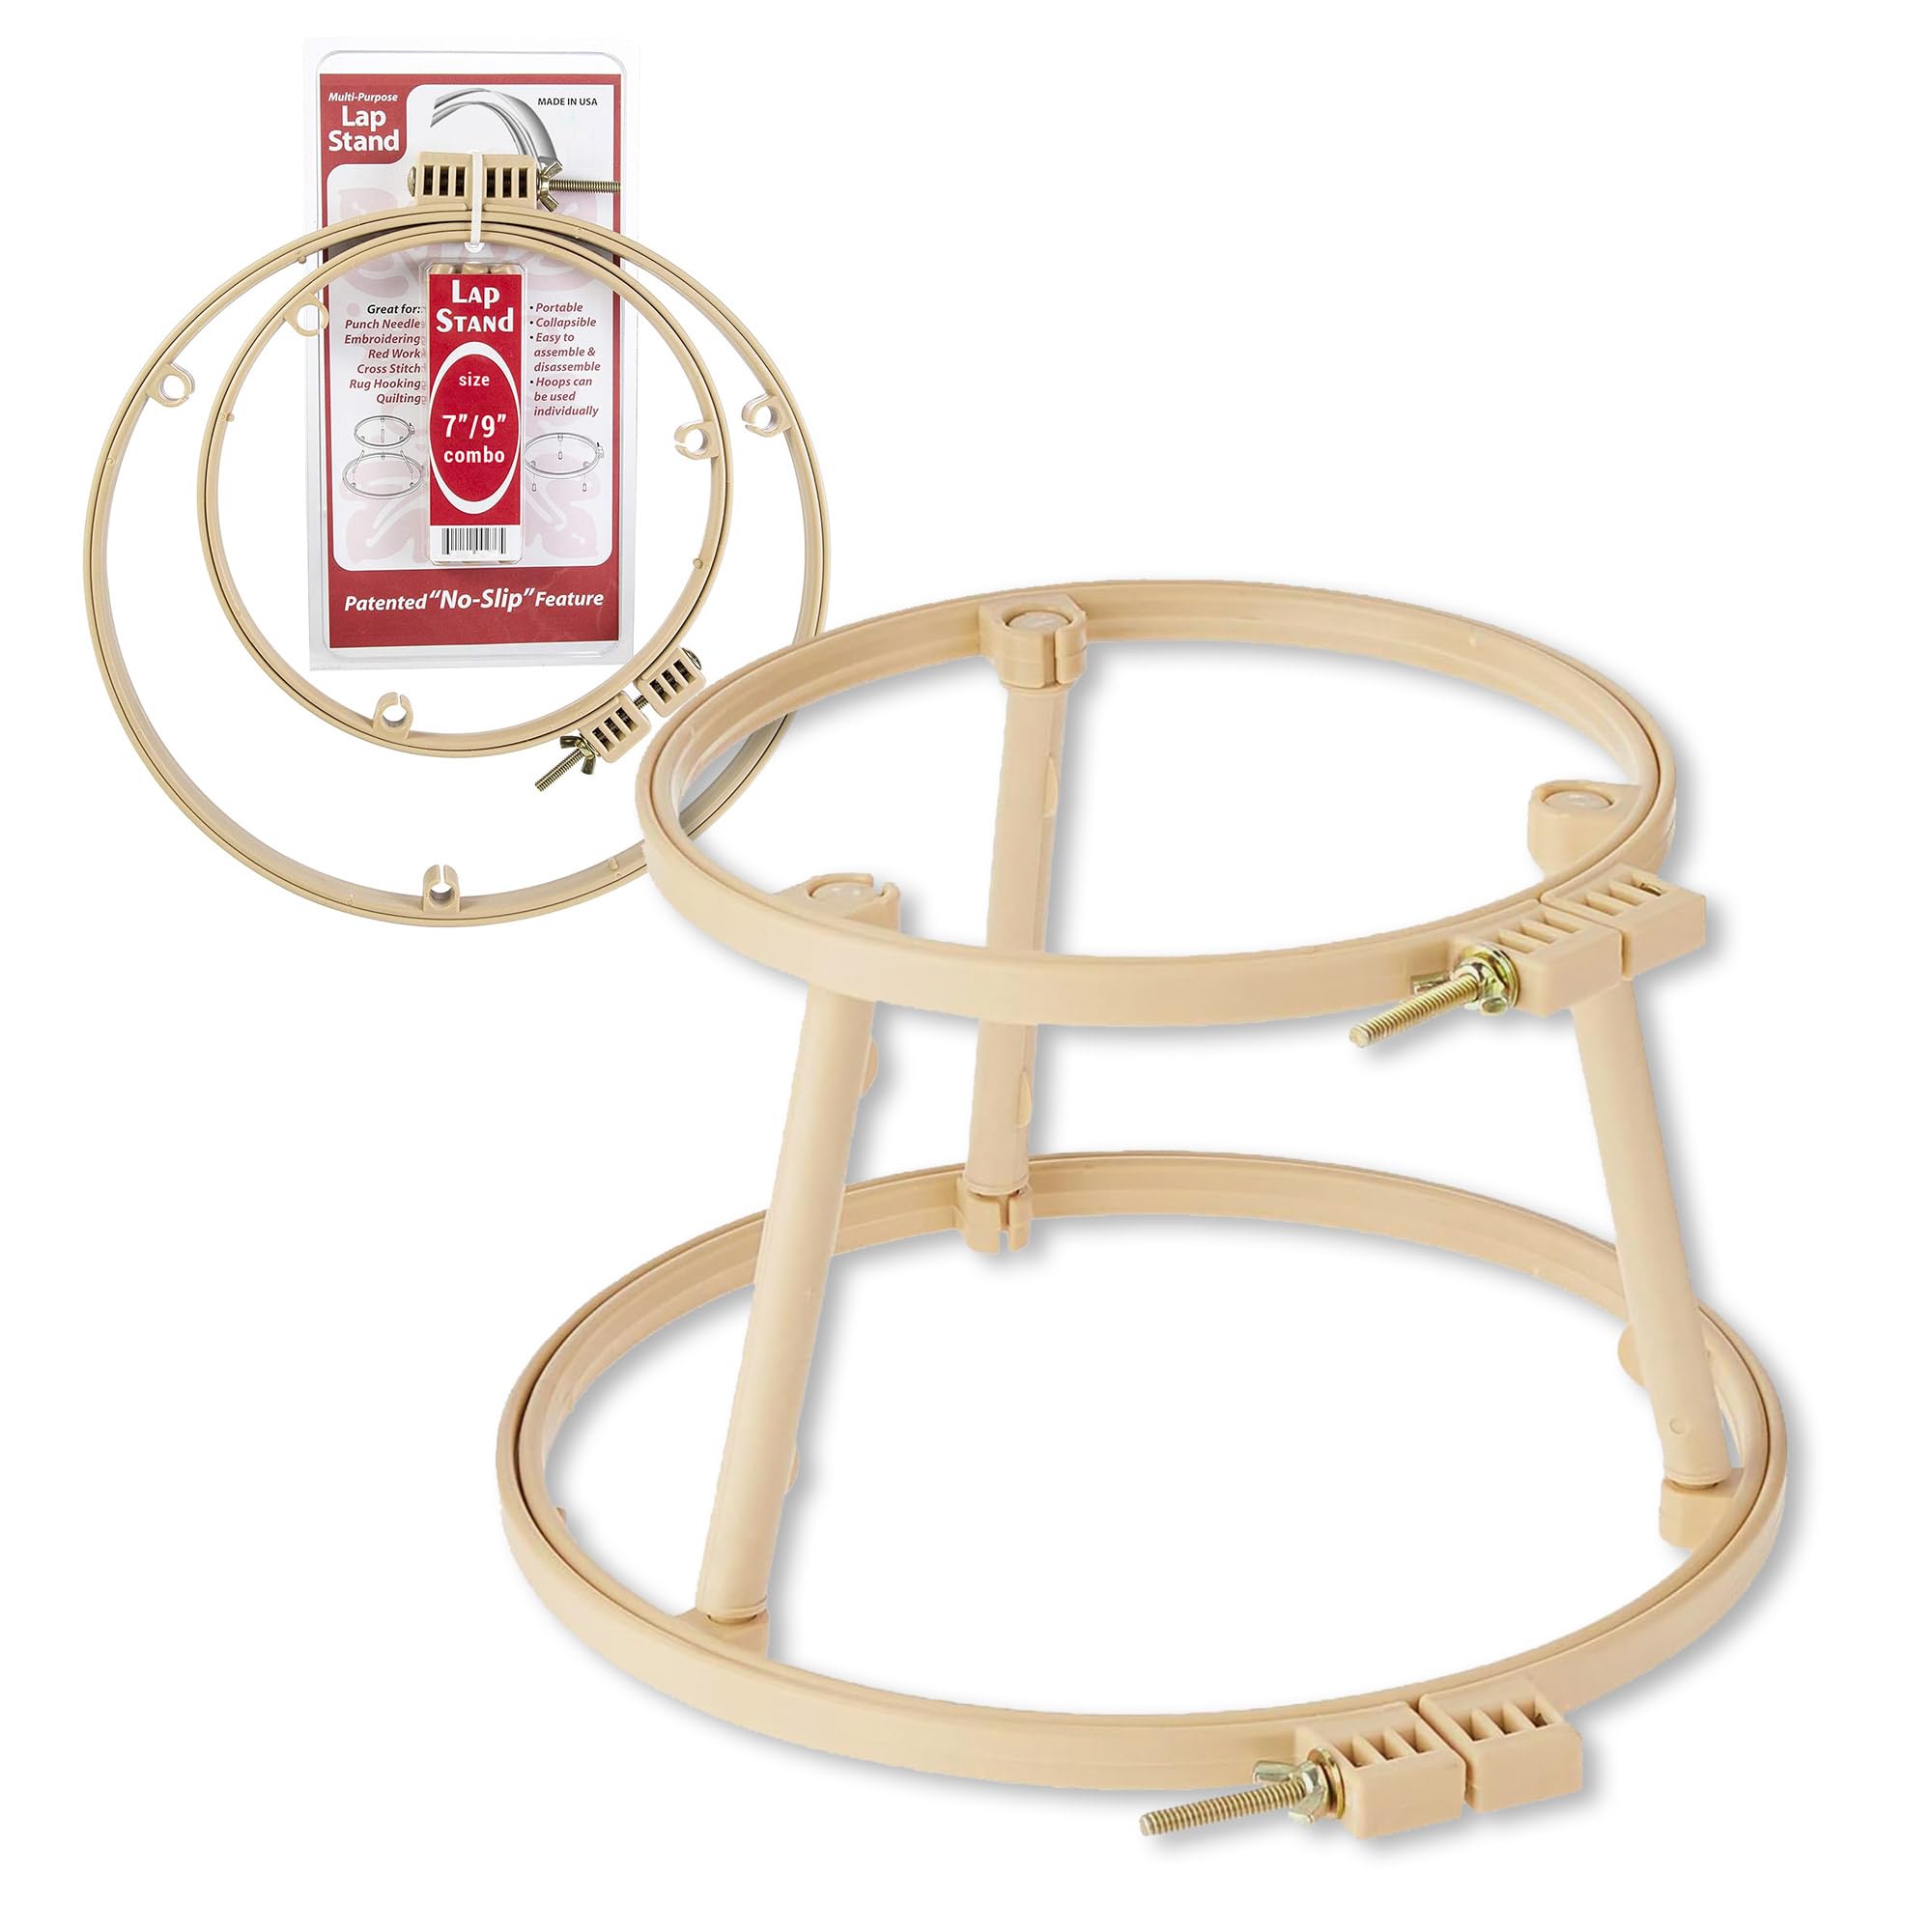
ℹ️ RokkuWareは読者によって支えられています。リンク経由で購入された場合、追加費用なしで手数料を受け取ることがあります。