🔥 1. 魅力の本質

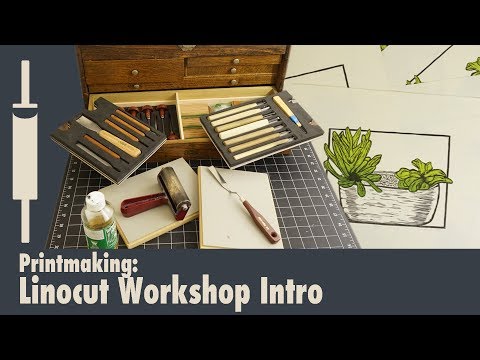
Linocut printmaking offers an insanely satisfying bridge between sculpting and graphic illustration. The sensation of slicing a sharp V-gouge tool through soft, buttery linoleum yields an immediate tactile high, where every carved groove permanently dictates light and shadow. As you work, you fall into a meditative rhythm dictated by the steady resistance of the block, sweeping away curls of grey material while revealing the negative space of your image.
The ultimate reward comes during the reveal: rolling a squeaky, velvety coat of ink across the raised relief and hand-burnishing a sheet of paper over it. Peel back the paper, and you are greeted by crisp, high-contrast, handmade art that retains the organic textures of your cuts. Because a single carved block can yield dozens of identical or uniquely variated prints, linocut grants a feeling of mini-factory production, turning personal sketches into tangible, repeatable fine art.
🗺️ 2. 全体像と種類
Before buying gouges and ink, it helps to understand that linocut printmaking varies primarily by cutting technique, block materials, and color layering methods.
Single-Block Monochromatic Printing (Graphic High Contrast)
Focuses on bold black-and-white imagery cut from a single block of natural unmounted linoleum or soft-cut vinyl. Hardware consists of simple hand gouges and a hard rubber brayer, delivering sharp lines, dramatic shadows, and an approachable entry point to relief carving.
Reduction Linocut Printing (Layered Multi-Color)
Focuses on printing multi-colored artwork from a single block by progressively carving away more material between each ink layer. The process requires careful color planning and registration alignment, producing complex, multi-tonal prints that permanently destroy the original block during production.
Multi-Block Printing (Modular Color Separation)
Focuses on carving separate dedicated blocks for each color channel in an artwork. This technique allows for infinite re-printing and flexible color adjustments, utilizing precise corner registration frames to ensure crisp alignment across multiple transfers.
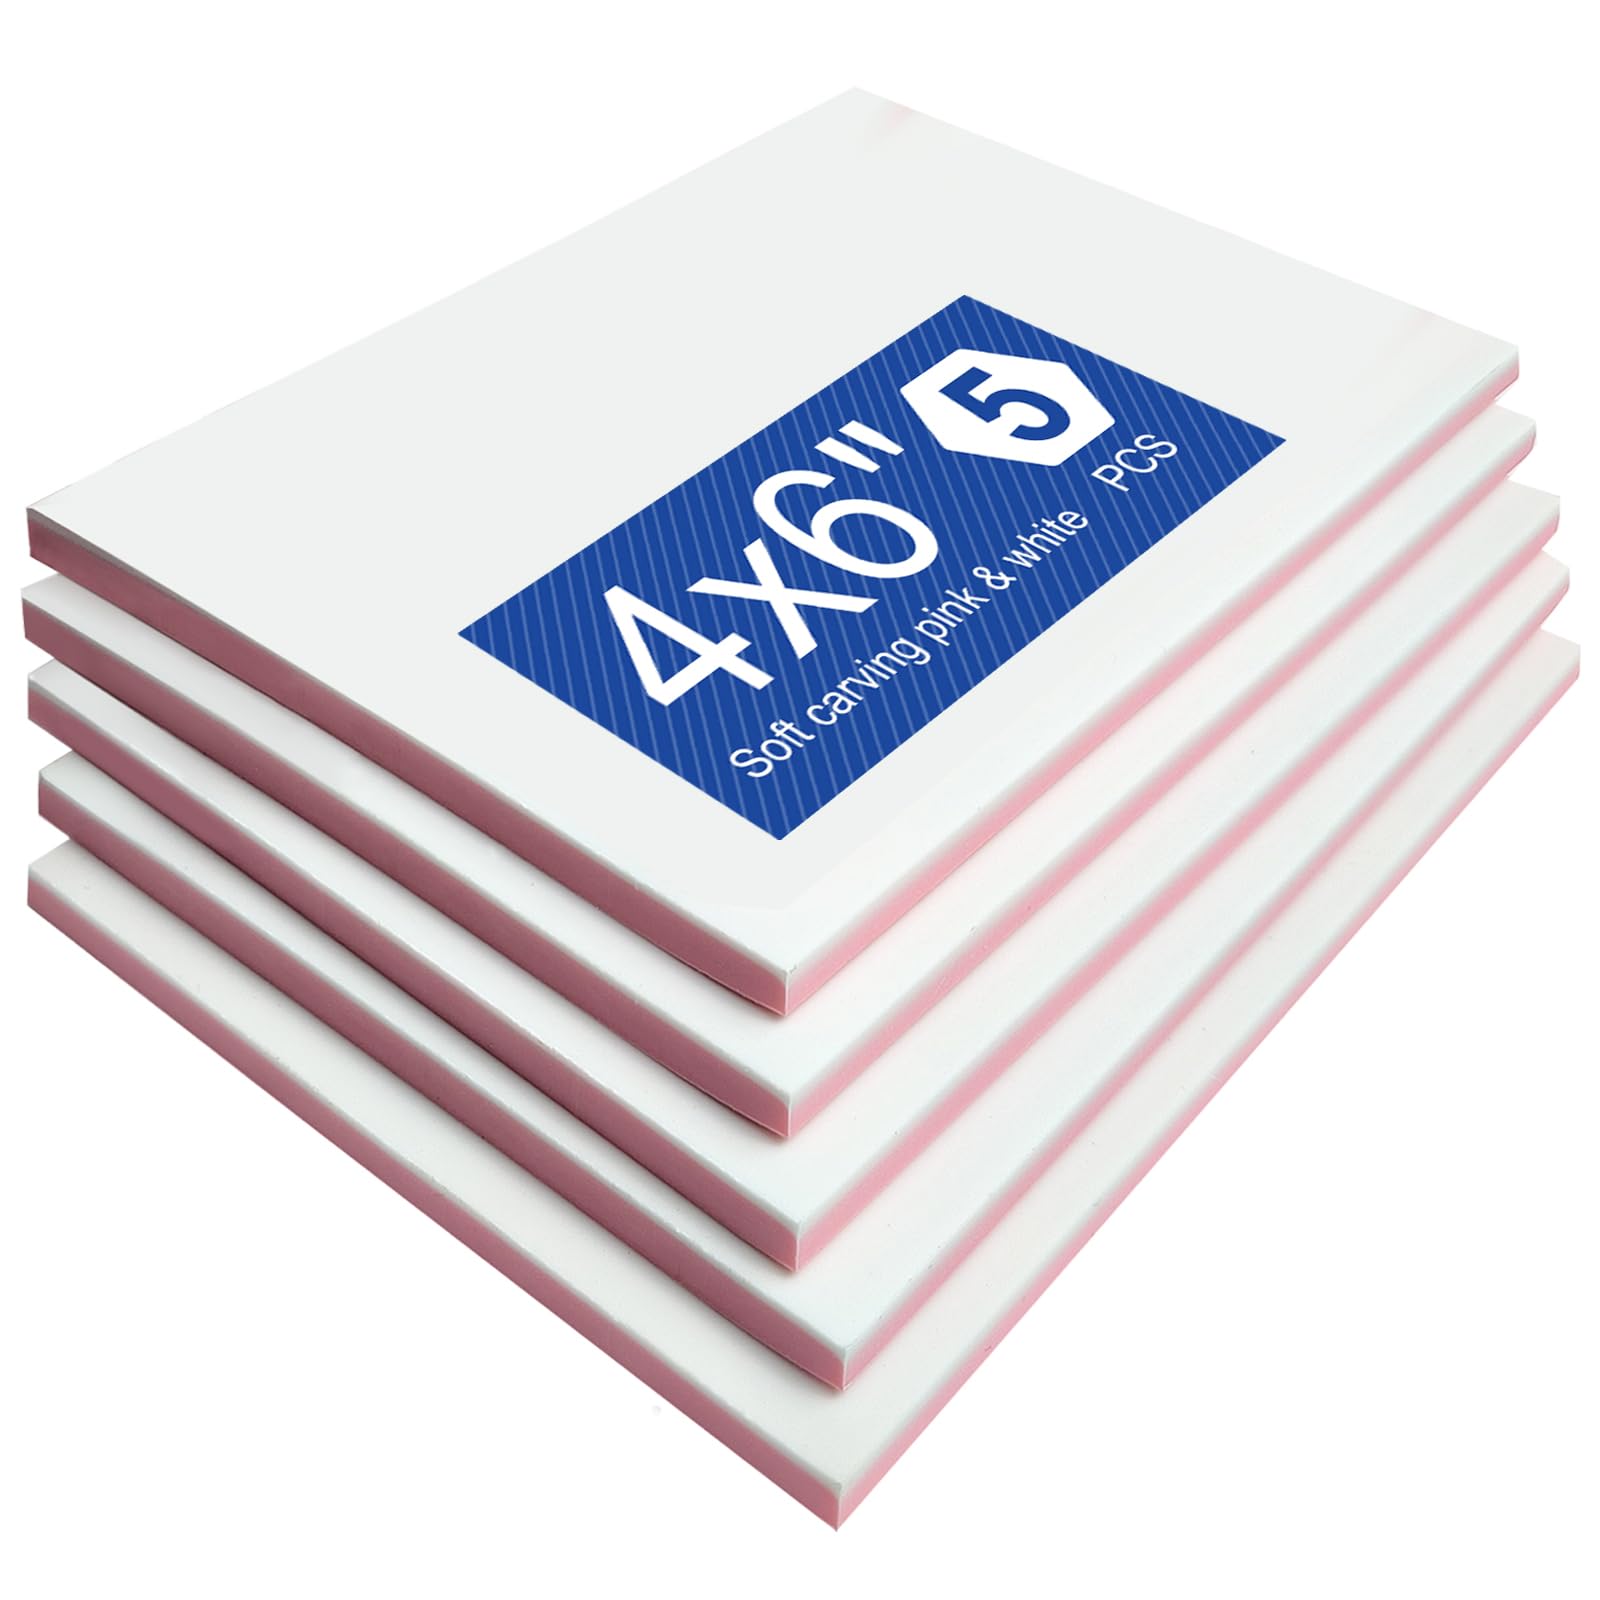
For complete beginners, single-block monochromatic printing on soft-cut rubber using water-based ink is universally recommended: this forgiving setup eliminates complex color registration, cuts smoothly with minimal wrist fatigue, and allows easy soap-and-water cleanup while mastering line control.
🛒 3. スターターキットと予算
初日に本当に必要なアイテムだけを厳選。無駄な出費や高いハードルはありません。


ℹ️ RokkuWareは読者によって支えられています。リンク経由で購入された場合、追加費用なしで手数料を受け取ることがあります。