🔥 1. Il fascino principale

Building a guitar pedalboard is where electrical utility meets artistic architecture. The tactile ritual of stomping a mechanical footswitch to unleash a wave of lush chorus, screaming overdrive, or cavernous ambient delay taps into a visceral form of musical empowerment. Beyond just collecting colorful aluminum boxes, assembling a board forces you to think like an audio engineer, transforming raw electric pickup vibrations into a signature, atmospheric sonic landscape.
Beyond the sound, the build process engages a meditative, hands-on flow state. Laying out pedals, measuring low-profile patch cables, routing clean power lines beneath slatted metal rails, and securing everything with heavy-duty hook-and-loop tape provides immense visual and physical satisfaction. It is a creative sanctuary where geometry, signal hygiene, and artistic expression converge into a neat, gig-ready instrument of tone customization.
🗺️ 2. Il panorama
Before buying boutique effects or drilling mounts into aluminum rails, understanding how signal flow, electrical current, and physical ergonomics interact is essential. Different musical genres dictate unique pedalboard geometries, power delivery requirements, and cable density needs.
Minimalist Acoustic & Ambient Boards (Clean Signal & Dynamic Spatialization): Focuses on high-headroom transparency, buffer placement, long delay tails, and lush shimmer reverbs. Hardware favors lightweight aluminum rails, isolated low-current power, and pristine TRS interconnects for subtle, expansive soundscapes.
Gain-Staged Rock & Blues Boards (Overdrive Stacking & Tactile Response)
Centered on dynamic clipping, booster placement, and hard-hitting gain stages. Uses compact medium-sized slatted boards, heavy-duty patch cables, and high-mA power outputs to handle touch-sensitive analog drives without introducing noise floor hum.
Experimental & Modular Synth Boards (Non-Linear Routing & Glitch Textures)
Built for chaos, expression pedal integration, pitch-shifting, and stereo looping routings. Requires wide multi-tiered pedalboards, flexible power hubs with variable voltage switches, and top-mounted jack configurations for high-density audio sculpting.
For complete beginners, a medium slatted aluminum board paired with an isolated power supply and a classic tuner-drive-delay trio is universally recommended: this versatile foundation teaches signal flow and clean cable routing while leaving room to explore new effects without requiring complex re-wiring.
🛒 3. Kit iniziale & budget
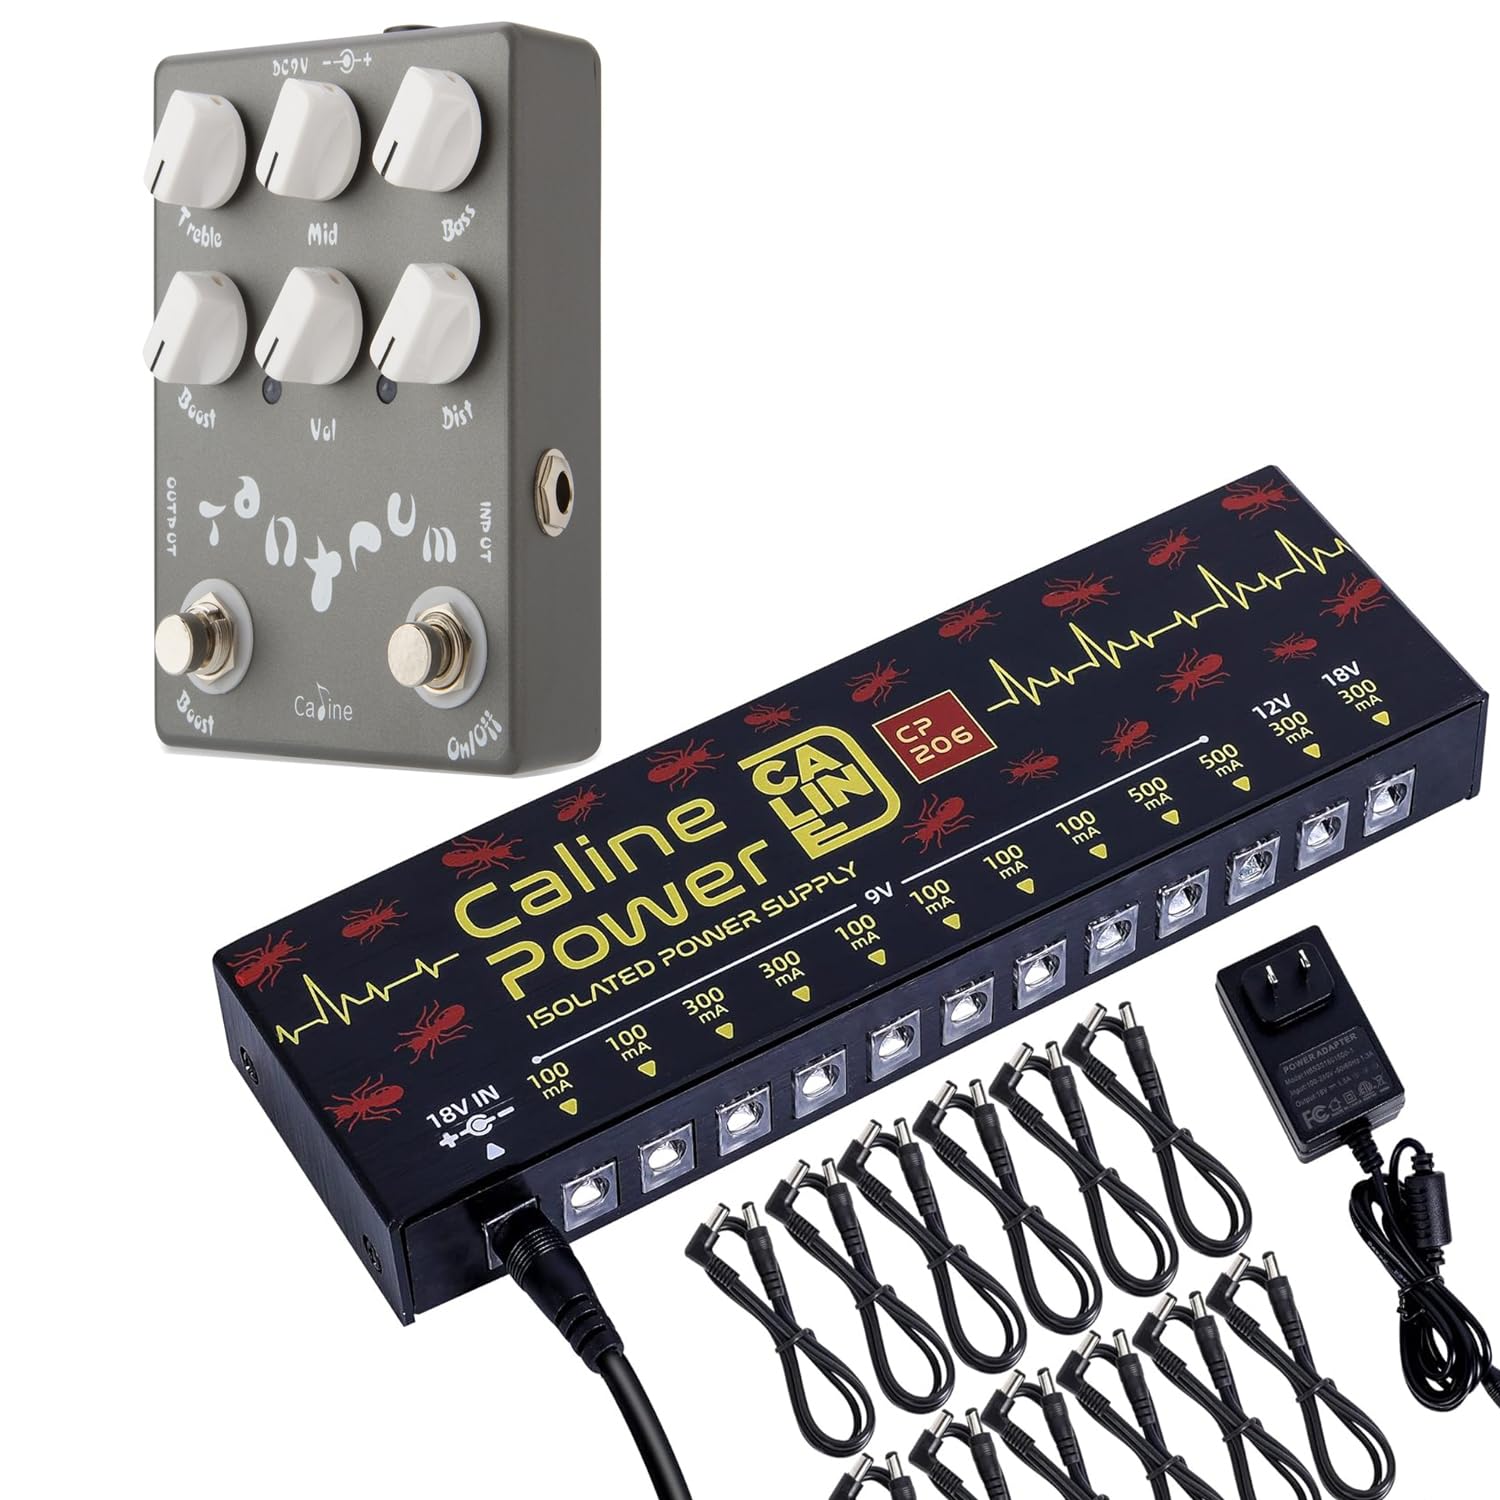
Il minimo indispensabile per il primo giorno. Niente spese superflue né barriere.


ℹ️ RokkuWare è supportato dai lettori. Quando acquisti tramite i link, potremmo ricevere una commissione senza alcun costo aggiuntivo.