🔥 1. Il fascino principale

Electronics soldering is the ultimate gateway to hardware agency—a tactile transformation where silent schematic diagrams become living, functional hardware under your hand. There is an unmistakable sensory rhythm to the process: the faint hiss of flux vaporizing, the gentle shine of silver alloy liquefying instantly, and the gratifying sight of a perfect, mirror-like solder joint forming in seconds. It fuses microscopic precision with hands-on mechanical Craft, instantly shifting your relationship with technology from passive consumer to empowered creator.
Entering the flow state of soldering requires sharp focus and calm physical stillness. As you hold the iron tip steady against a copper pad, time slows down to the tiny boundary where thermal dynamics meet structural chemistry. Building your own custom synthesizer, reviving a broken guitar amplifier, or assembling a drone flight controller provides an immense psychological payoff—a tangible, permanent object brought to life through your own physical discipline.
🗺️ 2. Il panorama
Before investing in professional rework stations or specialized hot-air gear, it helps to understand the distinct branches of soldering work. Different projects demand different iron temperatures, tip geometries, flux types, and joint tolerances depending on physical scale and electrical precision.
Through-Hole Soldering (Structural Component Assembly)
Ideal for beginners, this style involves inserting physical wire leads through pre-drilled circuit board holes and anchoring them with conical joints. It offers strong mechanical stability and visual feedback, making it perfect for custom audio pedals, DIY keyboards, and basic electronics kits.
Surface-Mount Technology (Precision Circuit Density)
SMT focuses on placing micro-components directly onto flat copper pads without drilling holes. Requiring fine needle tips, steady hand-eye coordination, and heavy flux usage, this technique is essential for modern microcontrollers and compact modern devices.
Cable and Connector Assembly (Robust Mechanical Joining)
Centered around wiring harnesses, custom audio cables, and power connectors, this discipline requires higher heat output and heavier gauge solder. Success relies on tinning wire strands before joining them inside protective heat-shrink tubing for durable strain relief.
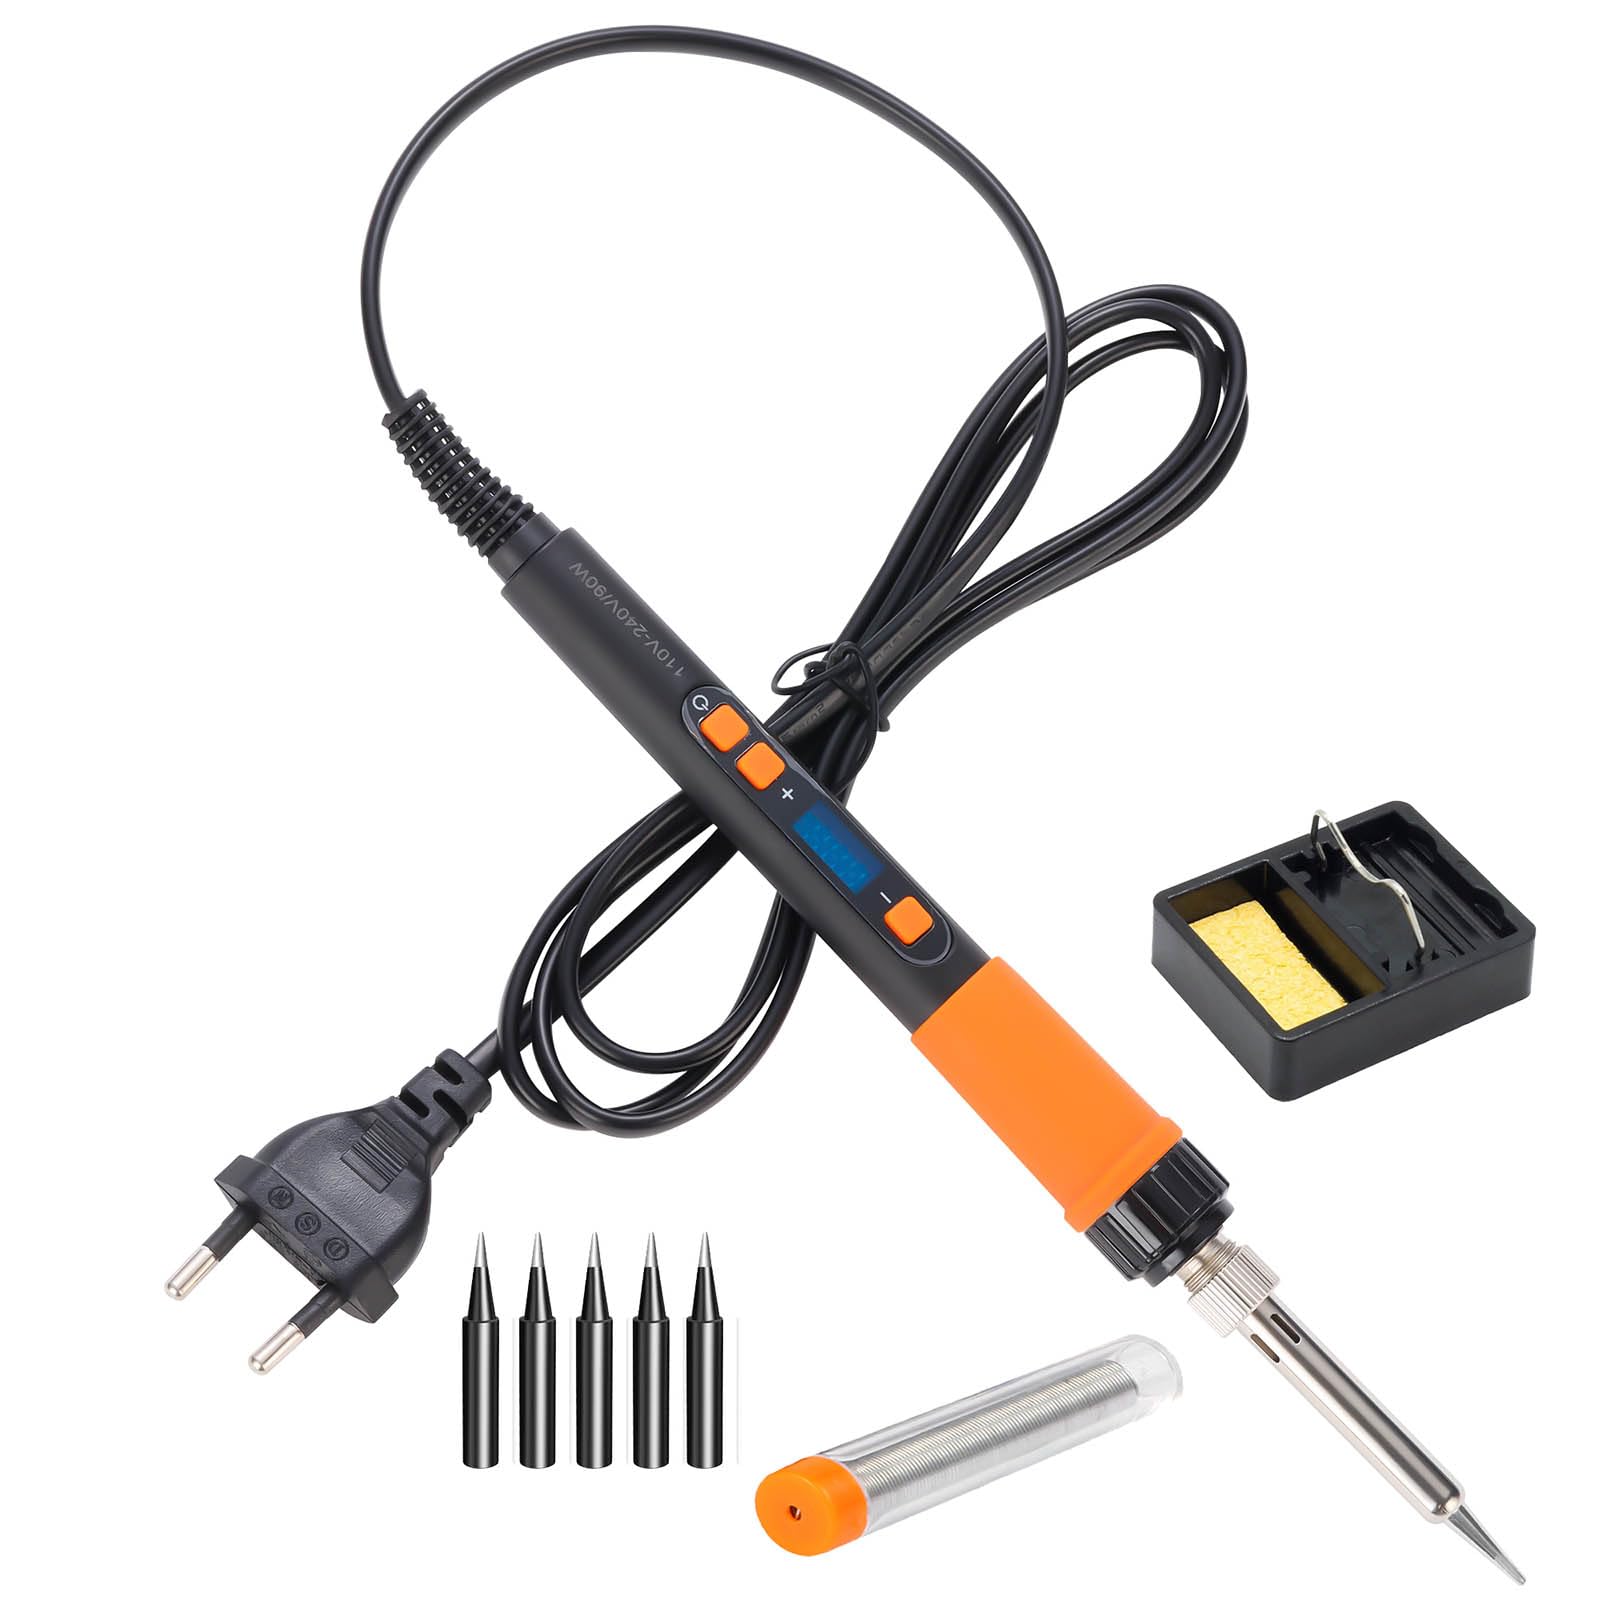
For complete beginners, a temperature-controlled 60W soldering iron kit with 63/37 rosin-core solder is universally recommended: this versatile, inexpensive setup prevents burnt circuit boards through steady thermal control while providing immediate visual feedback on perfectly flowing joints without requiring specialized micro-tools.
🛒 3. Kit iniziale & budget
Il minimo indispensabile per il primo giorno. Niente spese superflue né barriere.


ℹ️ RokkuWare è supportato dai lettori. Quando acquisti tramite i link, potremmo ricevere una commissione senza alcun costo aggiuntivo.