Incisione laser da tavolo
Tech & Digital Making

Incisione laser da tavolo

Transform digital vector designs into tangible, intricately burnt artwork on wood, leather, and acrylic right from your desk.

⏱️ 3 min di lettura 📦 Kit iniziale & budget: ~568,98 €

🔥 1. Il fascino principale

Incisione laser da tavolo

Watching a concentrated beam of coherent light vaporize organic surfaces with pinpoint precision yields an unmatched sensation of creative power. The sweet smell of singed cedar or freshly etched leather blends with the quiet hum of stepper motors, creating a mesmerizing rhythm where digital vector nodes turn into tactile, burnt reliefs in real-time. There is a captivating contrast between the raw intensity of the photon beam and the ultra-fine detail of the resulting artwork.

Psychologically, laser engraving offers the ultimate balance between computer-aided design and physical craftsmanship. You enter a deep flow state while preparing vector paths in software, dialing in speed and power ratios, and watching your virtual ideas burn into physical reality. It bridges the gap between digital illustration and hands-on fabrication, yielding clean, repeatable, professional-quality objects in a matter of minutes.

🗺️ 2. Il panorama

Before buying hardware, understanding light sources and focal setups is crucial to selecting the right tool for your material goals.

Diode Engraving (Organic & Soft Material Focus)

Low-cost visible light lasers designed for burning wood, leather, dark acrylic, and cardboard with ultra-fine focal spots. They excel at desktop crafting and detail work, though they struggle on clear acrylics and raw metals.

Infrared & Fiber Engraving (Metal & Hard Plastic Focus)

High-frequency, specialized beams built for deep etching, marking bare metals, coated jewelry, and engineering plastics. They prioritize high-speed marking and extreme precision over deep cutting of thick wooden sheets.

CO2 Laser Cutting (Thick Material & High-Speed Focus)

Gas-filled glass tube lasers that produce powerful far-infrared light, effortlessly slicing through thick acrylic, plywood, and softwoods. They require dedicated water cooling and substantial exhaust venting, serving as high-throughput fabrication workhorses.

💡 Raccomandazione

For complete beginners, a 10W desktop diode laser unit is universally recommended: it provides enough power to engrave woods and cut thin plywood without requiring complex water cooling systems or massive workshop spaces.

🛒 3. Kit iniziale & budget

Il minimo indispensabile per il primo giorno. Niente spese superflue né barriere.
💰
Kit iniziale & budget
~568,98 €
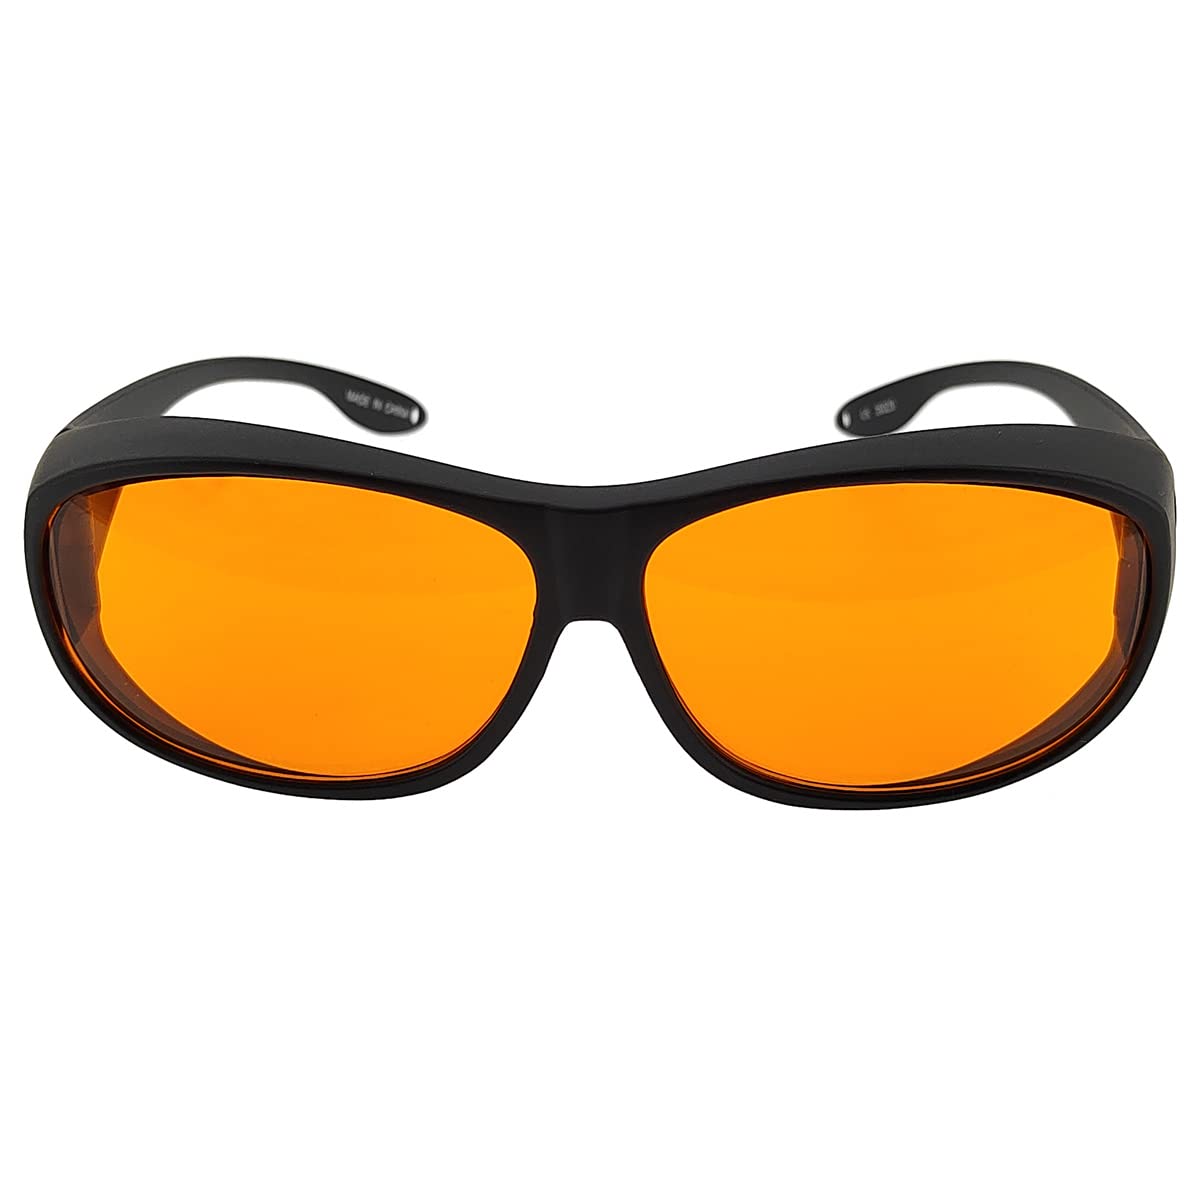
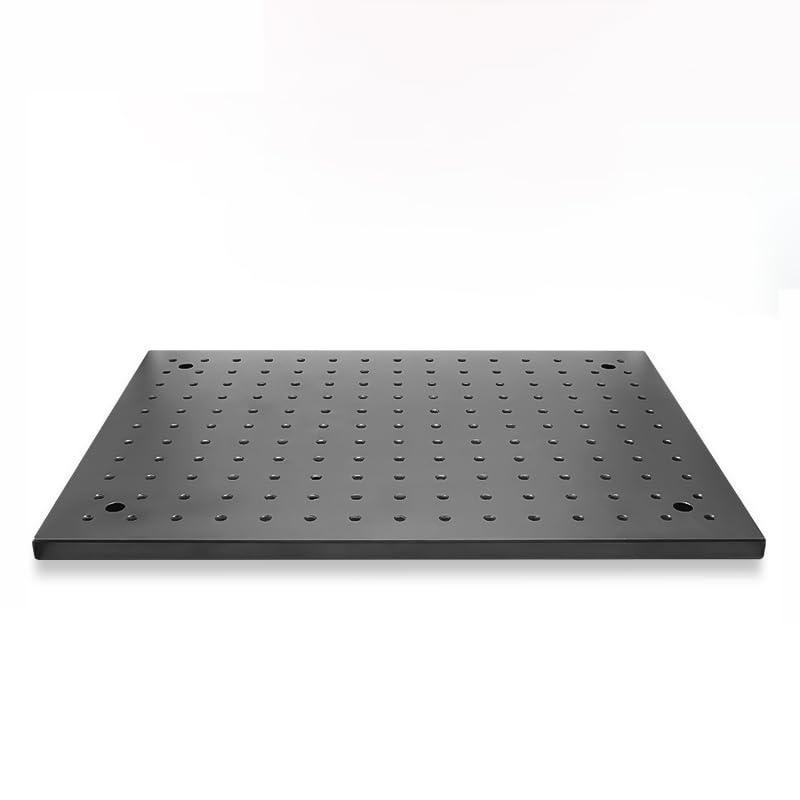
Incluso in questo budget: xTool D1 Pro 10W Diode Engraver • Laser Safety Glasses OD6+ 190nm-490nm • Honeycomb Laser Bed Platform 300x300mm
L'attrezzatura essenziale selezionata per il giorno 1. Nessun costo superfluo.
xTool D1 Pro 10W Diode Engraver

xTool D1 Pro 10W Diode Engraver

499,00 €
Acquista su Amazon ↗
Laser Safety Glasses OD6+ 190nm-490nm

Laser Safety Glasses OD6+ 190nm-490nm

29,99 €
Acquista su Amazon ↗
Honeycomb Laser Bed Platform 300x300mm

Honeycomb Laser Bed Platform 300x300mm

39,99 €
Acquista su Amazon ↗

📺 4. The Rabbit Hole

Canali consigliati e spiegazioni pratiche per approfondire la tecnica.

How to Start Laser Engraving | CrealityFalcon Series

How to Start Laser Engraving | CrealityFalcon Series

Fonte: Nim Productions ▶ Play
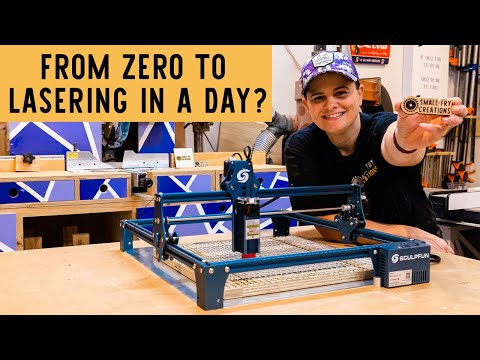
BEGINNER Laser Engraving and cutting tutorial with the Sculpfun S9

BEGINNER Laser Engraving and cutting tutorial with the Sculpfun S9

Fonte: Small Fry Creations ▶ Play
Lightburn Tutorial for Beginners - Everything you NEED to KNOW!

Lightburn Tutorial for Beginners - Everything you NEED to KNOW!

Fonte: Make or Break Shop ▶ Play

🎯 5. Il primo traguardo

🎯 ✓ Primo traguardo

Burning Your First Wooden Coaster (Your Day-One Victory)
Focus on mastering software-to-hardware communication, material focal distance, and basic speed/power calibration.

1

Safety & Ventilation Setup

Position your engraver near an open window with an active exhaust fan, place the frame on a fire-safe surface, and don your certified OD6+ laser safety eyewear.

2

Material Focus & Framing

Secure a blank basswood coaster to the honeycomb bed and manually adjust the laser module focal height using the flip-down kickstand or precision spacer.

3

Software Grid Setup

Import a basic vector graphic into LightBurn or LaserGRBL, setting up a simple power layer test ranging from 30% to 70% power at 1000 mm/min speed.

4

Frame and Fire

Execute a zero-power framing pass to verify the beam path remains entirely on the coaster, then hit start and monitor the engraving process safely through your goggles.

🏆 Vittoria del primo giorno

Once you brush away the light smoke residue to reveal a crisp, perfectly dark etched graphic on wood, you have officially conquered day one.

Altri Primers che potrebbero piacerti