🔥 1. Il fascino principale

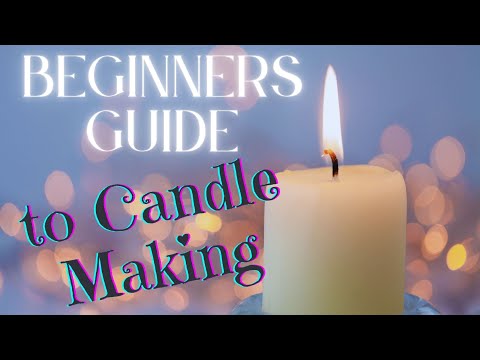
Candle pouring is a captivating alchemy that bridges sensory alchemy and precise thermal science. Watching solid opaque wax flakes transform into shimmering molten liquid, absorbing rich fragrance oils, and setting into immaculate, smooth top surfaces offers an instantly gratifying tactile flow state. It engages your sense of smell, visual aesthetics, and patience, turning simple raw materials into ambient centerpieces for your living space.
Beyond the satisfying visual transition, candle crafting provides a deeply restorative ritual in an over-screened world. Calibrating melt temperatures, calculating fragrance loads, and testing wick burns engages the creative mind in quiet focus. Burning a candle you poured yourself elevates a daily moment into a custom sensory experience that fills your home with personalized warmth.
🗺️ 2. Il panorama
Before acquiring equipment, understanding how different wax compositions and vessel mechanics dictate the pouring process will guide your creative direction.
Container Candles (Utility & Everyday Ambience)
Poured directly into glass jars, tins, or ceramic vessels, focusing on maximum fragrance throw and smooth adhesion. Soft waxes like soy, coconut, or paraffin blends are used because they adhere cleanly to vessel walls without structural cracking.
Pillar & Molded Candles (Sculptural Architecture)
Poured into freestanding silicone, plastic, or metal molds to create independent sculptural shapes. Harder waxes like paraffin or specialized pillar soy with higher melting points are essential so the finished candle maintains its structural integrity without a vessel.
Rolled & Dipped Tapers (Traditional Craftsmanship)
Built layer by layer by repeatedly dipping cotton wicks into deep vats of molten beeswax or rolling pre-formed beeswax sheets. This discipline prioritizes elemental physical repetition and minimalist elegance over heavy fragrance blending.
For complete beginners, a container candle setup using soy wax is universally recommended: soy wax melts at accessible, forgiving temperatures, cleans up effortlessly with soap and warm water, and provides a stable canvas to learn thermal management and fragrance binding without complex molds.
🛒 3. Kit iniziale & budget
Il minimo indispensabile per il primo giorno. Niente spese superflue né barriere.


ℹ️ RokkuWare è supportato dai lettori. Quando acquisti tramite i link, potremmo ricevere una commissione senza alcun costo aggiuntivo.