🔥 1. L'attrait principal

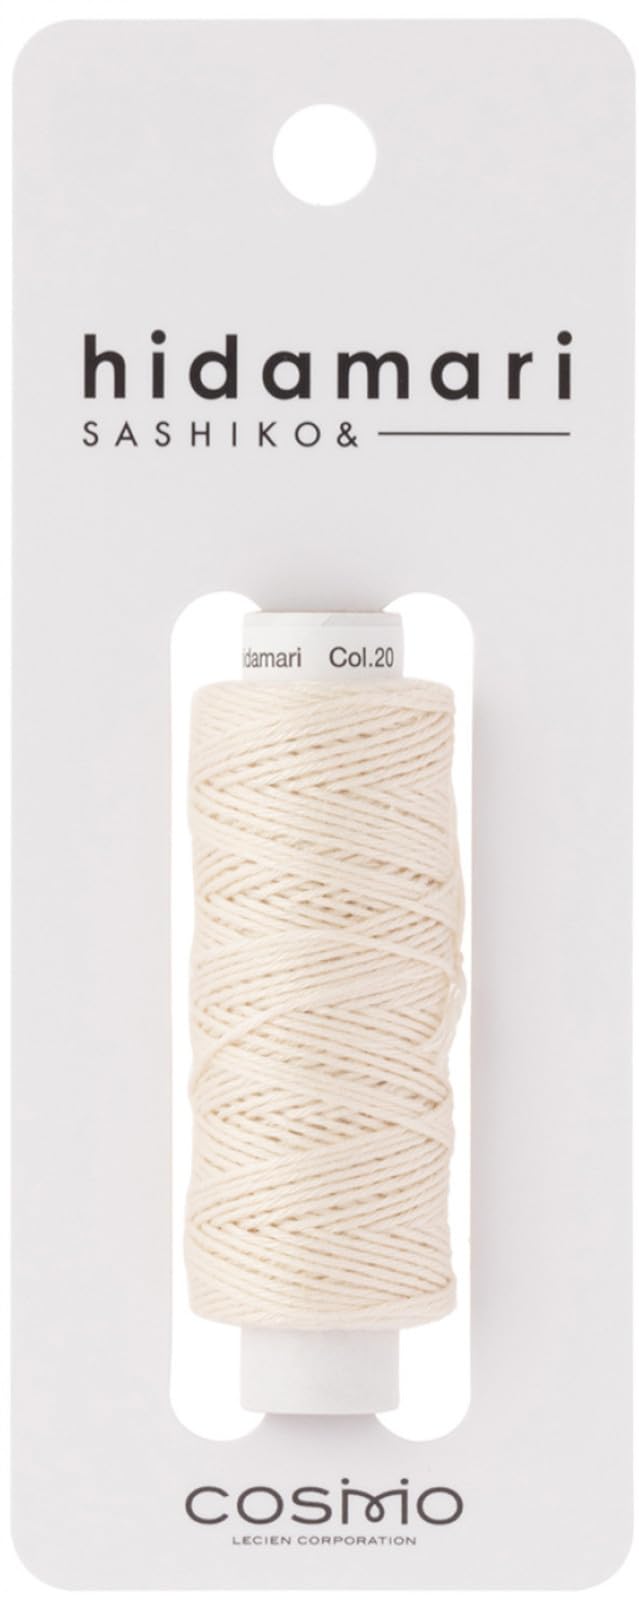
Sashiko visible mending transforms the inevitability of textile wear into a deliberate celebration of history and character. The tactile magic of rhythmic stitching begins as the heavy white cotton thread glides through worn denim, binding structural reinforcement patches beneath frayed threads. There is a deep, meditative satisfaction in watching a torn knee or split seam convert from a garment destined for landfill into a unique, hand-crafted canvas of contrast and geometric precision.
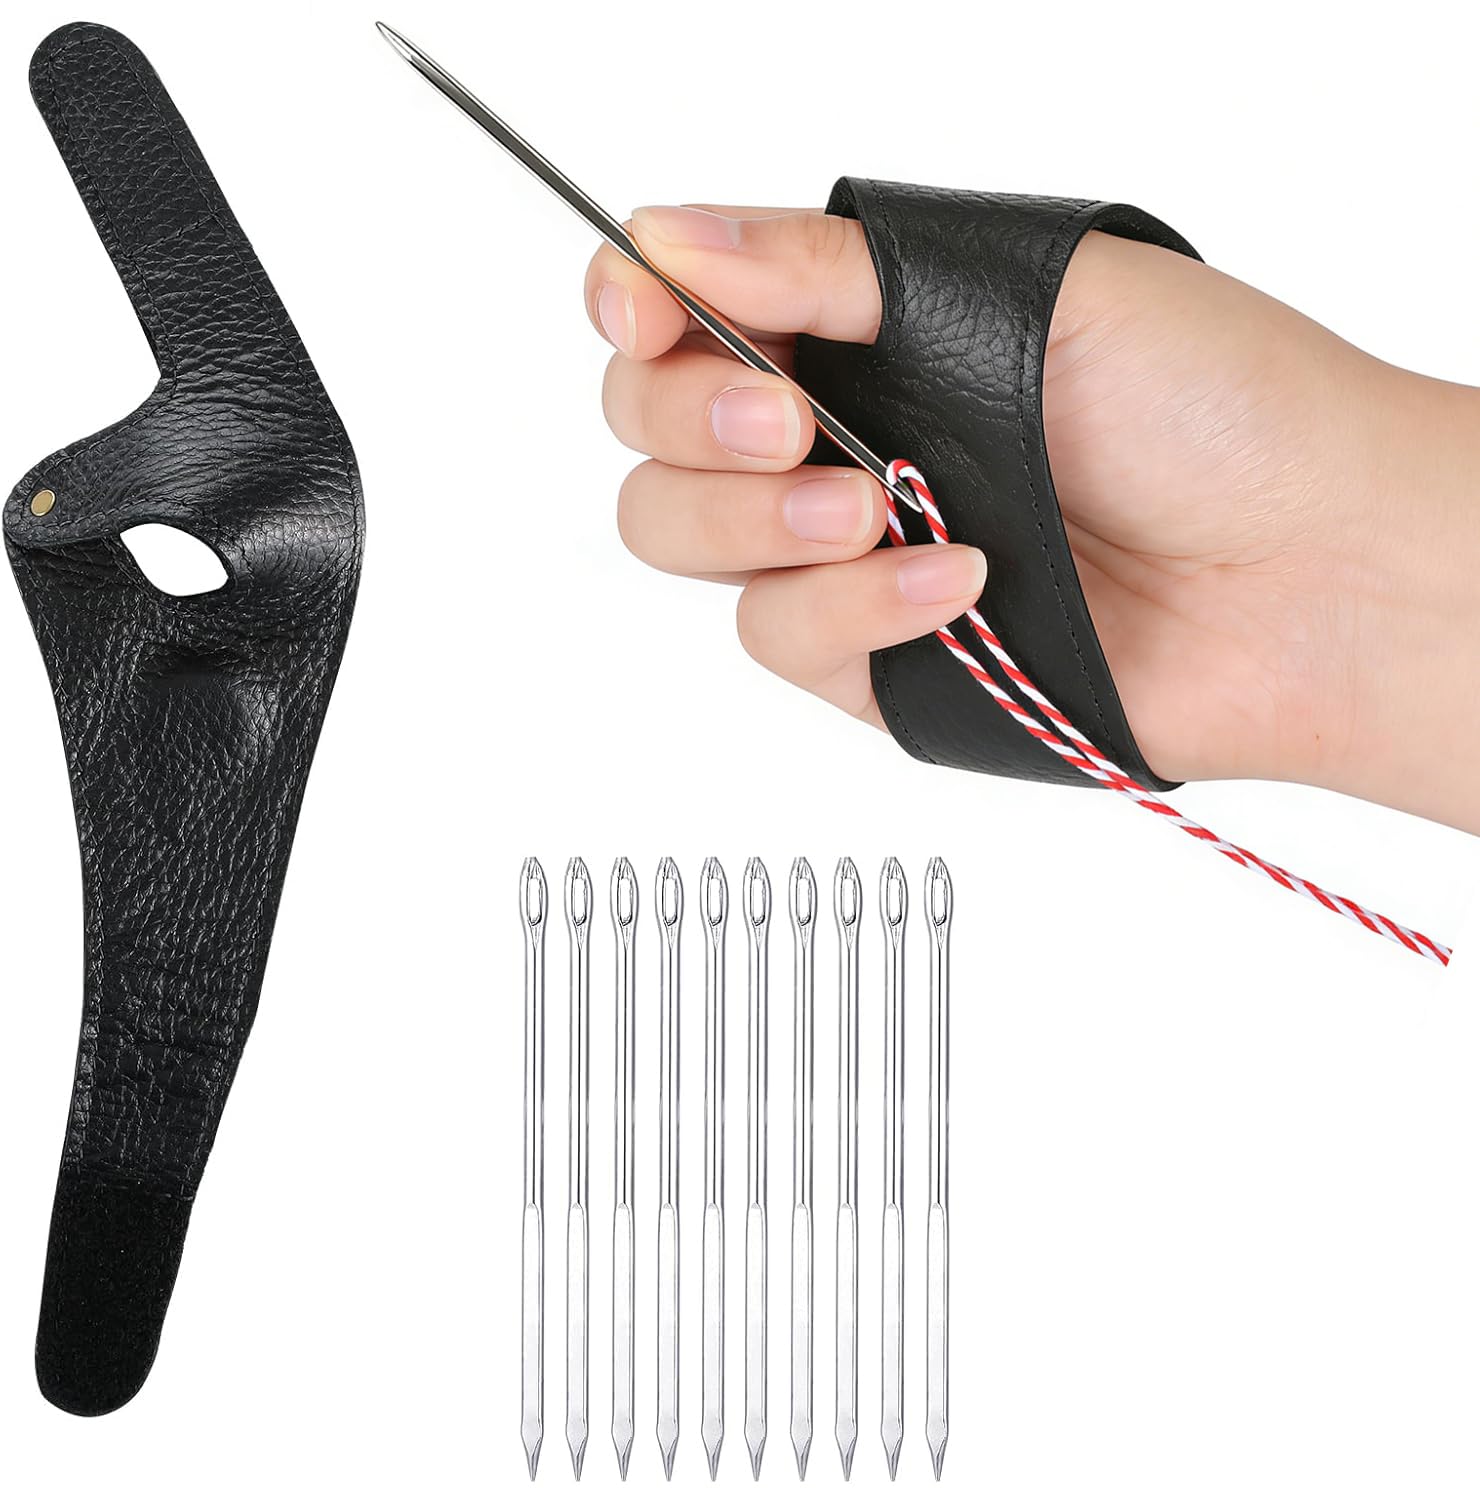
Beyond its striking aesthetic appeal, Sashiko induces a calming flow state that anchors you in the present moment. Pulling a long needle loaded with multiple uniform running stitches builds a hypnotic, rhythmic cadence that silences daily digital fatigue. You are not merely fixing clothes; you are engaging in a mindful, sustainable craft that honors the Japanese philosophy of mottainai (regret over waste) and wabi-sabi (beauty in imperfection).
🗺️ 2. Le panorama
Before purchasing specialist supplies, it helps to understand that Sashiko encompasses both functional utility and intricate decorative geometry. Originating in rural Japan as a practical method to warm and strengthen home-woven fabrics, the practice has evolved into distinct modern styles depending on your focus on repair versus pure ornamentation.
Moyōzashi (Geometric Grid Patterns)
This traditional style relies on precise, repeating geometric grid patterns such as ocean waves, hemp leaves, or interlocking circles worked across plain weave fabric. The focus is on disciplined stitch spacing where individual stitches do not touch, creating sharp structural beauty across large fabric panels.
Hitomezashi (One-Stitch Grid Work)
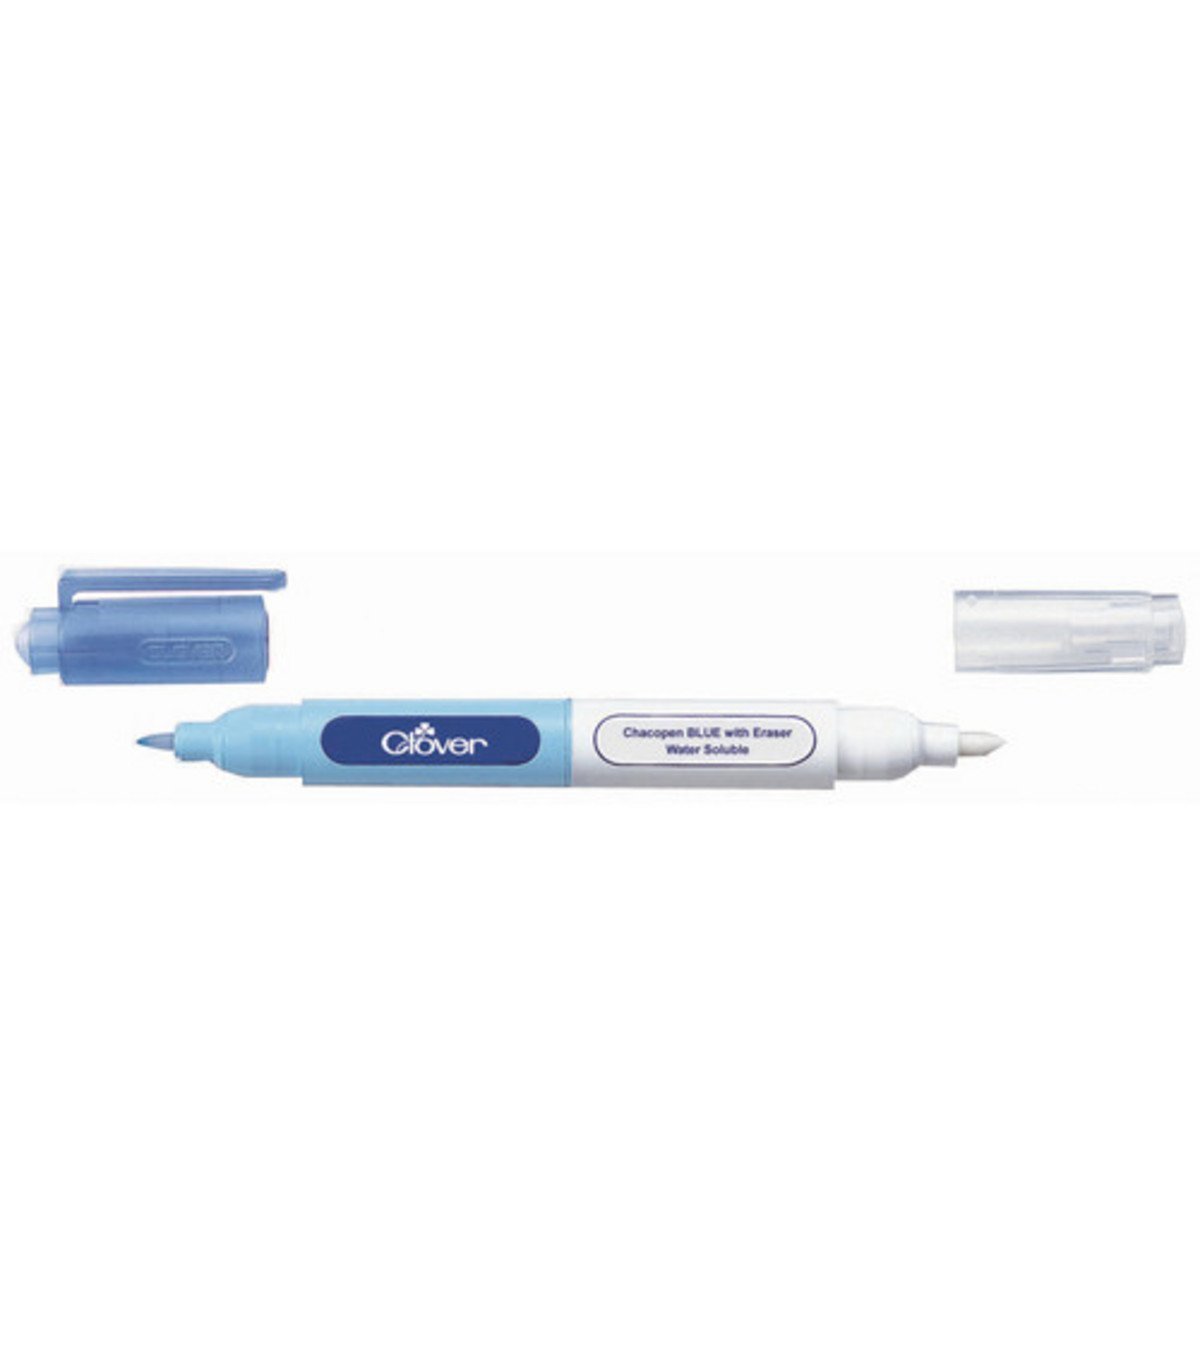
Built on an exact graph-paper grid marked directly onto fabric, this technique involves completing straight lines of single stitches in vertical, horizontal, and diagonal passes. As the lines intersect, dense and remarkably durable textures emerge, perfect for heavy-duty reinforcement on jeans and jackets.
Freeform Boro Mending (Intuitive Functional Patching)
Embracing a rustic and expressive aesthetic, this approach layers salvaged scrap fabrics over torn zones with relaxed, organic parallel running stitches. It prioritizes rapid structural repair and artistic textile collage over rigid grid symmetry, making it immensely forgiving for casual repairs.
For complete beginners, an intuitive Boro-style denim repair setup is universally recommended: starting with simple parallel running stitches over a rear fabric patch allows you to master needle loading and tension control without the pressure of complex geometric drafting.
🛒 3. Kit de départ & budget
Le minimum requis pour le jour 1. Pas de dépenses inutiles, pas d'obstacles.
ℹ️ RokkuWare est soutenu par ses lecteurs. Lorsque vous achetez via des liens, nous pouvons recevoir une commission sans aucun frais pour vous.