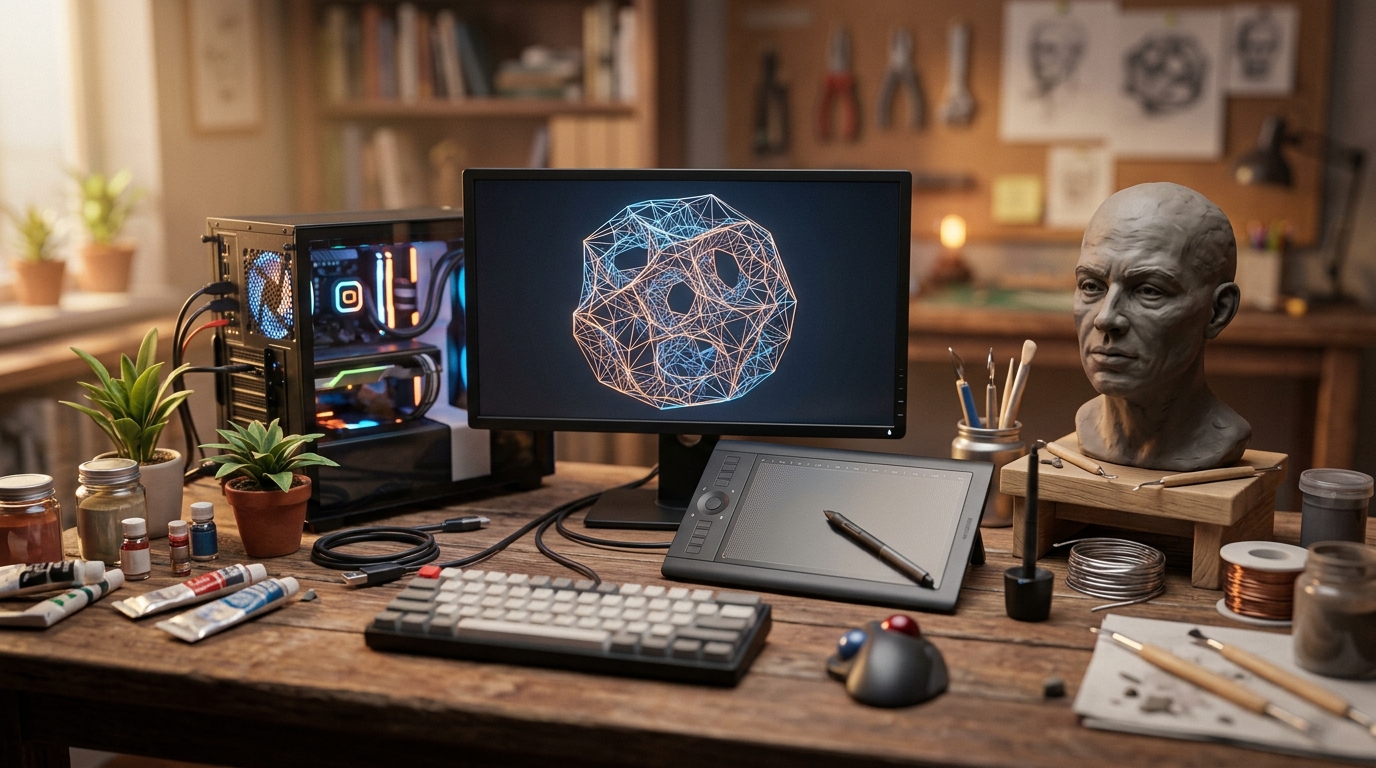
🔥 1. L'attrait principal

The magical alchemy of FDM (Fused Deposition Modeling) 3D printing lies in bridging the divide between digital imagination and physical reality. Watching an empty build plate gradually sprout a detailed tool, custom figurine, or functional replacement part feels like real-life magic. The rhythmic hum of stepper motors, the precise trace of the heated nozzle, and the subtle warmth of extruded filament create an intoxicating sensory feedback loop that draws you into a unique maker flow state.
Beyond the mesmerizing print process lies a deep sense of personal self-reliance and creative empowerment. No longer bound by off-the-shelf commercial goods, you gain the ability to repair broken household items, prototype original inventions, or customize your workspace with tailor-made solutions. The combination of digital 3D design, mechanical tuning, and tactile manufacturing offers a deeply satisfying cycle of problem-solving that continually stretches your creative boundaries.
🗺️ 2. Le panorama
Before buying your first machine, understanding the fundamental physical architectures of FDM printers will help you choose the right balance between setup speed, cost, and maintenance.
Bed-Slinger Cartesian (Budget & Mechanical Simplicity)
Uses a bed moving along the Y-axis while the printhead moves along the X and Z axes, making them affordable, easy to inspect, and widely supported by massive maker communities.
CoreXY Systems (High Speed & Rigid Enclosures)
Employs a fixed-height bed with belt-driven top gantries controlling X and Y simultaneously, allowing blazingly fast print speeds and enclosed chambers suited for technical materials.
Delta Printers (Rapid Vertical Motion)
Utilizes three vertical arms moving on synchronized parallel tracks to position the printhead, delivering hypnotic rapid movements ideal for tall, cylindrical objects.
For complete beginners, a modern bed-slinger printer with automatic bed leveling (like the Bambu Lab A1 Mini or Creality Ender 3 V3 SE) is universally recommended: it offers an unbeatable balance of low cost, minimal setup friction, and reliable print quality that cures analysis paralysis without locking them into a rigid style.
🛒 3. Kit de départ & budget
Le minimum requis pour le jour 1. Pas de dépenses inutiles, pas d'obstacles.
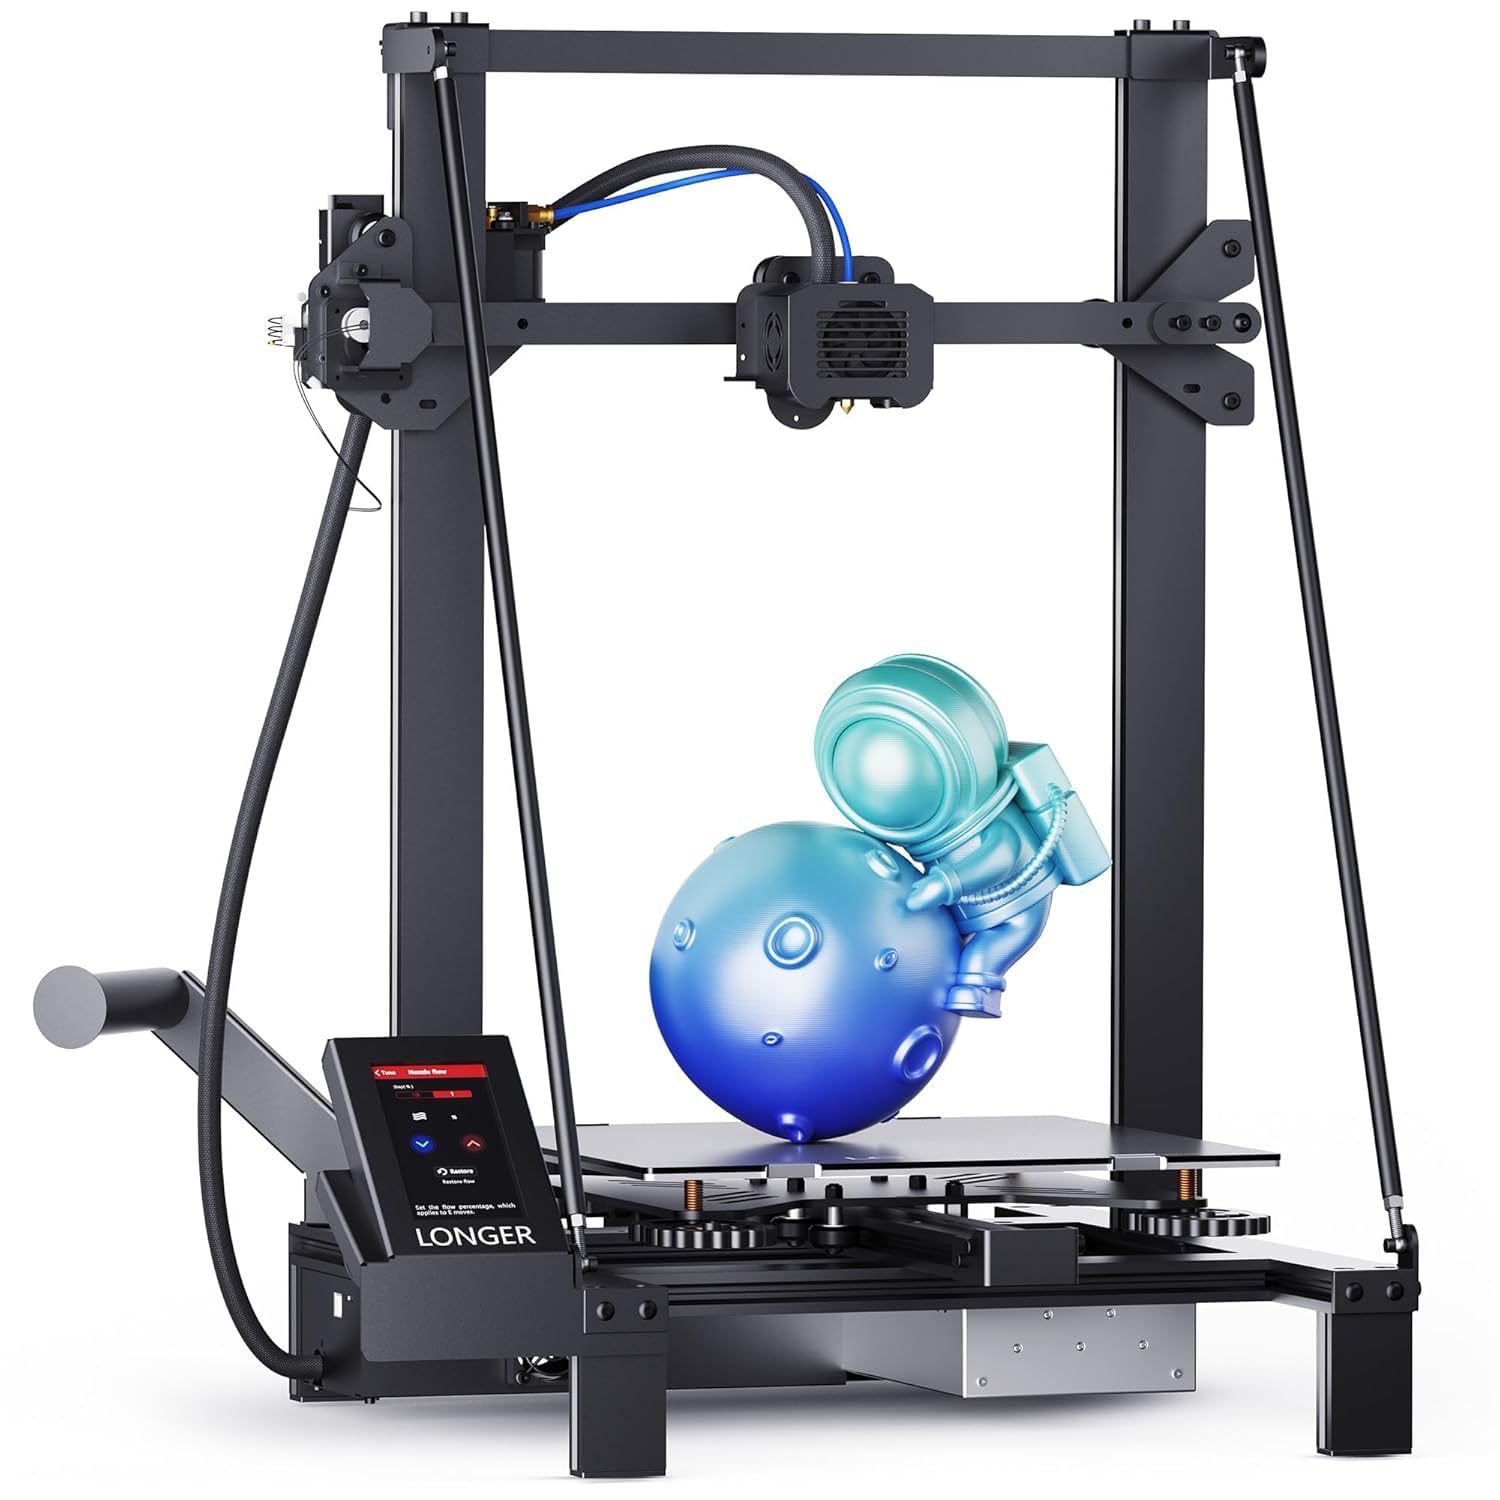
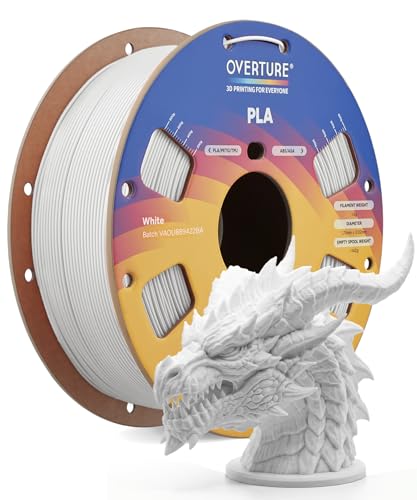
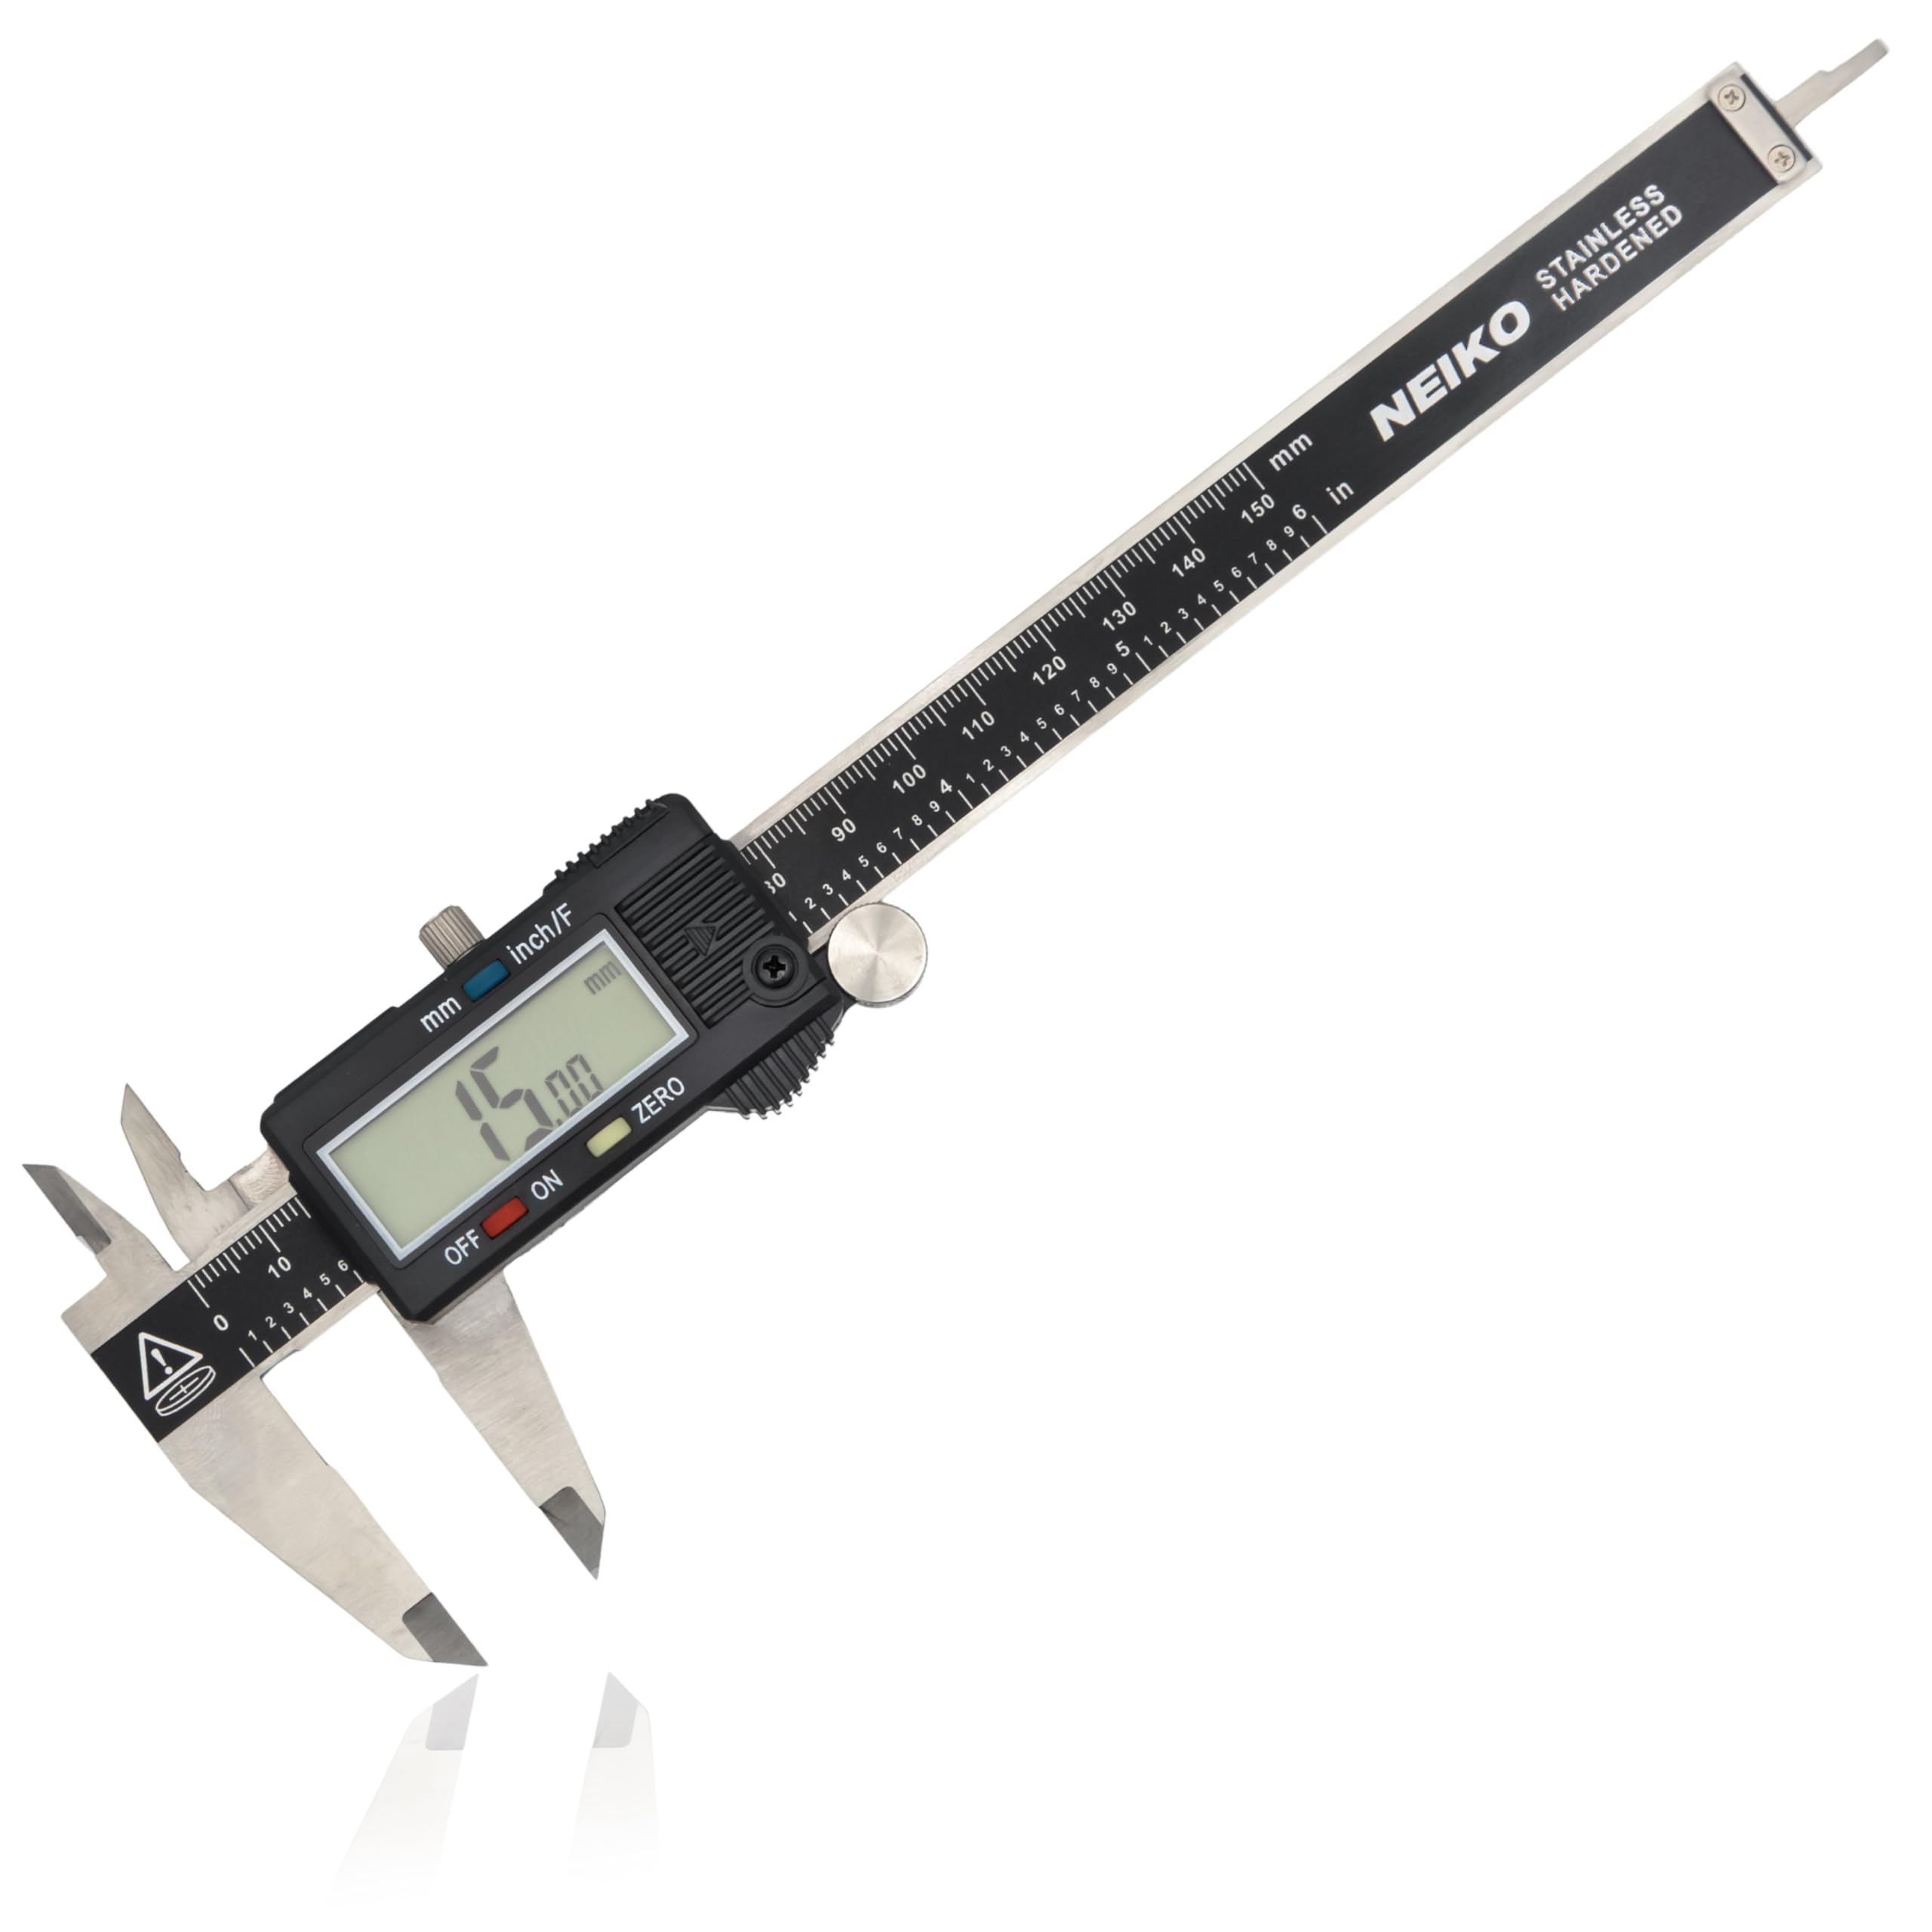
ℹ️ RokkuWare est soutenu par ses lecteurs. Lorsque vous achetez via des liens, nous pouvons recevoir une commission sans aucun frais pour vous.