🔥 1. L'attrait principal

Smart homes are often sold as effortless convenience, but cloud-tethered apps and fragmented ecosystems quickly turn that dream into an unreliable headache. Entering the world of Home Assistant integration flips the script: you transition from a passive consumer renting access to your own light switches to an architect building a local, private digital nerve center. There is a deeply satisfying flow state in writing your first flawless automation—watching motion sensors silently trigger ambient lighting, or having your home automatically adjust climate control as your phone connects to the local network.
Beyond the sheer utility, Home Assistant taps into the primal joy of tinkering and systems design. It offers complete autonomy over your domestic environment without sending sensitive data to third-party servers. Every dashboard configured, every Zigbee sensor added, and every YAML script optimized provides a tangible sense of mastery over the technology surrounding your daily life. It is the ultimate fusion of software craft, hardware connectivity, and domestic customization.
🗺️ 2. Le panorama
Before purchasing smart plugs and hardware controllers, it helps to understand the underlying protocols and integration topologies that power modern home automation.
Local Protocol Automation (Zigbee & Z-Wave)
Focuses on building a resilient, mesh-networked system of low-power sensors and smart switches that communicate directly to a local controller without touching the internet. This setup delivers ultra-fast response times and works reliably even during broad ISP outages.
Cloud & API Integrations (Ecosystem Bridging)
Focuses on pulling in web APIs, weather services, cloud-connected appliances, and commercial smart hubs into Home Assistant. This allows complex dashboarding and cross-brand coordination, though it relies on external internet connectivity and vendor API stability.
ESPHome & Custom DIY Hardware (Microcontroller Hacking)
Focuses on building bespoke sensors, micro-controllers, and custom LED matrices using inexpensive ESP32 or ESP8266 boards flashed with open-source firmware. This approach offers infinite creative freedom for makers who want to solder custom environmental monitors or tailored physical controllers.
For complete beginners, a dedicated local controller running Zigbee devices is universally recommended: this setup provides instant responsiveness, maximum privacy, and seamless compatibility across hundreds of budget-friendly smart sensors without cluttering your home Wi-Fi network.
🛒 3. Kit de départ & budget
Le minimum requis pour le jour 1. Pas de dépenses inutiles, pas d'obstacles.
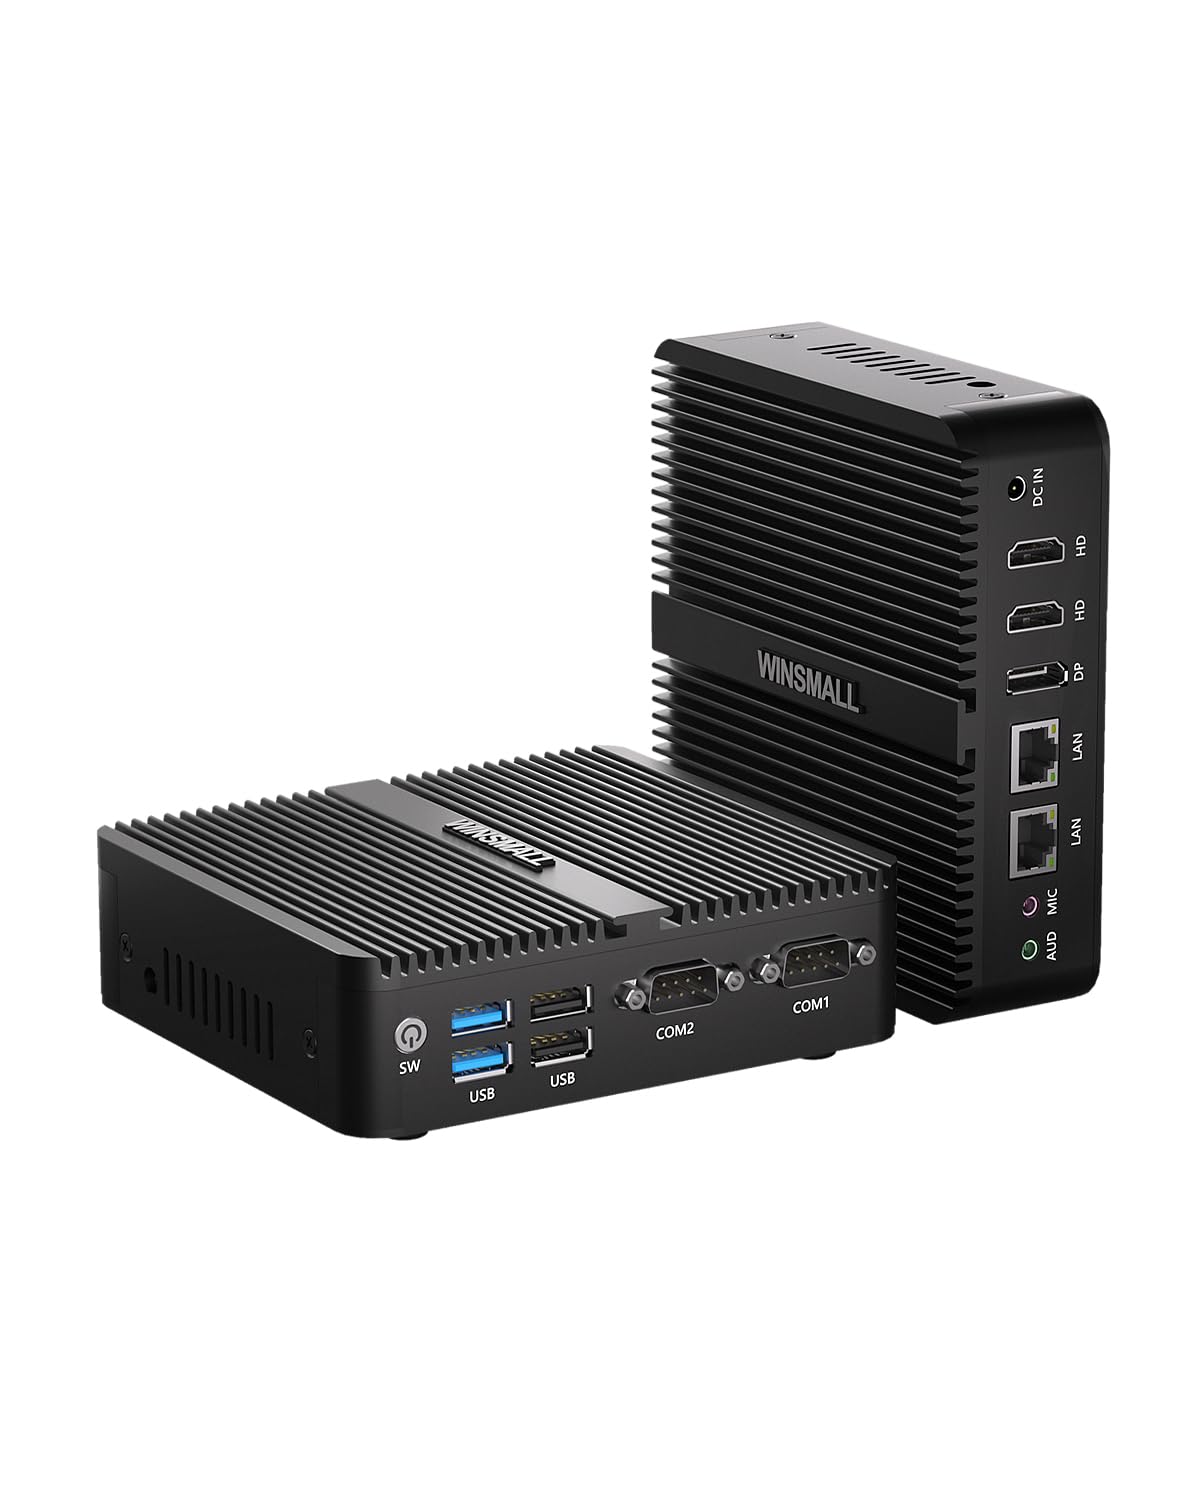
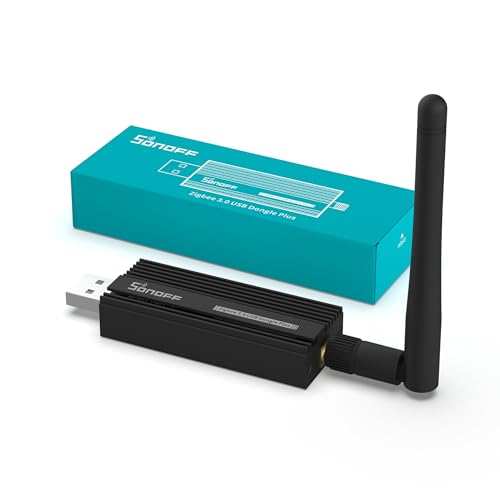

ℹ️ RokkuWare est soutenu par ses lecteurs. Lorsque vous achetez via des liens, nous pouvons recevoir une commission sans aucun frais pour vous.