🔥 1. The Core Appeal
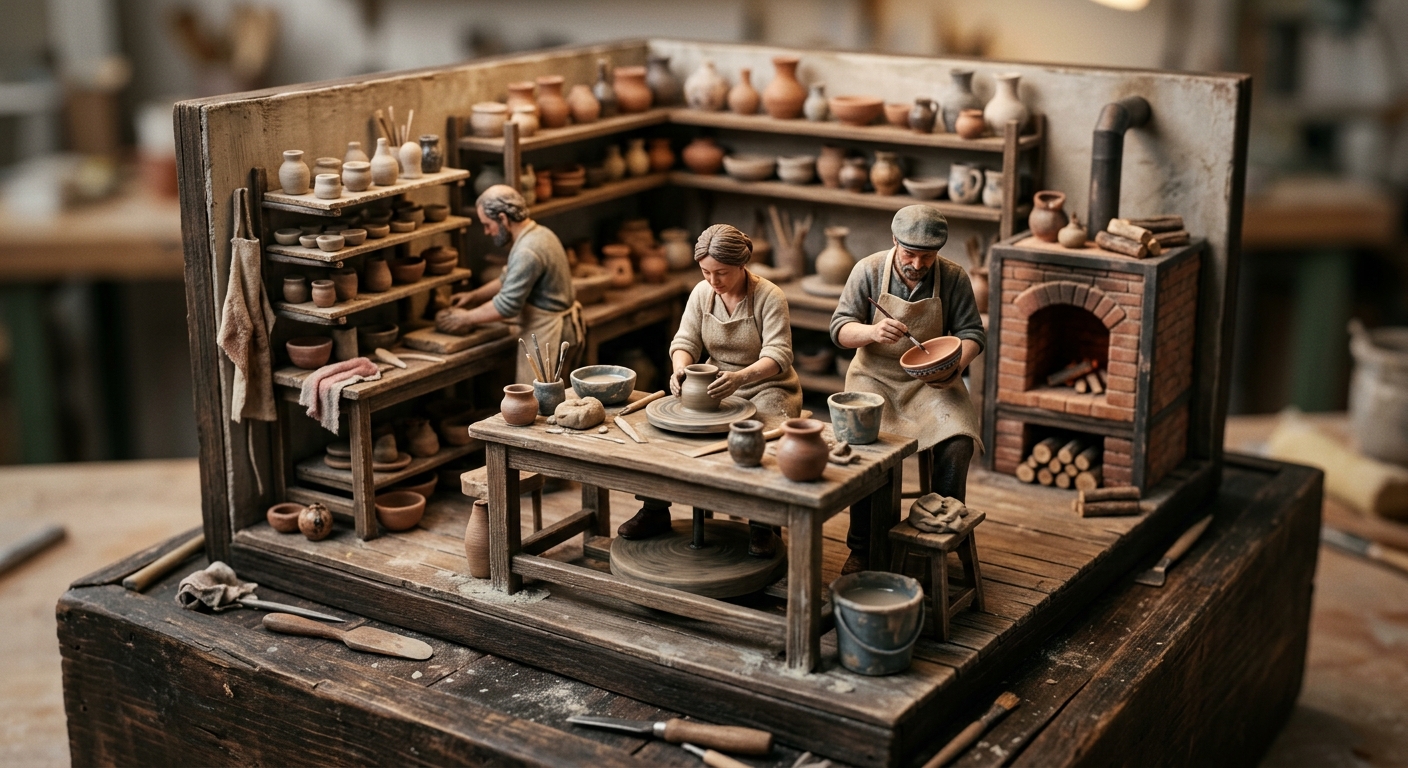
Digging your hands into cool, pliable clay offers a grounding tactile experience that instantly detaches you from digital screens. The feel of the earth yielding under pressure, responding to the slightest shift in weight or finger placement, creates an immediate visceral connection. Every squeeze, fold, and smooth stroke demands full presence, grounding your awareness directly into your fingertips.
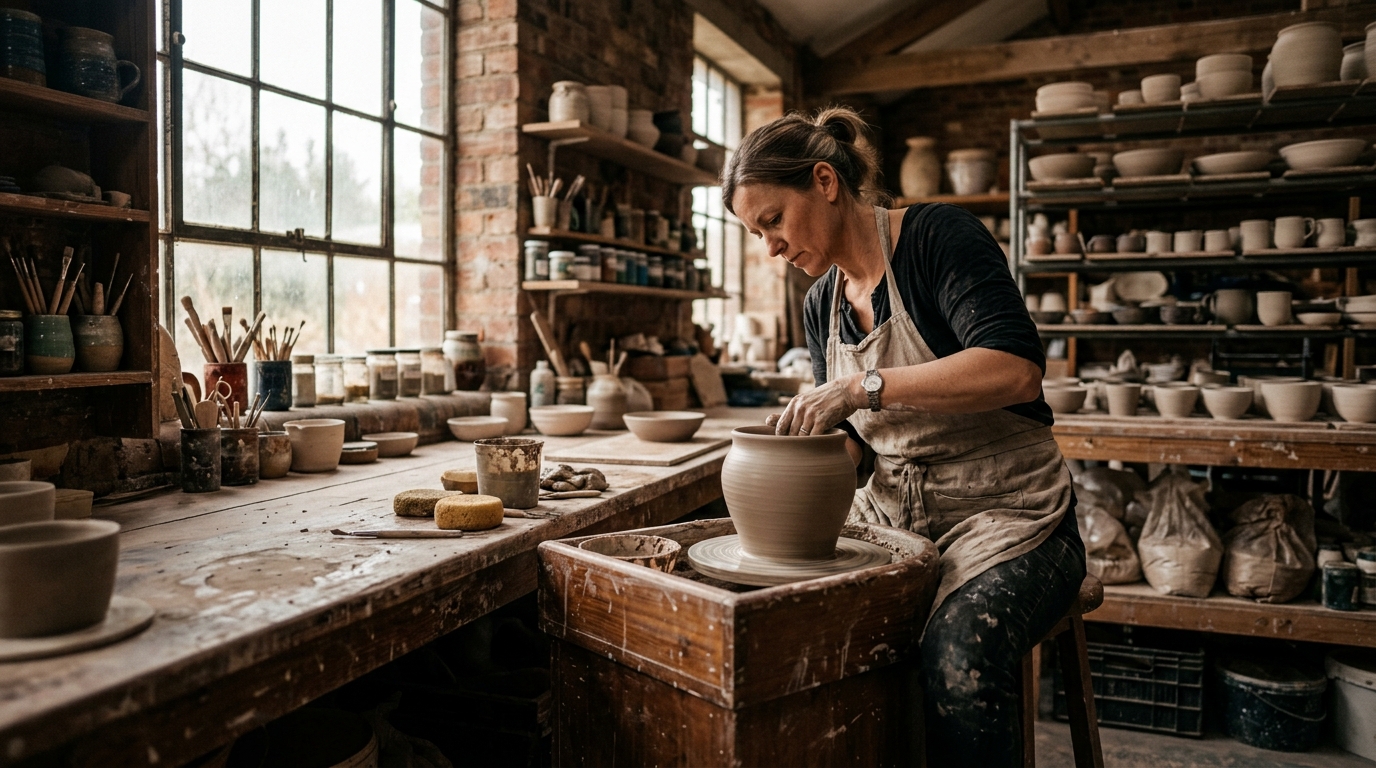
Beyond the physical sensory feedback lies a deeply meditative state of creative flow. As you shape a piece—whether pulling up walls on a spinning wheel or shaping a vessel by hand—the boundary between creator and medium blurs. Mistakes transform into organic design choices, and the rhythm of shaping clay fosters patience, mindfulness, and a profound sense of pride when holding a piece you fashioned entirely from scratch.
🗺️ 2. The Landscape
Before investing in expensive motorized pottery wheels or dedicated kilns, it is essential to understand the primary techniques used to manipulate wet clay into permanent forms.
Handbuilding (Tactile Form & Structural Sculpting)
Handbuilding encompasses traditional techniques like pinch pots, coiling, and slab construction without requiring a wheel. It offers total creative freedom for organic shapes, sculptural vessels, and structural homeware with minimal equipment.
Wheel Throwing (Rotational Symmetry & Dynamic Precision)
Wheel throwing utilizes a motor-driven spinning wheel head to center and shape soft clay into perfectly symmetrical cylindrical forms. It requires refined hand coordination, breath control, and precise moisture management to pull thin, elegant walls.
Slipcasting (Mold Reproduction & Industrial Geometry)
Slipcasting involves pouring liquid clay into plaster molds to create consistent, thin-walled hollow ceramics. This technical approach emphasizes precision, repeatable production, and intricate geometric surface details.
For complete beginners, basic handbuilding with air-dry or low-fire stoneware clay is universally recommended: starting with simple pinch and coil techniques allows you to master clay hydration, wall thickness, and structural integrity without the technical barrier or expense of wheel throwing equipment.
🛒 3. The Starter Kit & Budget
Curated minimum gear required for day one. No expensive fluff or pro-tier barriers.


ℹ️ RokkuWare is reader-supported. When you buy through links on our site, we may earn an affiliate commission at zero extra cost to you.