🔥 1. The Core Appeal
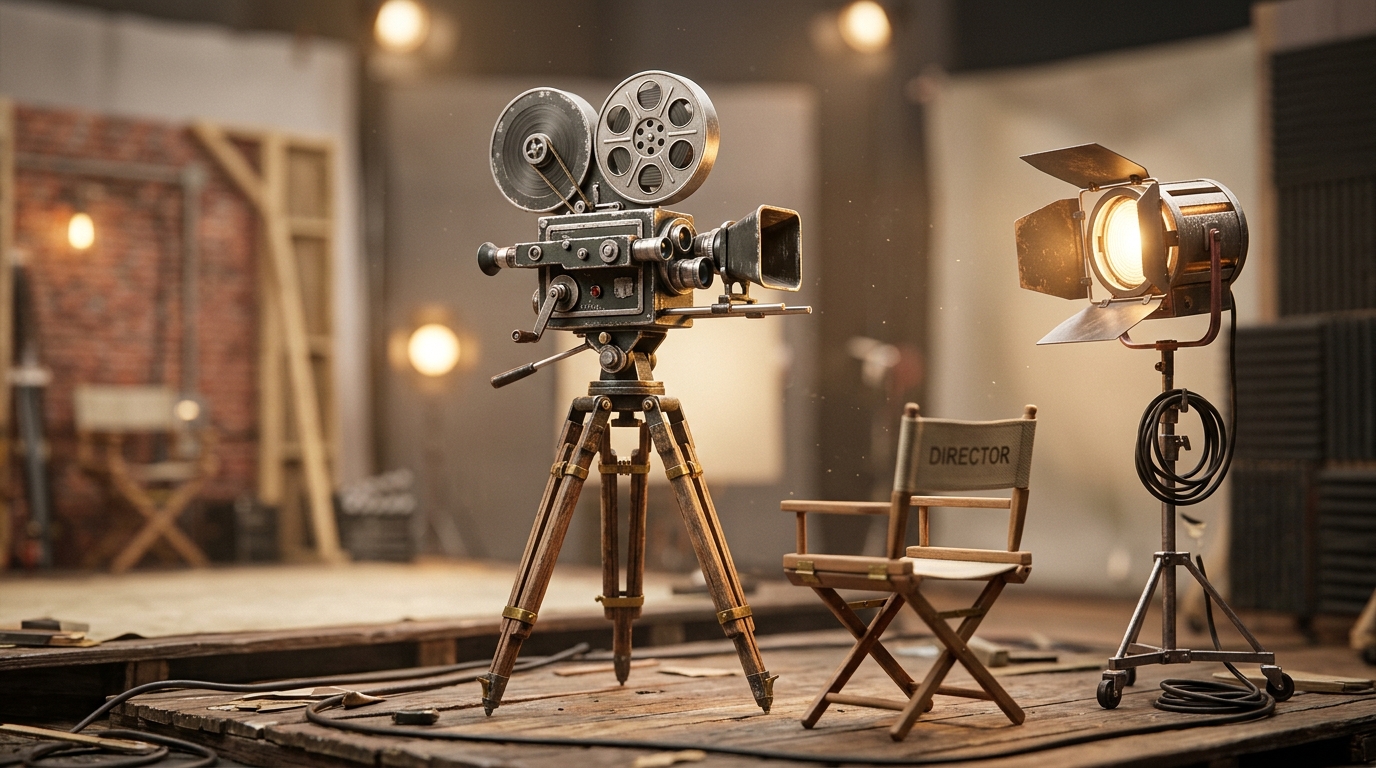
Visualizing a story before it happens and capturing it in a single fluid frame is a powerful form of modern alchemy. Cinematography is not merely pointing a camera at an object; it is the deliberate manipulation of light, shadow, optics, and movement to evoke raw human emotion. When you peer through the viewfinder, the noisy background of the outside world fades, replaced by a hyper-focused awareness of contrast, color temperature, and spatial geometry.
Entering the flow state of a cinematographer means balancing technical precision with artistic instinct. You begin to see the world differently—noticing how natural light spills across a kitchen table at 4:00 PM, or how a subtle focal shift pulls an audience directly into a character's subconscious. The ultimate reward is turning static reality into cinematic poetry, creating moving images that resonate long after the screen goes dark.
🗺️ 2. The Landscape
Before diving into expensive cinema rigs and prime lenses, it is crucial to understand that cinematography spans vast stylistic genres, each demanding unique visual languages and equipment priorities.
Narrative Cinematography (Story-Driven Visuals)
Focuses on dramatic lighting, precise camera blocking, and intentional lens choice to support a script. Operators rely on prime lenses, cinema cameras, and precise three-point lighting setups to shape mood and character psychology.
Documentary & Run-and-Gun (Unscripted Realism)
Prioritizes adaptability, fast exposure adjustments, and portable stabilization over heavily staged setups. Cinematographers utilize versatile zoom lenses, compact gimbals, and natural ambient light to capture authentic moments on the fly.
Commercial & Music Video (Stylized Spectacle)
Emphasizes high-contrast lighting, expressive color grading, dynamic camera movements, and hyper-kinetic editing pacing. Hardware choices often lean heavily into high-frame-rate cameras, specialized filters, and dramatic motion control setups.
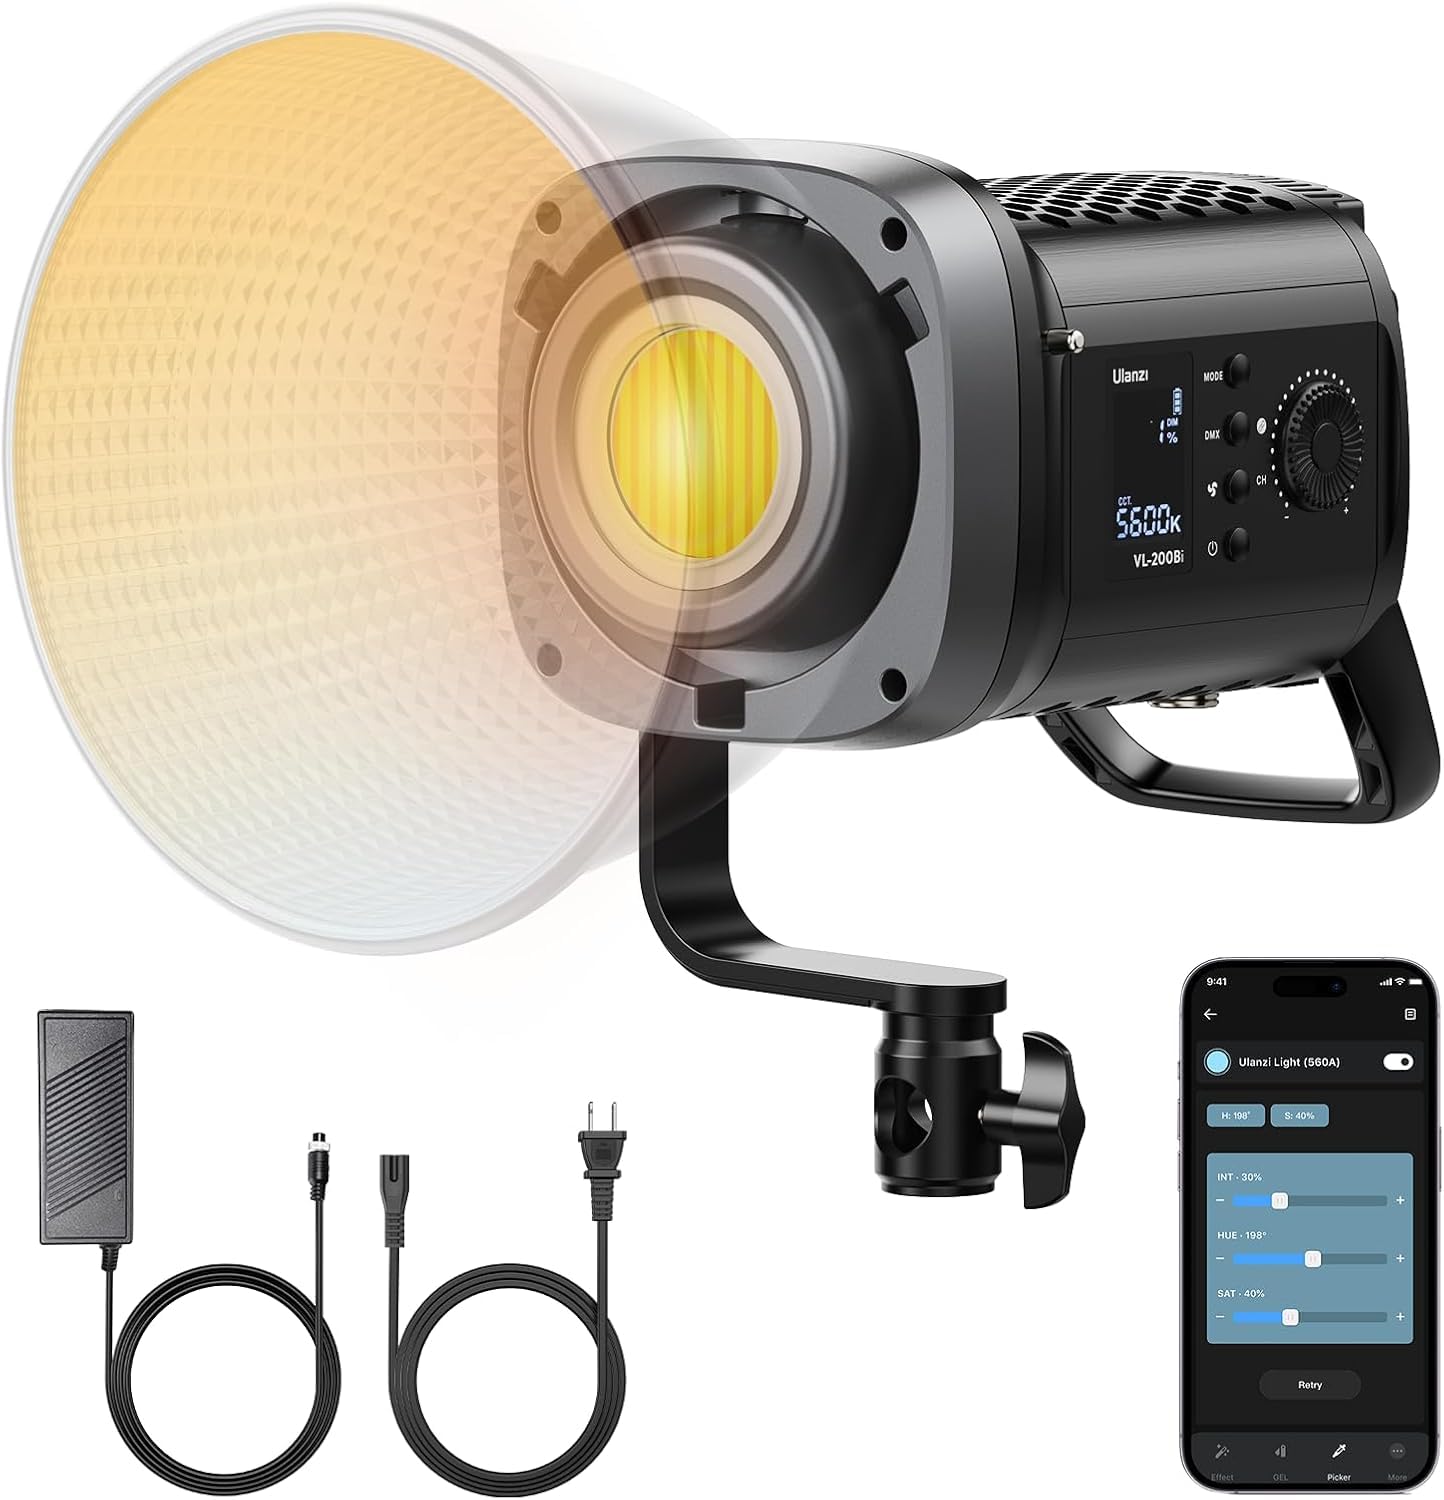
For complete beginners, a modern smartphone paired with a compact lighting kit and a fluid-head tripod is universally recommended: this streamlined setup cures analysis paralysis without locking them into a rigid style, forcing the operator to master composition, exposure, and lighting fundamentals before spending thousands on camera bodies.
🛒 3. The Starter Kit & Budget
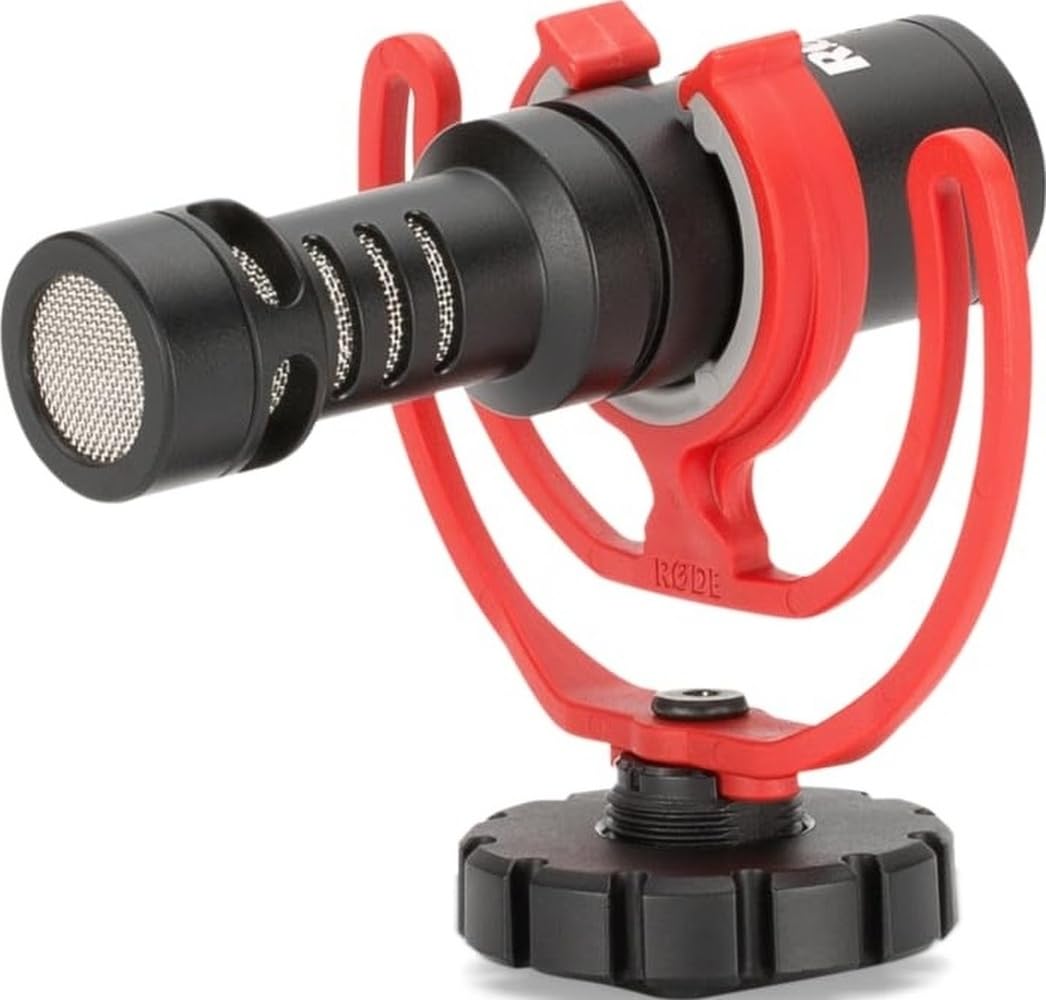
Curated minimum gear required for day one. No expensive fluff or pro-tier barriers.

ℹ️ RokkuWare is reader-supported. When you buy through links on our site, we may earn an affiliate commission at zero extra cost to you.