Messer schärfen mit dem Schleifstein
Culinary & Mixology

Messer schärfen mit dem Schleifstein

Transform dull kitchen blades into razor-sharp tools using the meditative, precise art of manual whetstone sharpening.

⏱️ 4 Min. Lesezeit 📦 Grundausrüstung & Budget: ~58,87 €

🔥 1. Der Reiz

Messer schärfen mit dem Schleifstein

There is a profound, rhythmic tactile joy in freehand whetstone sharpening. As steel glides across a soaked wet stone, you receive immediate sensory feedback through your fingertips—the distinct auditory hiss of metal removal, the faint earthy aroma of stone dust and water, and the steady friction beneath the blade. It is an intensely grounding flow state where time slows down, requiring your full presence, quiet focus, and microscopic physical discipline.

Beyond the meditative process lies immediate, practical empowerment. Gliding a freshly sharpened chef's knife cleanly through an unyielding ripe tomato skin without squeezing a single drop of juice provides a rush of visceral satisfaction. Sharpening elevates cooking from a mundane chore into an art form, giving you complete mastery over your tools while rescuing dull blades from the back of the drawer.

🗺️ 2. Die Landschaft

Before purchasing sharpening equipment, understand that sharpening is fundamentally about micro-geometry: removing metal to form a clean apex where two planes meet at a consistent angle.

Waterstone Sharpening (Synthetic Soaking & Splash-and-Go)

Focuses on fast metal removal and quick feedback using synthetic abrasives like aluminum oxide or silicon carbide, ideal for standard kitchen cutlery.

Oilstone Sharpening (Arkansas & India Stones)

Focuses on traditional, highly durable natural or synthetic stones that use mineral oil as a lubricant, offering a slower, highly controlled edge refining process.

Diamond Plate Sharpening (Monocrystalline Sheets)

Focuses on aggressive, lightning-fast stock removal and flattening other stones, performing effortlessly on extremely hard modern super-steels without requiring water soaking.

Natural Stone Sharpening (Japanese Natural Jnats)

Focuses on hyper-fine polishing, variable grit progression, and producing a soft, aesthetic hazy finish (kasumi) on high-end carbon steel blades.

💡 Empfehlung

For complete beginners, a dual-sided 1000/6000 grit synthetic combination waterstone is universally recommended: it provides an aggressive enough grit to quickly set a new edge and a fine enough grit to produce a razor-sharp polished edge without overwhelming you with expensive individual stones.

🛒 3. Starter-Kit & Budget

Sorgfältig ausgewählte Mindestausrüstung für Tag 1. Kein teurer Schnickschnack, keine Hürden.

💰
Grundausrüstung & Budget
~58,87 €
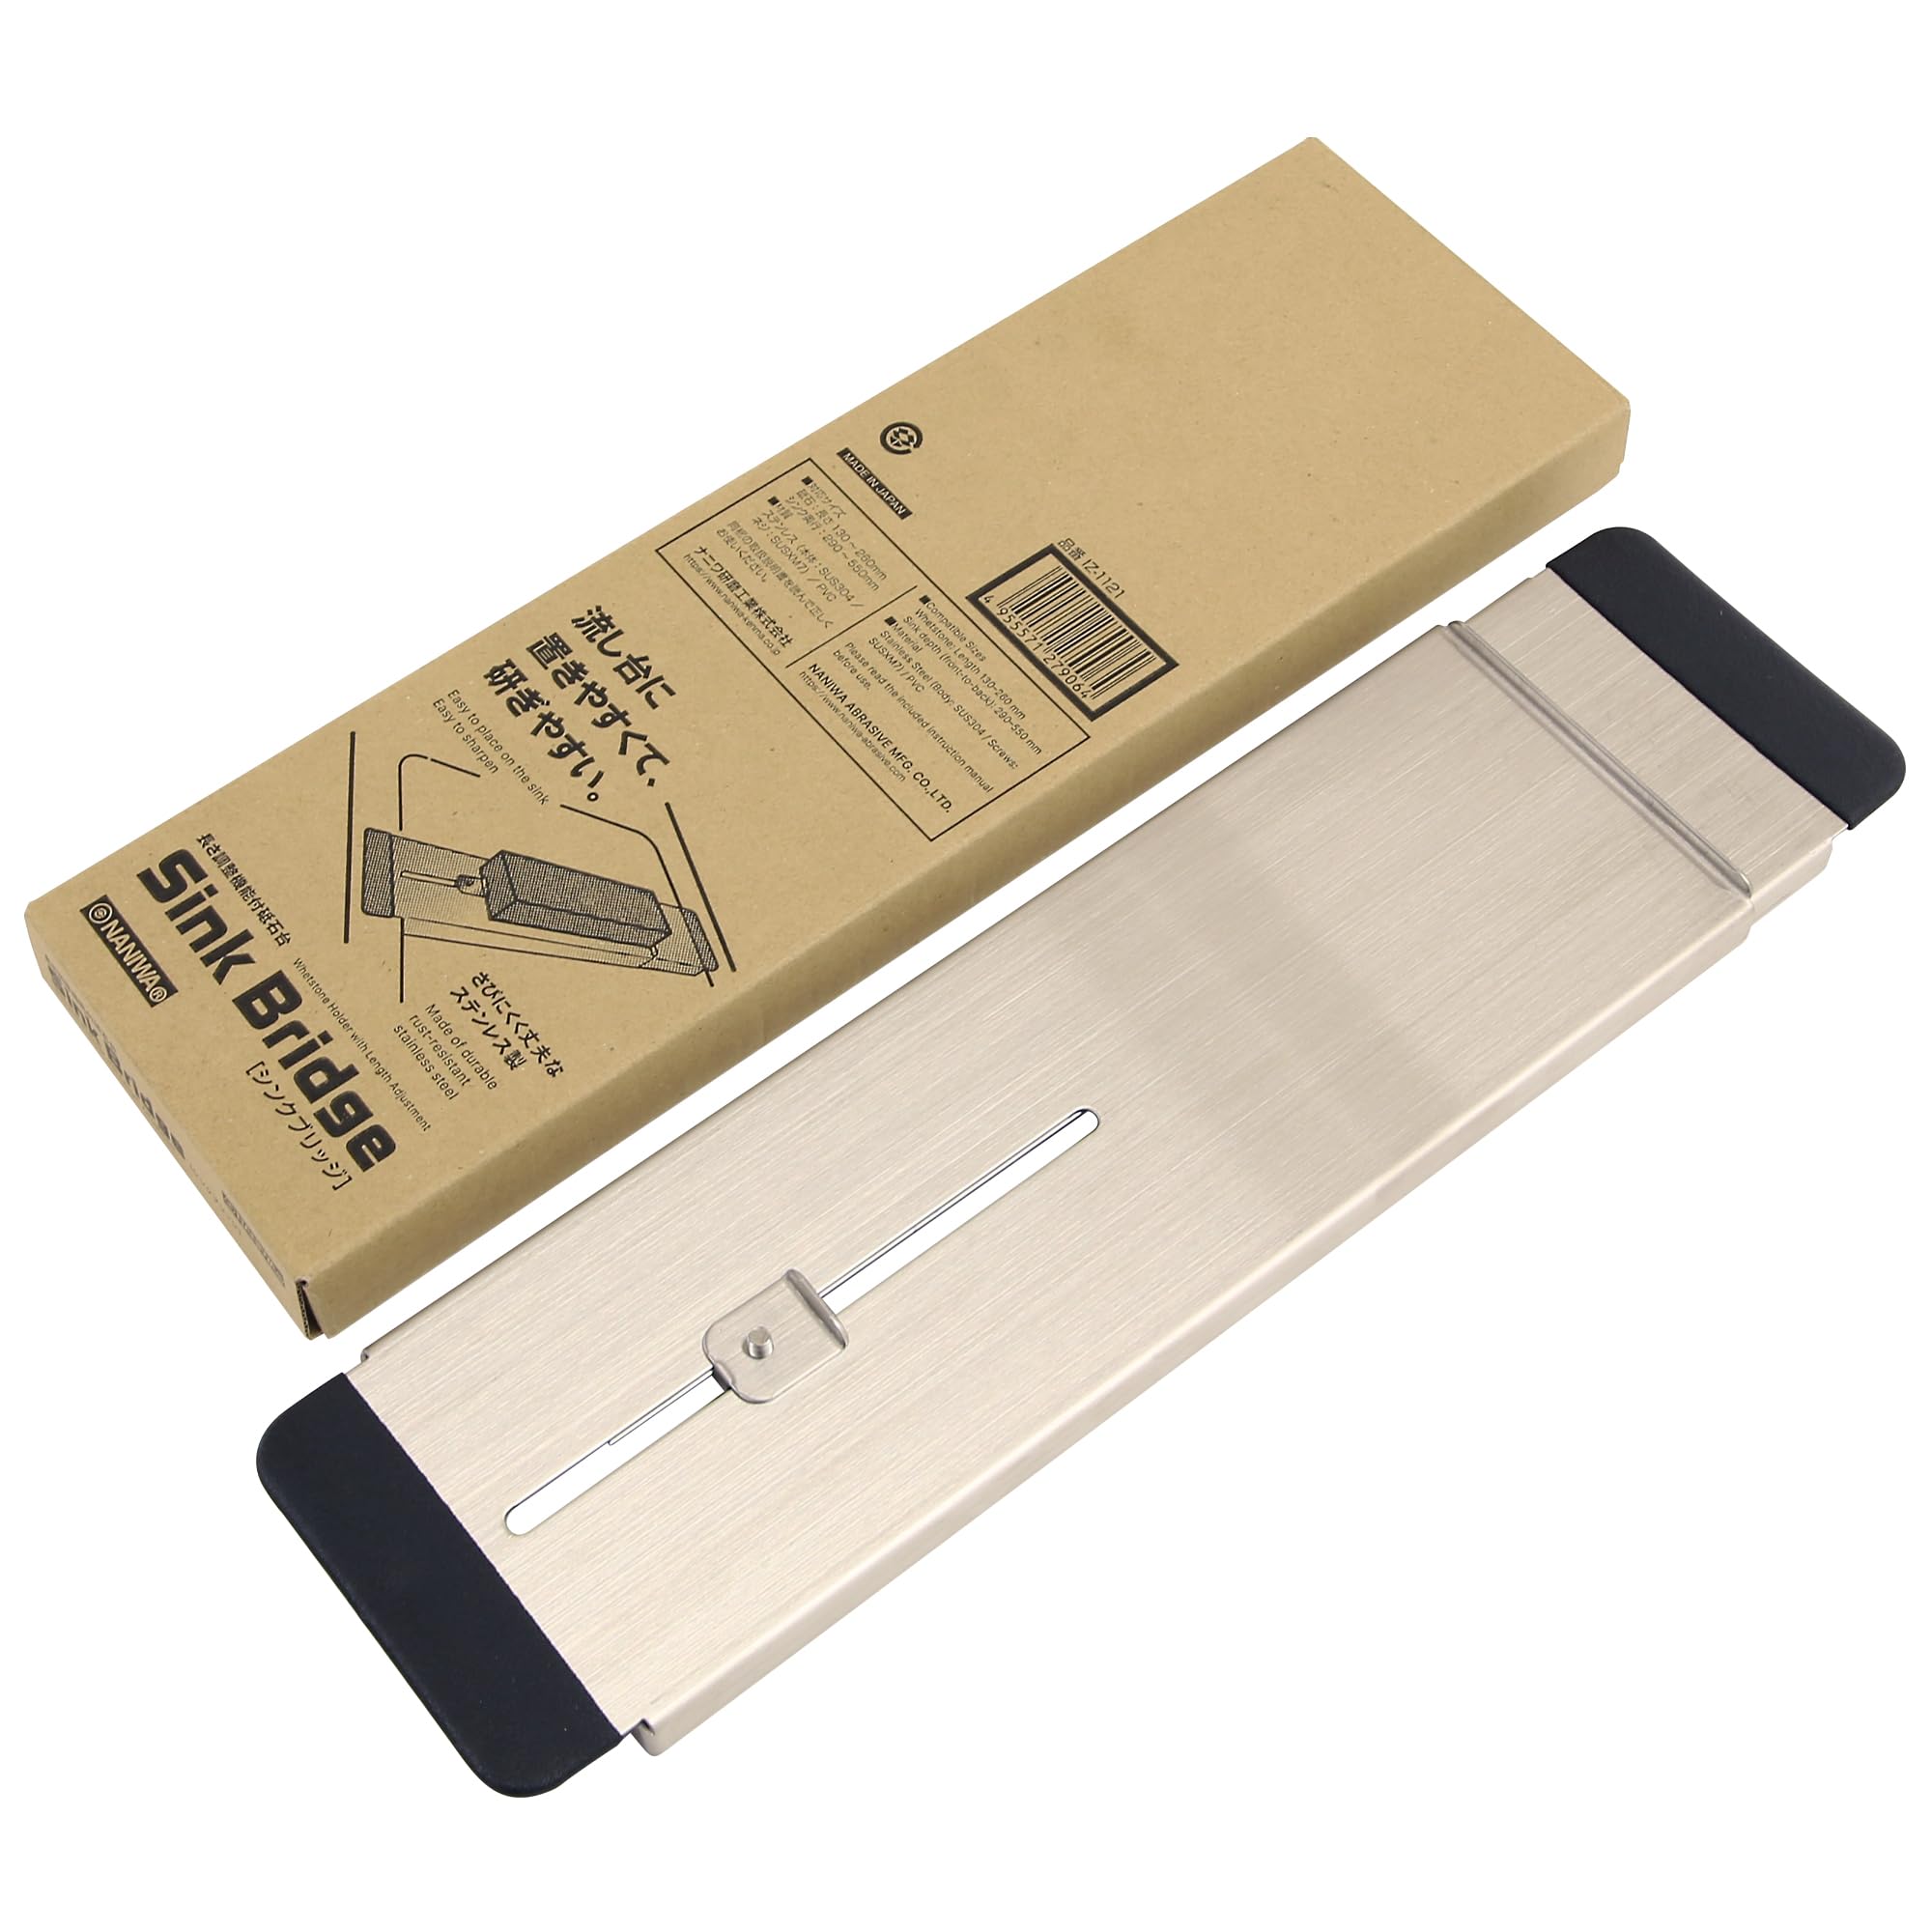
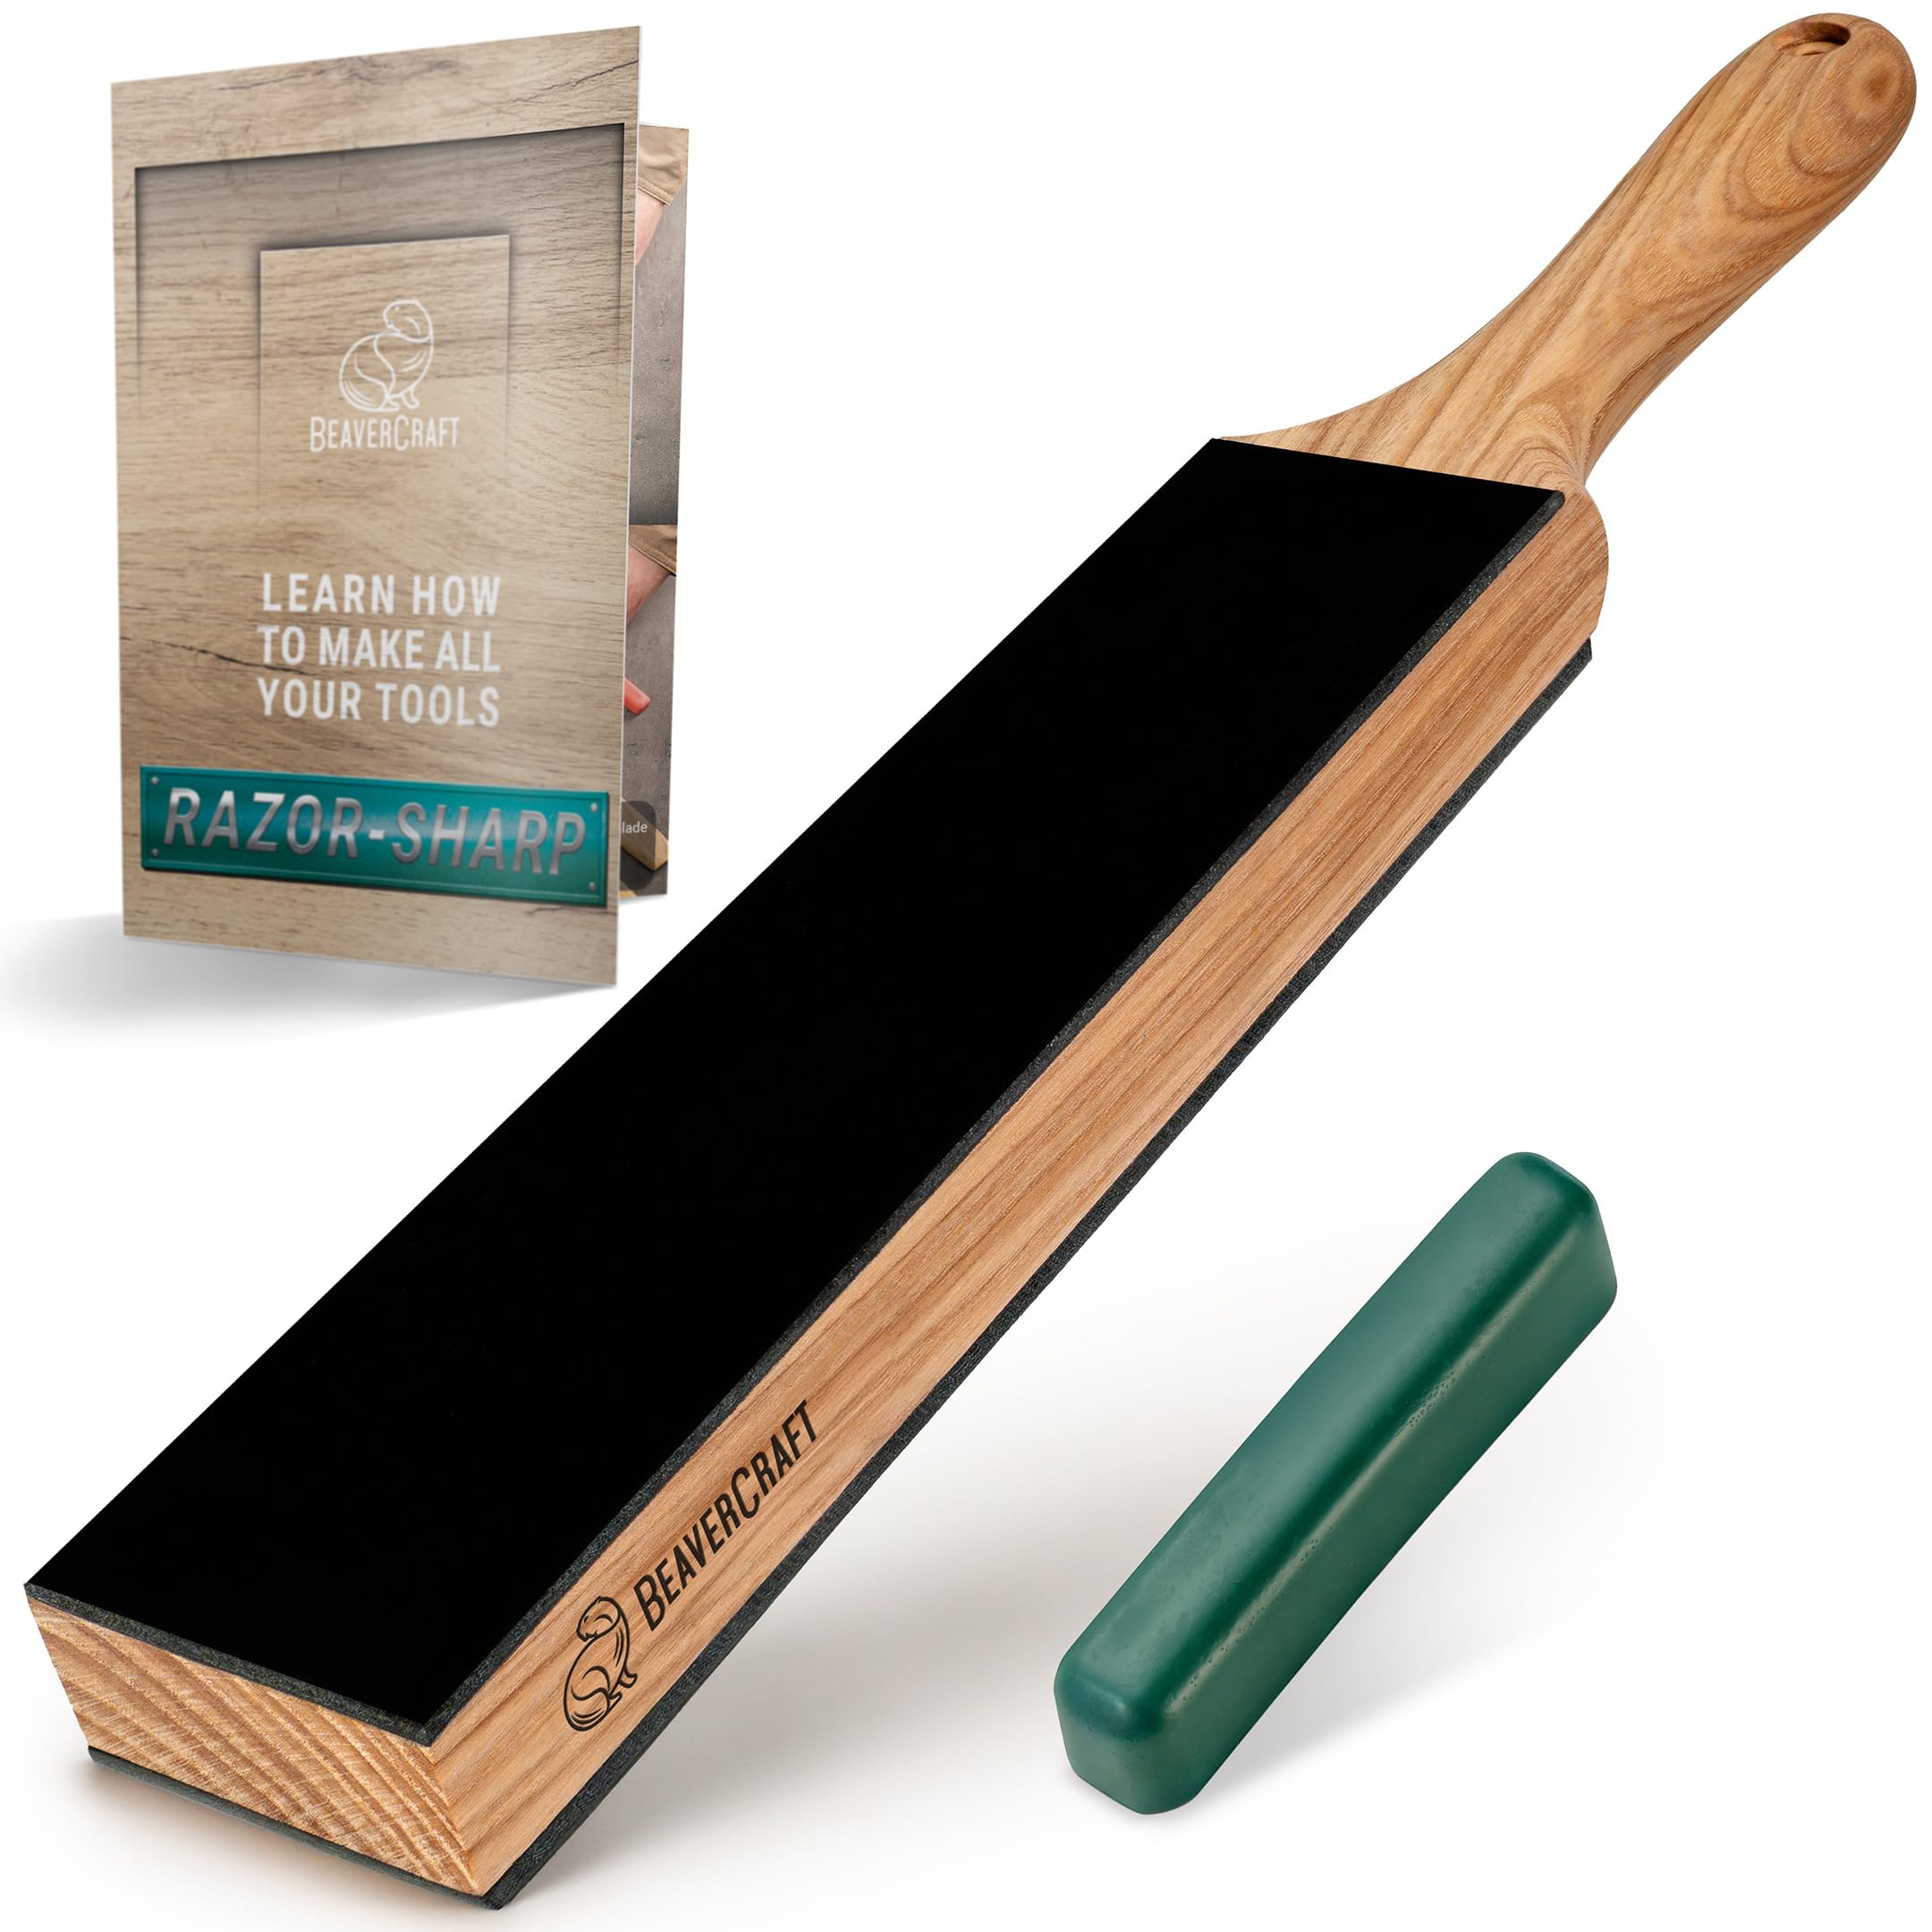
In diesem Budget enthalten: King KW65 1000/6000 Kombi-Schleifstein • Verstellbarer Schleifsteinhalter für das Spülbecken • Leder-Abziehblock mit grüner Polierpaste (Chromoxid)
Sorgfältig ausgewählte Grundausrüstung für Tag 1. Kein teurer Schnickschnack.
King KW65 1000/6000 Kombi-Schleifstein

King KW65 1000/6000 Kombi-Schleifstein

28,49 €
Auf Amazon ansehen ↗
Verstellbarer Schleifsteinhalter für das Spülbecken

Verstellbarer Schleifsteinhalter für das Spülbecken

16,14 €
Auf Amazon ansehen ↗
Leder-Abziehblock mit grüner Polierpaste (Chromoxid)

Leder-Abziehblock mit grüner Polierpaste (Chromoxid)

14,24 €
Auf Amazon ansehen ↗

📺 4. Das Rabbit Hole

Ausgewählte Kanäle und Erklärungen für fundiertes technisches Lernen.

How to use A SHARPENING STONE for knives - Beginners Guide

How to use A SHARPENING STONE for knives - Beginners Guide

Quelle: knivesandtools ▶ Play
Whetstone Sharpening Mistakes that Most Beginners Make

Whetstone Sharpening Mistakes that Most Beginners Make

Quelle: Ethan Chlebowski ▶ Play
How to Sharpen a Knife with a Whetstone – Sharpening Dull Kitchen Knife to Extremely Sharp

How to Sharpen a Knife with a Whetstone – Sharpening Dull Kitchen Knife to Extremely Sharp

Quelle: TheRenderQ ▶ Play

🎯 5. Der erste Meilenstein

🎯 ✓ Erster Meilenstein

Paper-Slice Clarity (Your Day-One Victory)
Master the fundamentals of angle consistency and burr creation on a budget kitchen knife.

1

The Sharpie Test

Paint the bevel of your dull knife with a black permanent marker so you can visually verify where your stone is making contact and removing metal.

2

Establishing the Angle

Set the knife on your soaked 1000-grit stone at a 15-to-20-degree angle (about the height of two stacked quarters under the spine) and push the blade in smooth, controlled passes across the surface.

3

Raising the Burr

Grind one side consistently until you can feel a microscopic metal overhang (the burr) along the entire opposite edge by gently sliding your thumb pad off the spine over the edge.

4

Apexing and Deburring

Flip the blade to match the angle on the opposite side, work until a burr forms, then execute light alternating single strokes to sweep the burr away and refine the apex on the 6000-grit side.

🏆 Tag-1-Erfolg

Once you slice through a freely suspended sheet of newspaper smoothly without a single tear or snag, you have officially conquered day one.

Mehr Primers, die dir gefallen könnten